With the neck glued it was time to attach the fretboard.
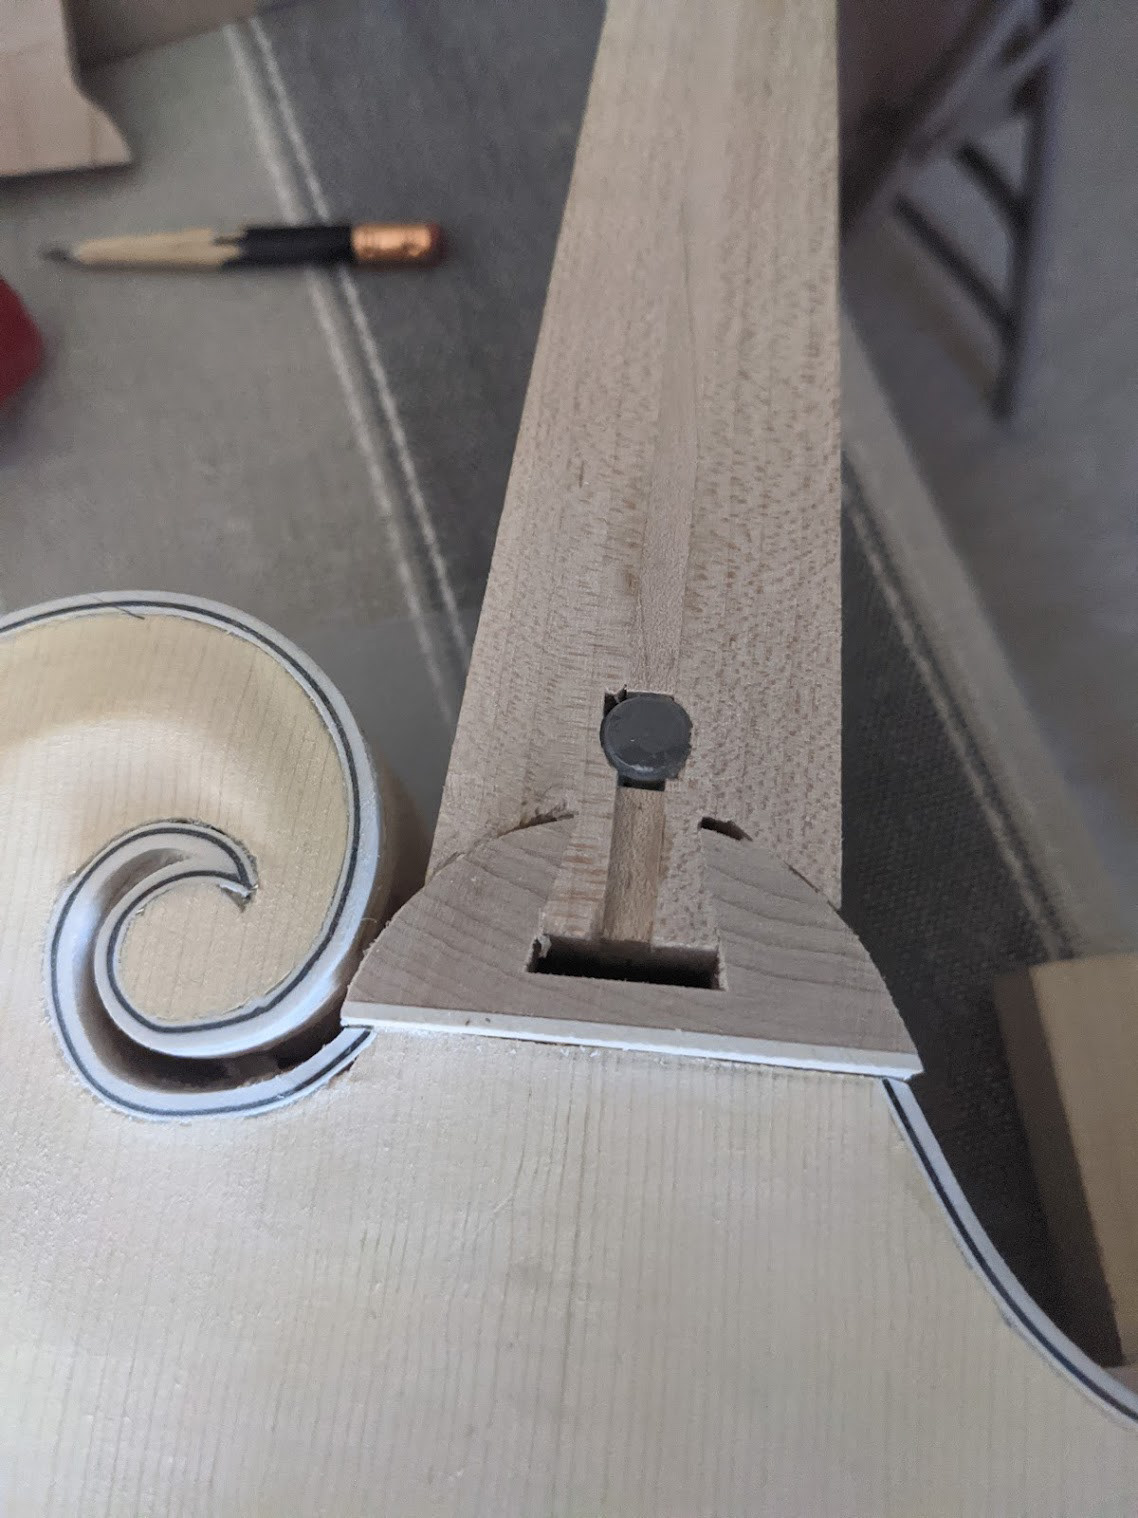
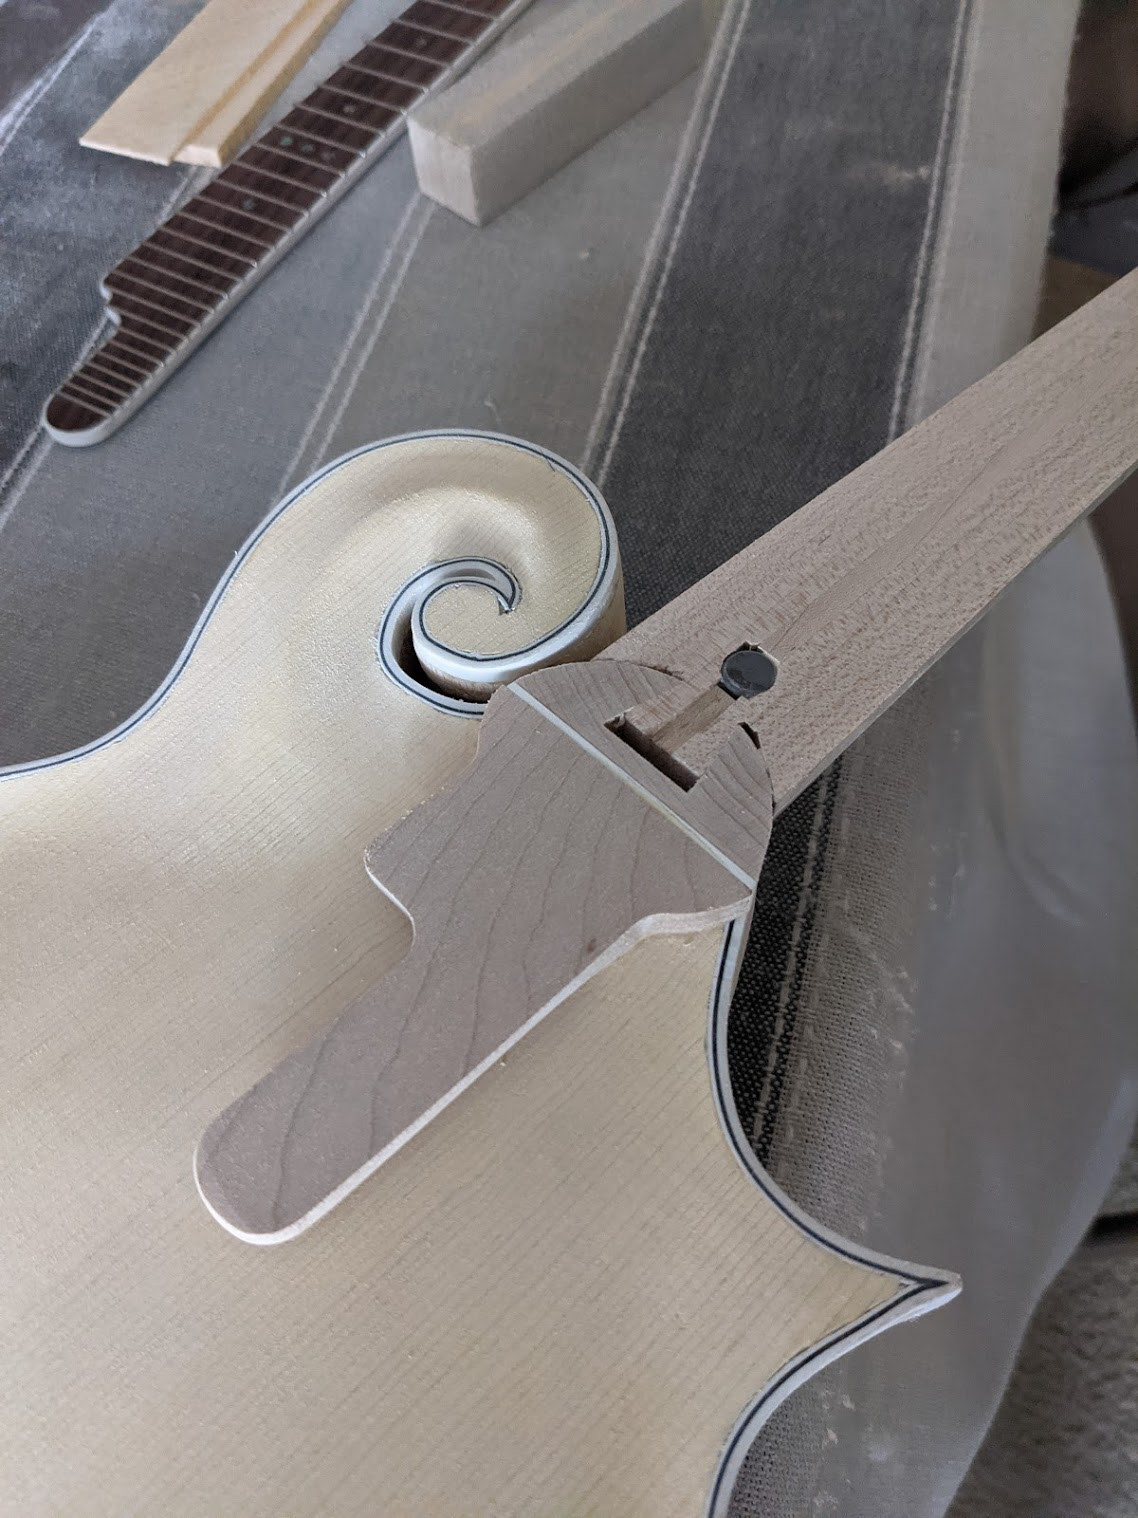
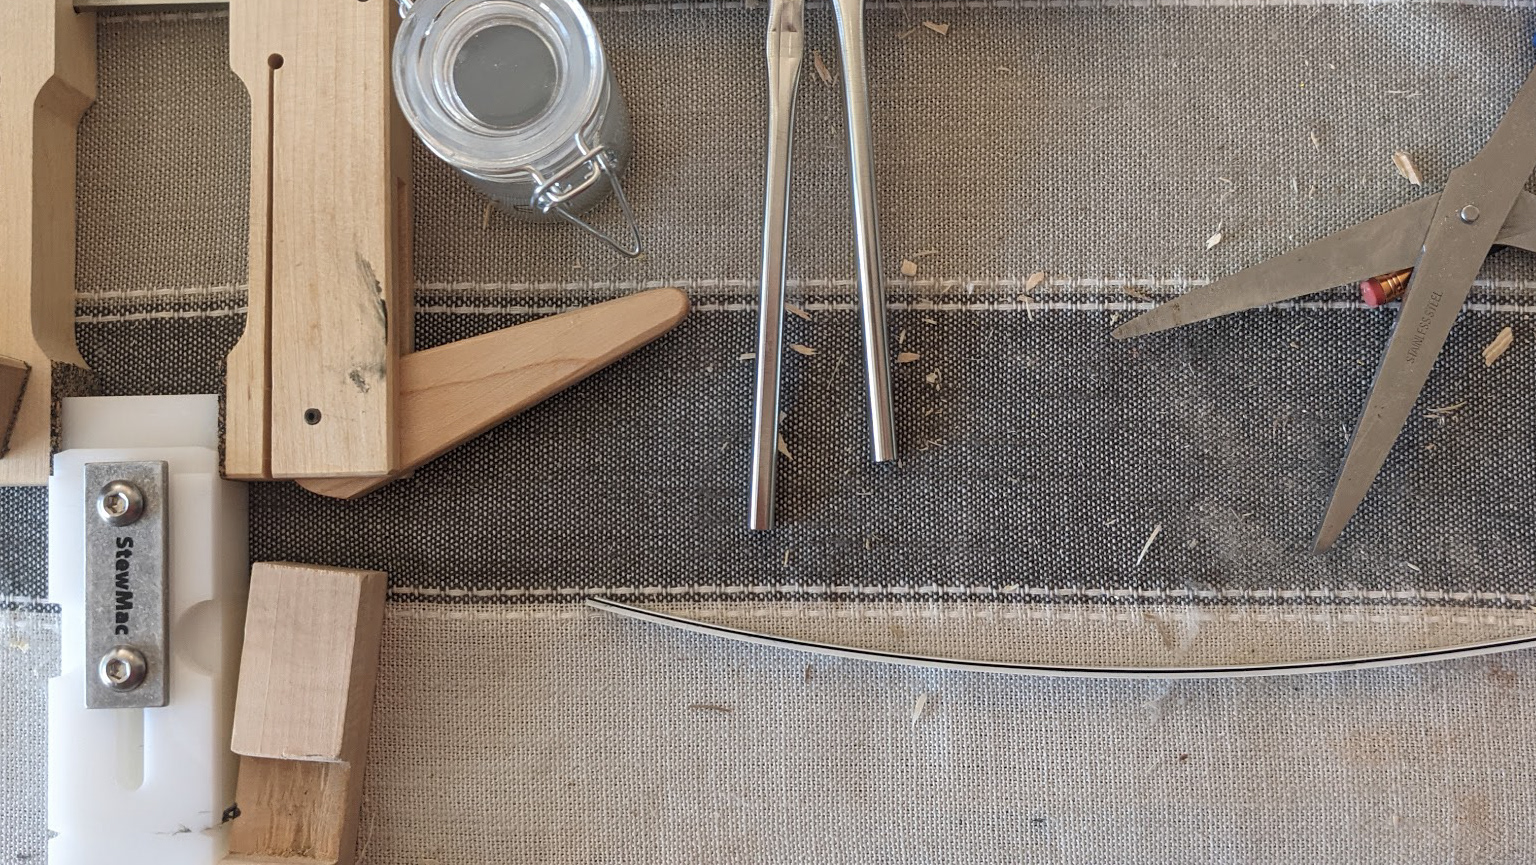
First I had to level the 15th fret crosspiece. I knocked this down with the Dremel and used files and sandpaper to get it nice and level with the rest of the neck. From there I needed to shape, glue and level the fretboard extension that supports the area where the fretboard extends over the body. It was really satisfying to round out the edges on this. With that level I had to shape the taper of these decorative pieces to the body, I used a chisel to cut them at an angle, then files and sandpaper to round them out.
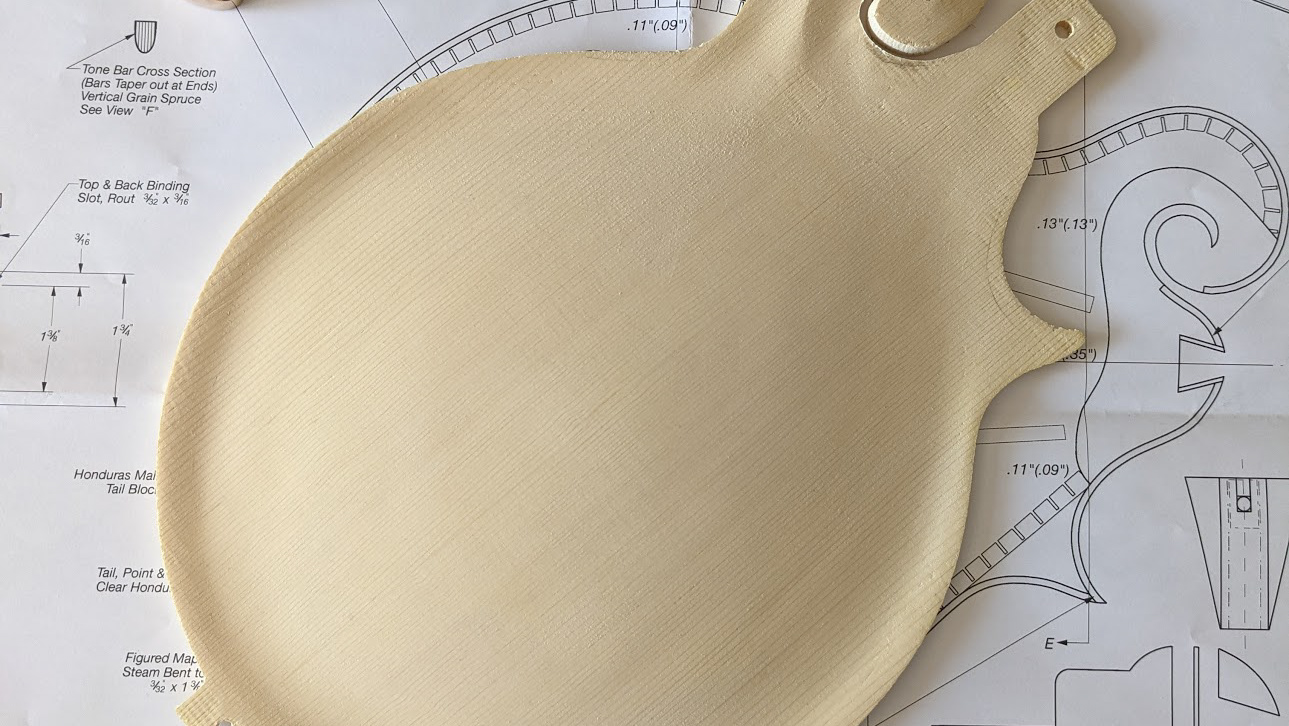
After quadruple checking the neck was nice and flat with my straight edge, I was ready to glue. Or was I....
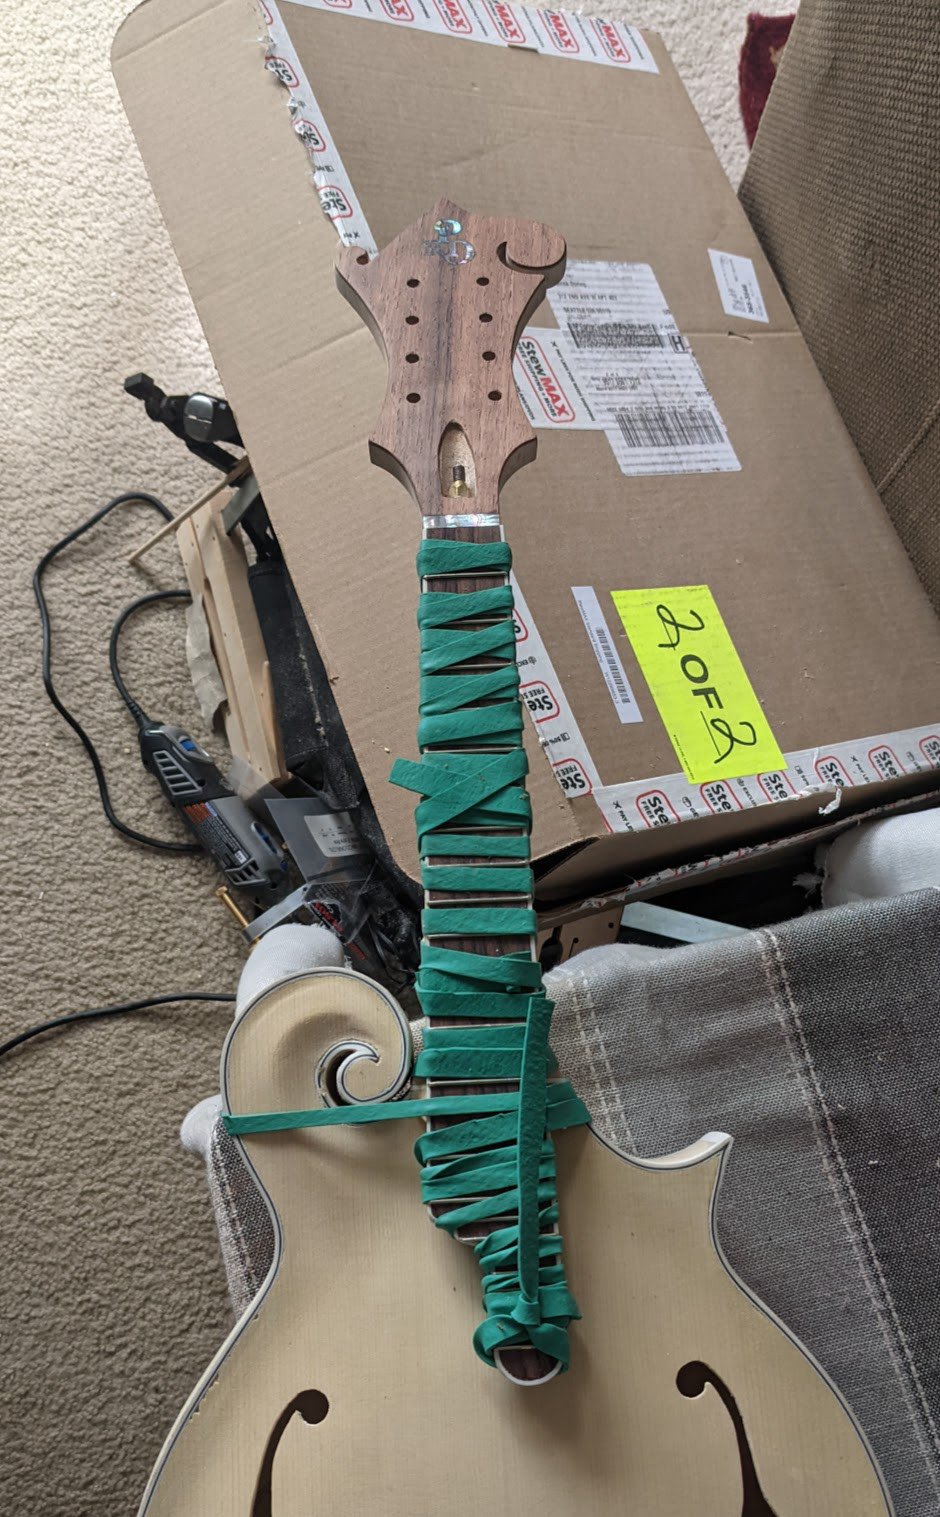
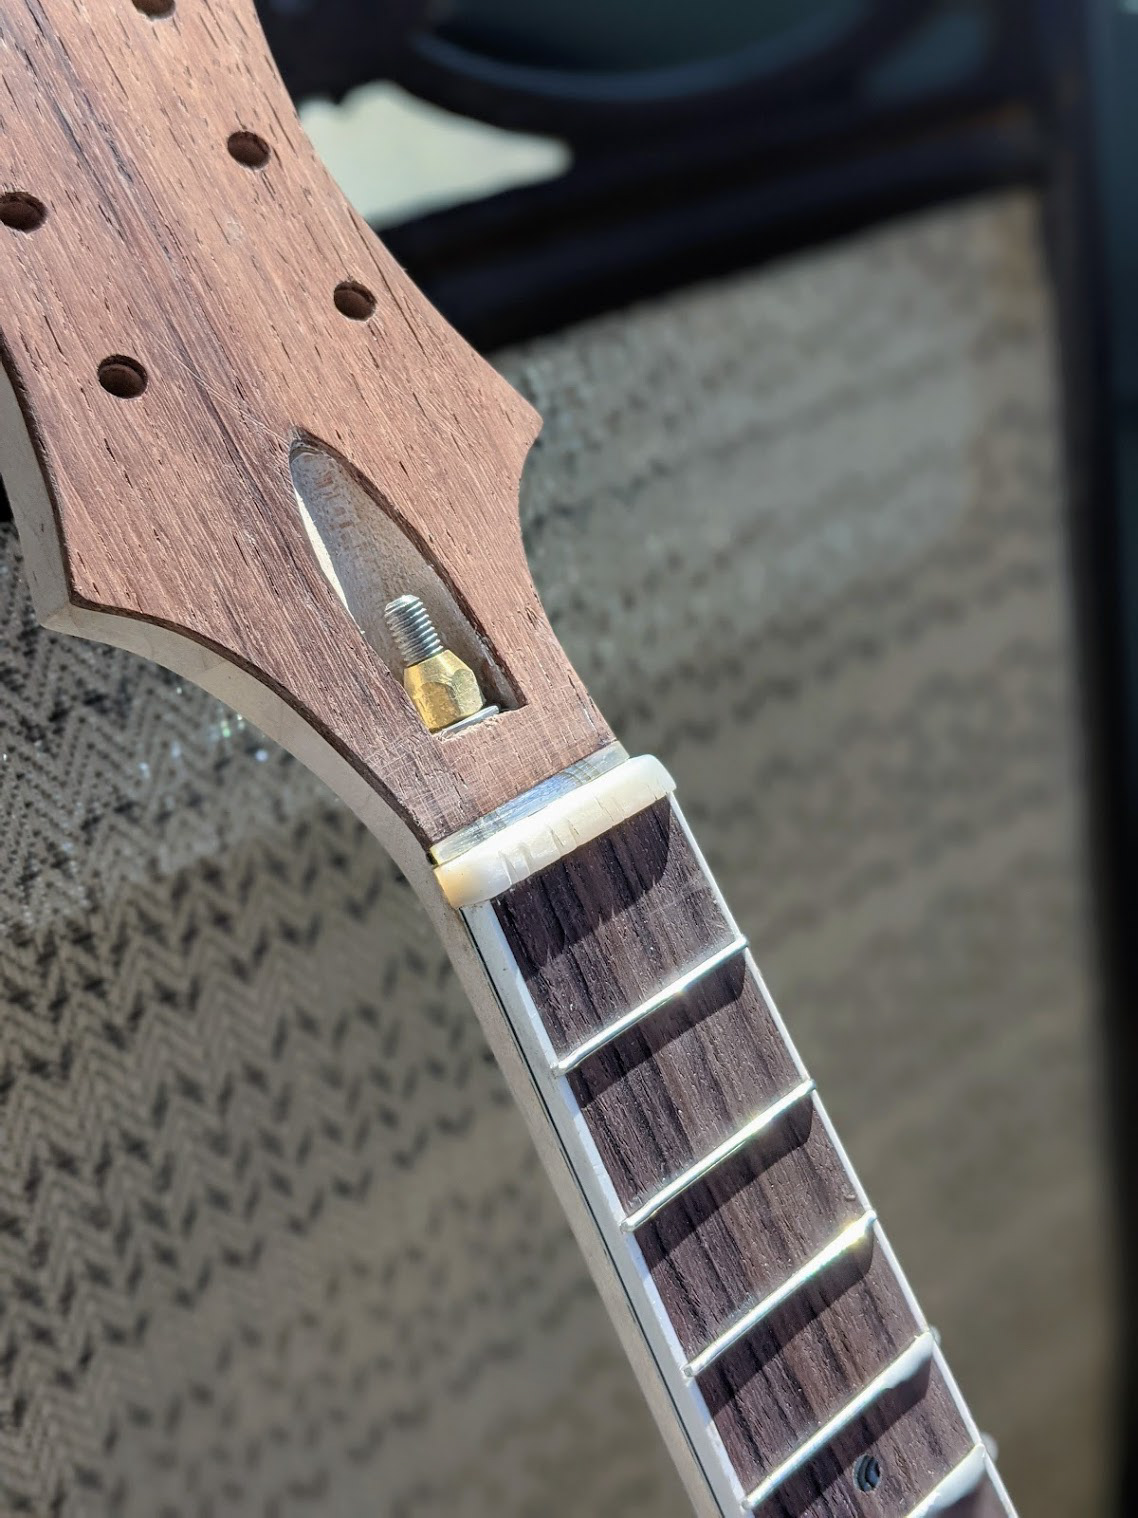
Looking ahead I realized I trimmed the headstock veneer back too far, creating what would be too deep of a channel for my nut. It was time to get creative, I laminated a piece of ebony extending the veneer. I then routed this down and inlayed a strip of abalone to give a nice decorative strip below the nut. I have to say this was for sure a lemons/lemonade moment because it came out looking really nice. Then I slathered the neck and back of the fretboard with glue, lined up my 15th fret, and rubber-banded away. I let this dry for 24h.
While I was waiting I realized the black and white truss rod cover didn't quite fit the aesthetic this instrument was taking. I decided to build my own, I grabbed some abalone, some rosewood and some ebony scraps and made a cover. I am really happy with it. Some filling, sanding, and polishing later I think it looks pretty good, a bit wabi-sabi but should complete the headstock nicely.
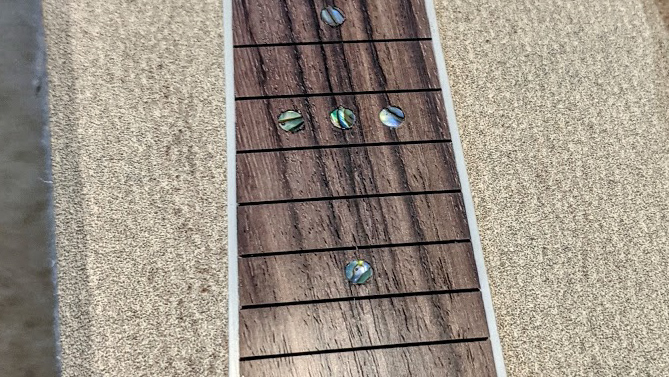
The next morning the fretboard was on and I installed the nut. I made a jig that would hold the nut flat against the fretboard, then I clamped this onto the headstock and used it as a saw guide to cut the right amount of veneer off. I filed a flat (...ish, it isn't perfect and may need to be fixed later) seat for it and it slid right in. I filed and sanded the sides down flush. I then used the measurements from my blueprints and a series of nut files to cut the string slots, I keeps some feeler gauges at the height I wanted my strings to sit on the fretboard side so I would know when I had cut far enough. Then I used files to round out the sides and back, and finish sanded up to 800. The pearl looks really nice.
After quadruple checking the neck was nice and flat with my straight edge, I was ready to glue. Or was I....
Looking ahead I realized I trimmed the headstock veneer back too far, creating what would be too deep of a channel for my nut. It was time to get creative, I laminated a piece of ebony extending the veneer. I then routed this down and inlayed a strip of abalone to give a nice decorative strip below the nut. I have to say this was for sure a lemons/lemonade moment because it came out looking really nice. Then I slathered the neck and back of the fretboard with glue, lined up my 15th fret, and rubber-banded away. I let this dry for 24h.
While I was waiting I realized the black and white truss rod cover didn't quite fit the aesthetic this instrument was taking. I decided to build my own, I grabbed some abalone, some rosewood and some ebony scraps and made a cover. I am really happy with it. Some filling, sanding, and polishing later I think it looks pretty good, a bit wabi-sabi but should complete the headstock nicely.
The next morning the fretboard was on and I installed the nut. I made a jig that would hold the nut flat against the fretboard, then I clamped this onto the headstock and used it as a saw guide to cut the right amount of veneer off. I filed a flat (...ish, it isn't perfect and may need to be fixed later) seat for it and it slid right in. I filed and sanded the sides down flush. I then used the measurements from my blueprints and a series of nut files to cut the string slots, I keeps some feeler gauges at the height I wanted my strings to sit on the fretboard side so I would know when I had cut far enough. Then I used files to round out the sides and back, and finish sanded up to 800. The pearl looks really nice.
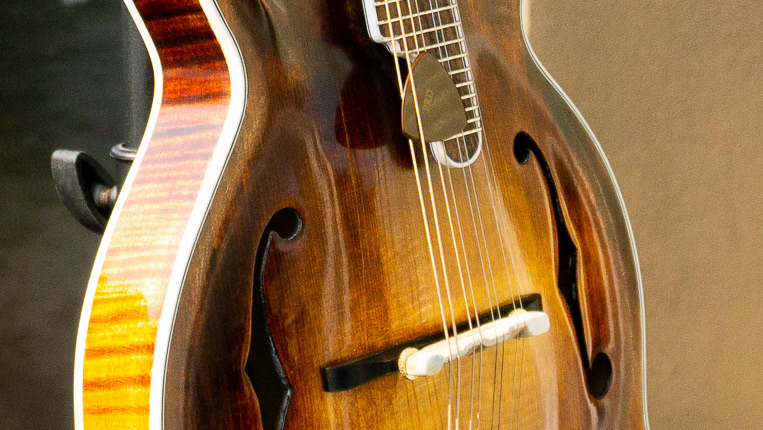
So here we are, HARDWARE TIME. Crazy to think I may be stringing this thing up this week. My hardware comes in tomorrow, I know it is "lipstick on a pig" but with this many hours in the build I had to splurge on some Waverly tuners.