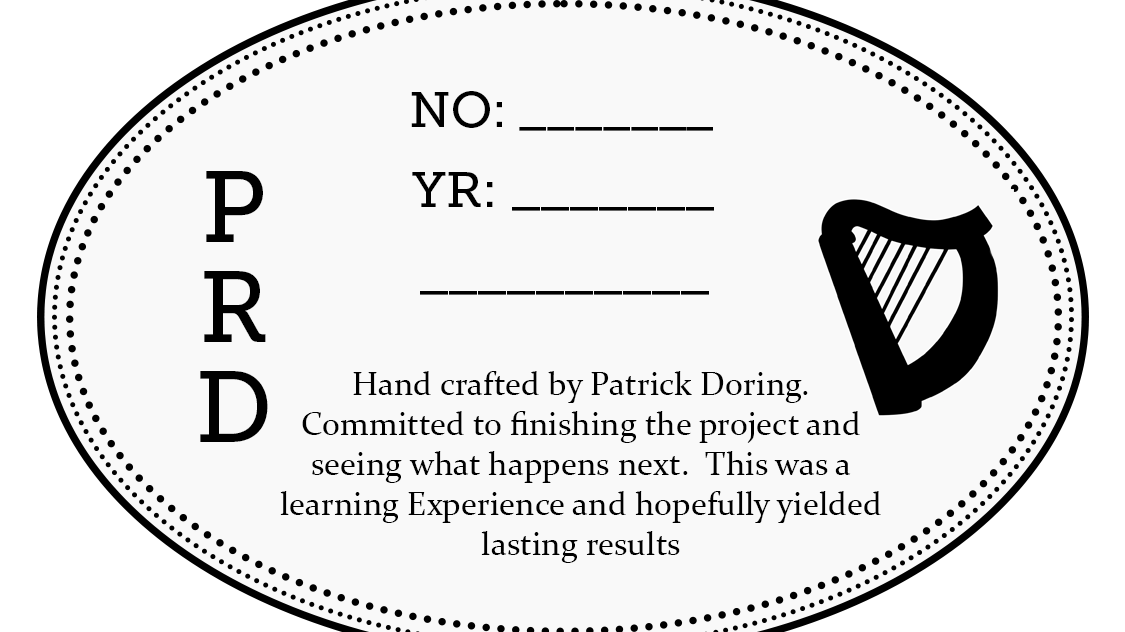
Aligning the Neck (April 19th):
It was now time to align the neck, the dovetail was pre cut but still required some adjustment to get the neckset just right. I created a plastic template that lined up with the neck profile and projected a center line right down the instrument. It is flexible so I could lay it on the neck and check the alignment at the base. I used the fretboard, some feeler gauges and a straightedge to see the height of the neck relative to the bridge. I marked a line on the dovetail and one above it that I needed to get to to get to the ideal neck height. Using a file I removed material from the cheeks of the dovetail on the body, not touching the mahogany, just the maple. I first got my side to side alignment close by sanding one side of the cheeks (this took a bit of filing on the dovetail as well), going super slow and checking alignment with my template often. I then filed both cheeks equally until the dovetail sat in at the proper depth. There is a small amount of play here so I am hoping I got this right, time will tell. I then used my straight edge to project a line to the base, and measured the distance from the tail block to the straight edge, and cut a small block of wood to this height. I will use this in cutting the heel and gluing the back.
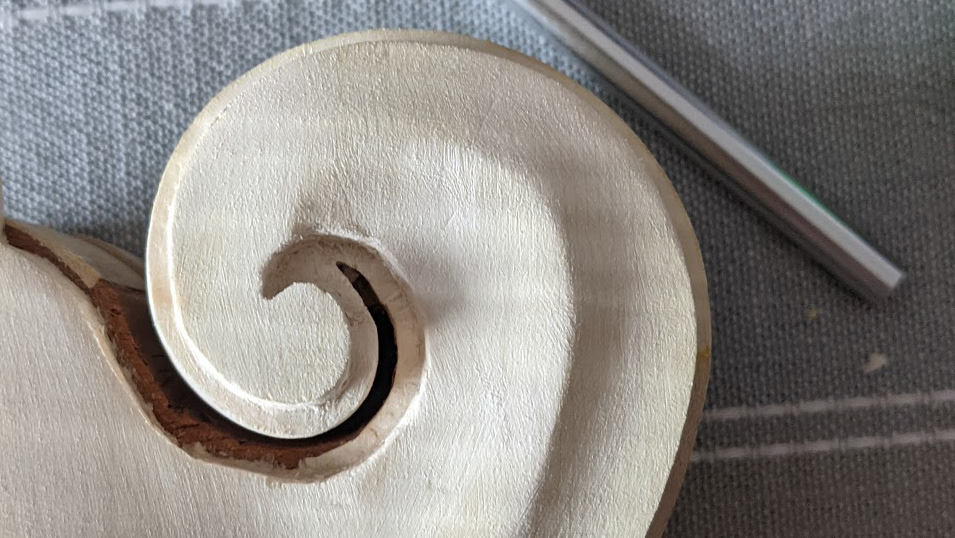
16th Fret Slot Extension and Heel Cutting (April 19th):
With the neck still on, I fit the 16th fret slot extension into the top of the dovetail and pushed against it, holding it solid I scribed a line on the maple with an xacto knife where I will need to cut away so it will seat properly. I deepened that line and chiseled away the top wood down to the mahogany, the extension slipped right in, perfect fit. I made a caul for clamping this piece which could go around the heel of the neck. I was very careful with my glue here, if any got into the dovetail I would have problems getting the neck out later. Clamped, glued, done.
I turned the mandolin over after letting that dry for some time, and clamped it by the neck to a piece of ply (thick enough to let the extension hang-over) and using the block I made earlier clamped the body to another piece of ply at the base. I taped some feeler gauges that matched the thickness of the back of my saw right behind the neck heel, and pressing my saw against it used it to make a straight cut through the excess heel. Using the same sanding stick technique I used for the kerfing, I sanded this flush with the mahogany, using a pencil mark to know when I have sanded far enough.
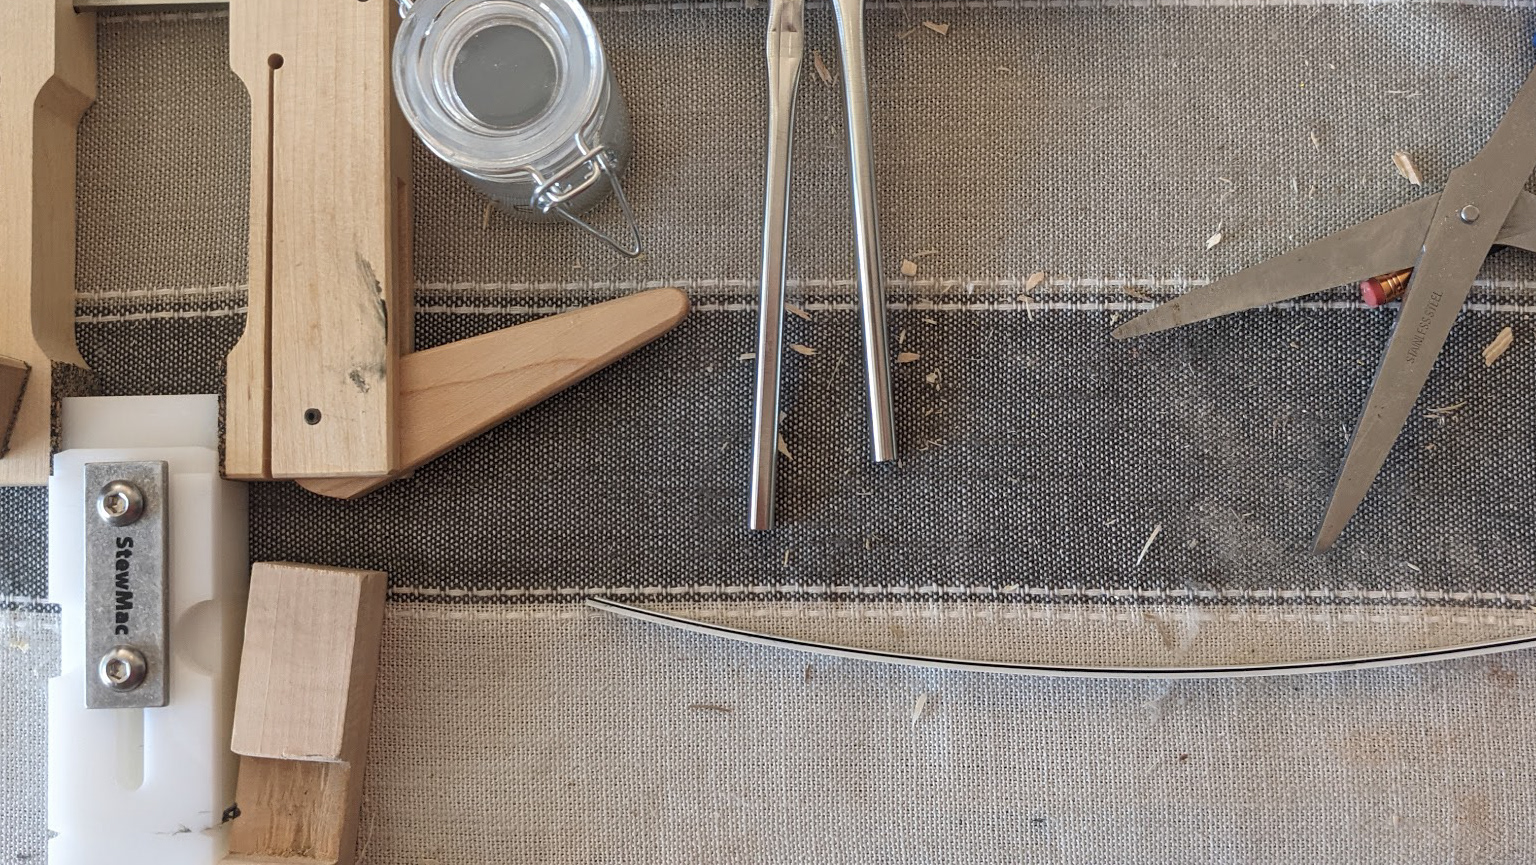
Gluing The Back (April 19th):
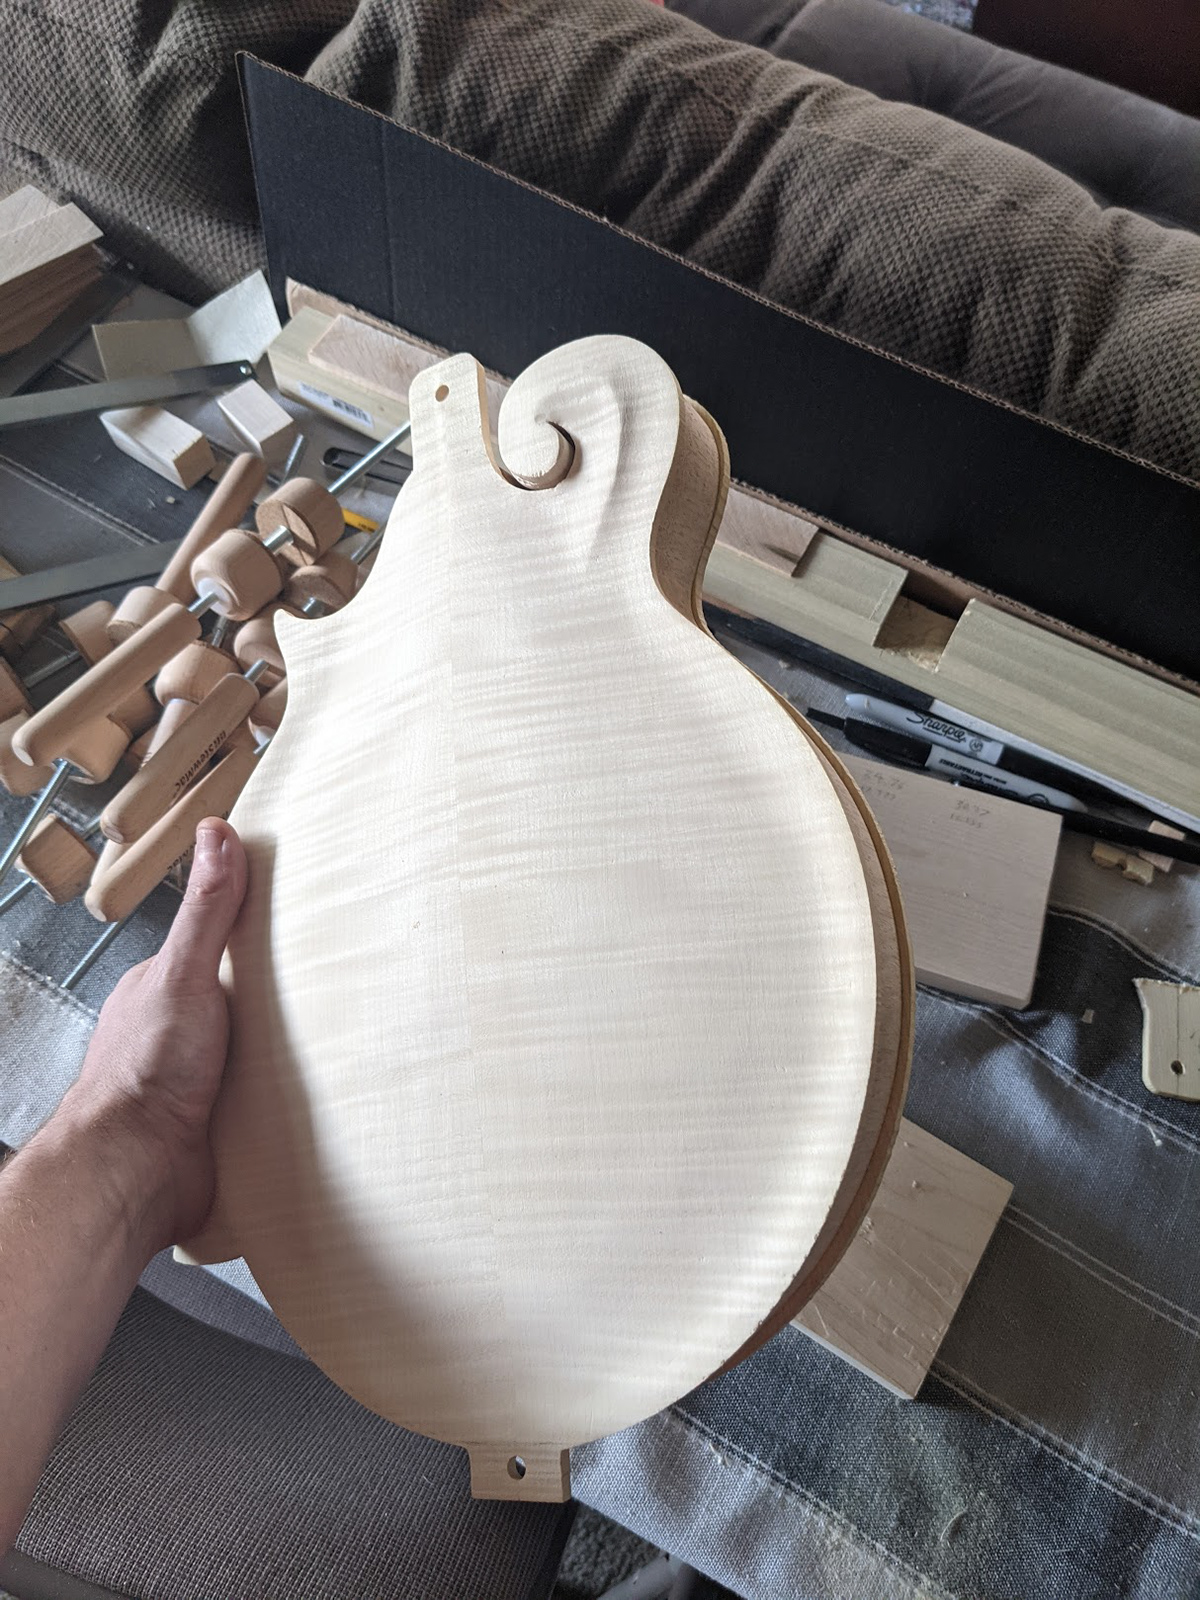
I made a label for the back piece in photoshop, printed it on some nice paper, used some sandpaper to thin it out and weather the printing a bit, wrote in the details and glued it to my back.
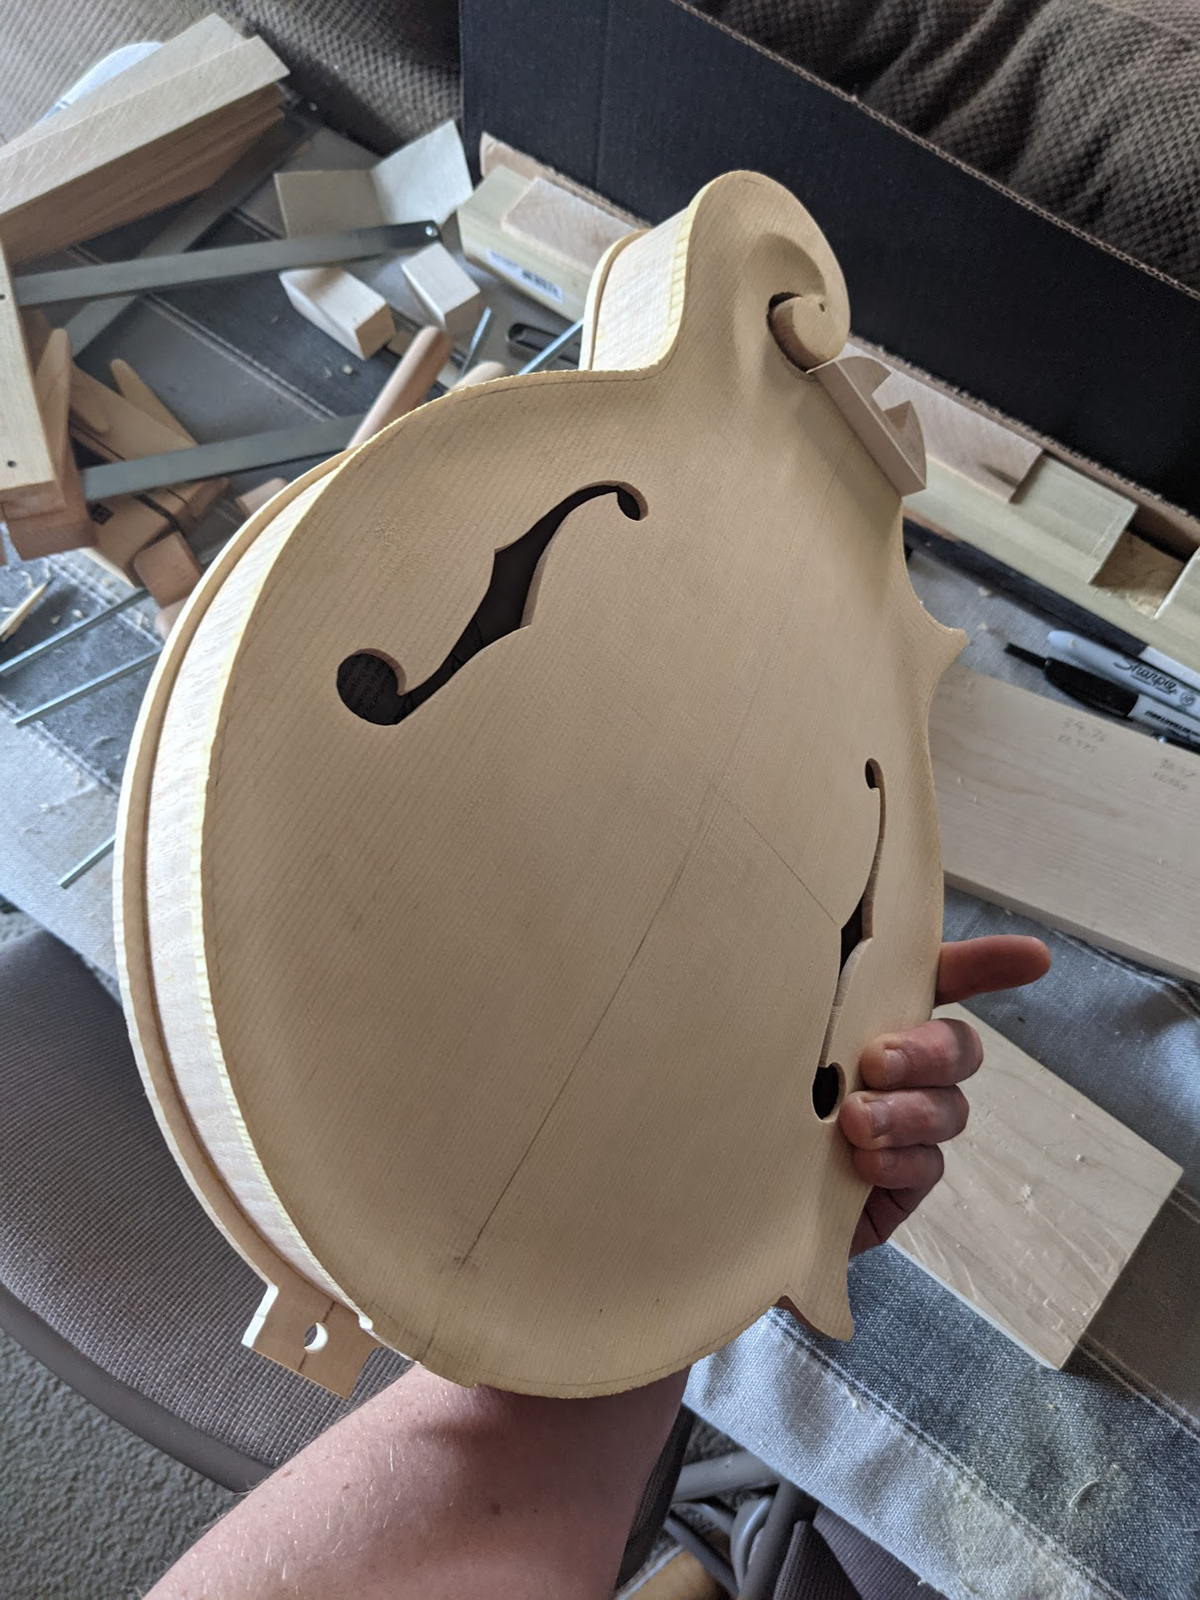
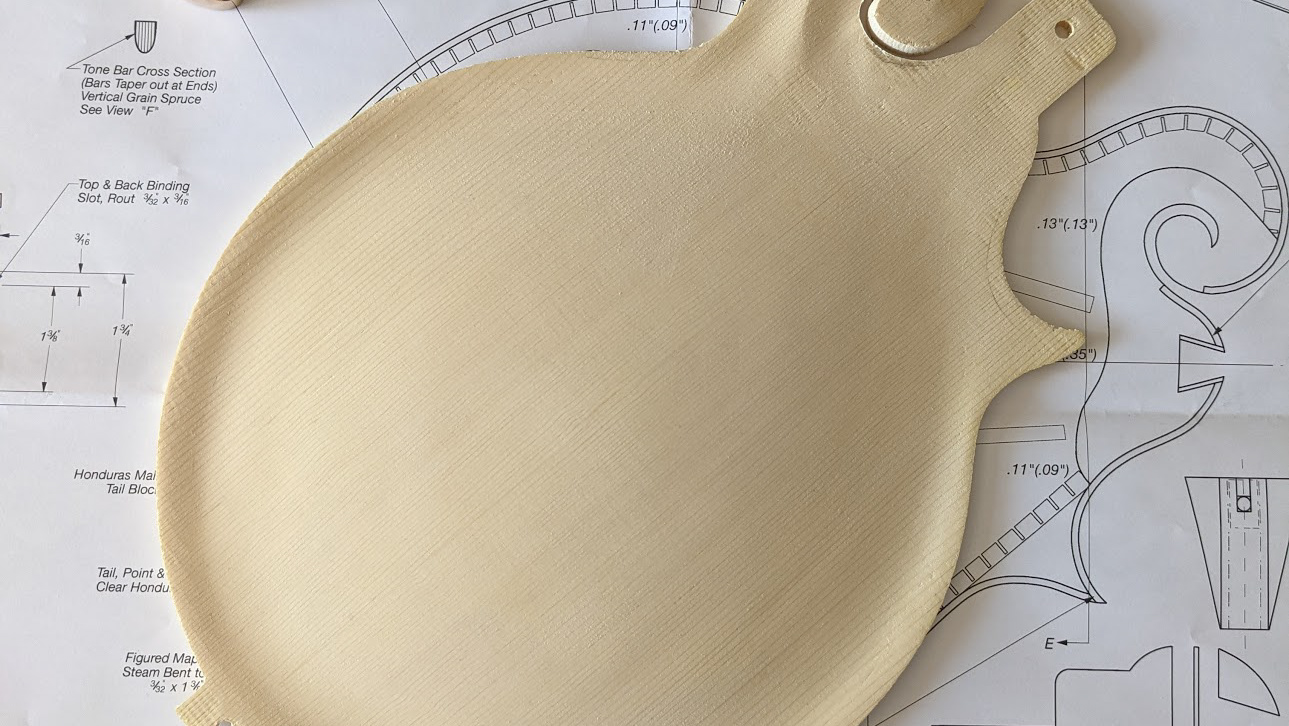
I mounted the mandolin on a beam with a notch to account for the extension piece. This gave me easy access for clamping all around the instrument.
Once again I test-clamped everything. I removed the cardboard forum (that would have sucked real bad to leave in there) and did my colored pencil line on the edges. From there I spread the glue and clamped away. After the clamps were on, I removed it from the beam, removed the neck, and used strong clamps at the base and neck blocks.
I triple checked my alignment and let it rest overnight. It came out pretty great. Feels super good to have the body together.