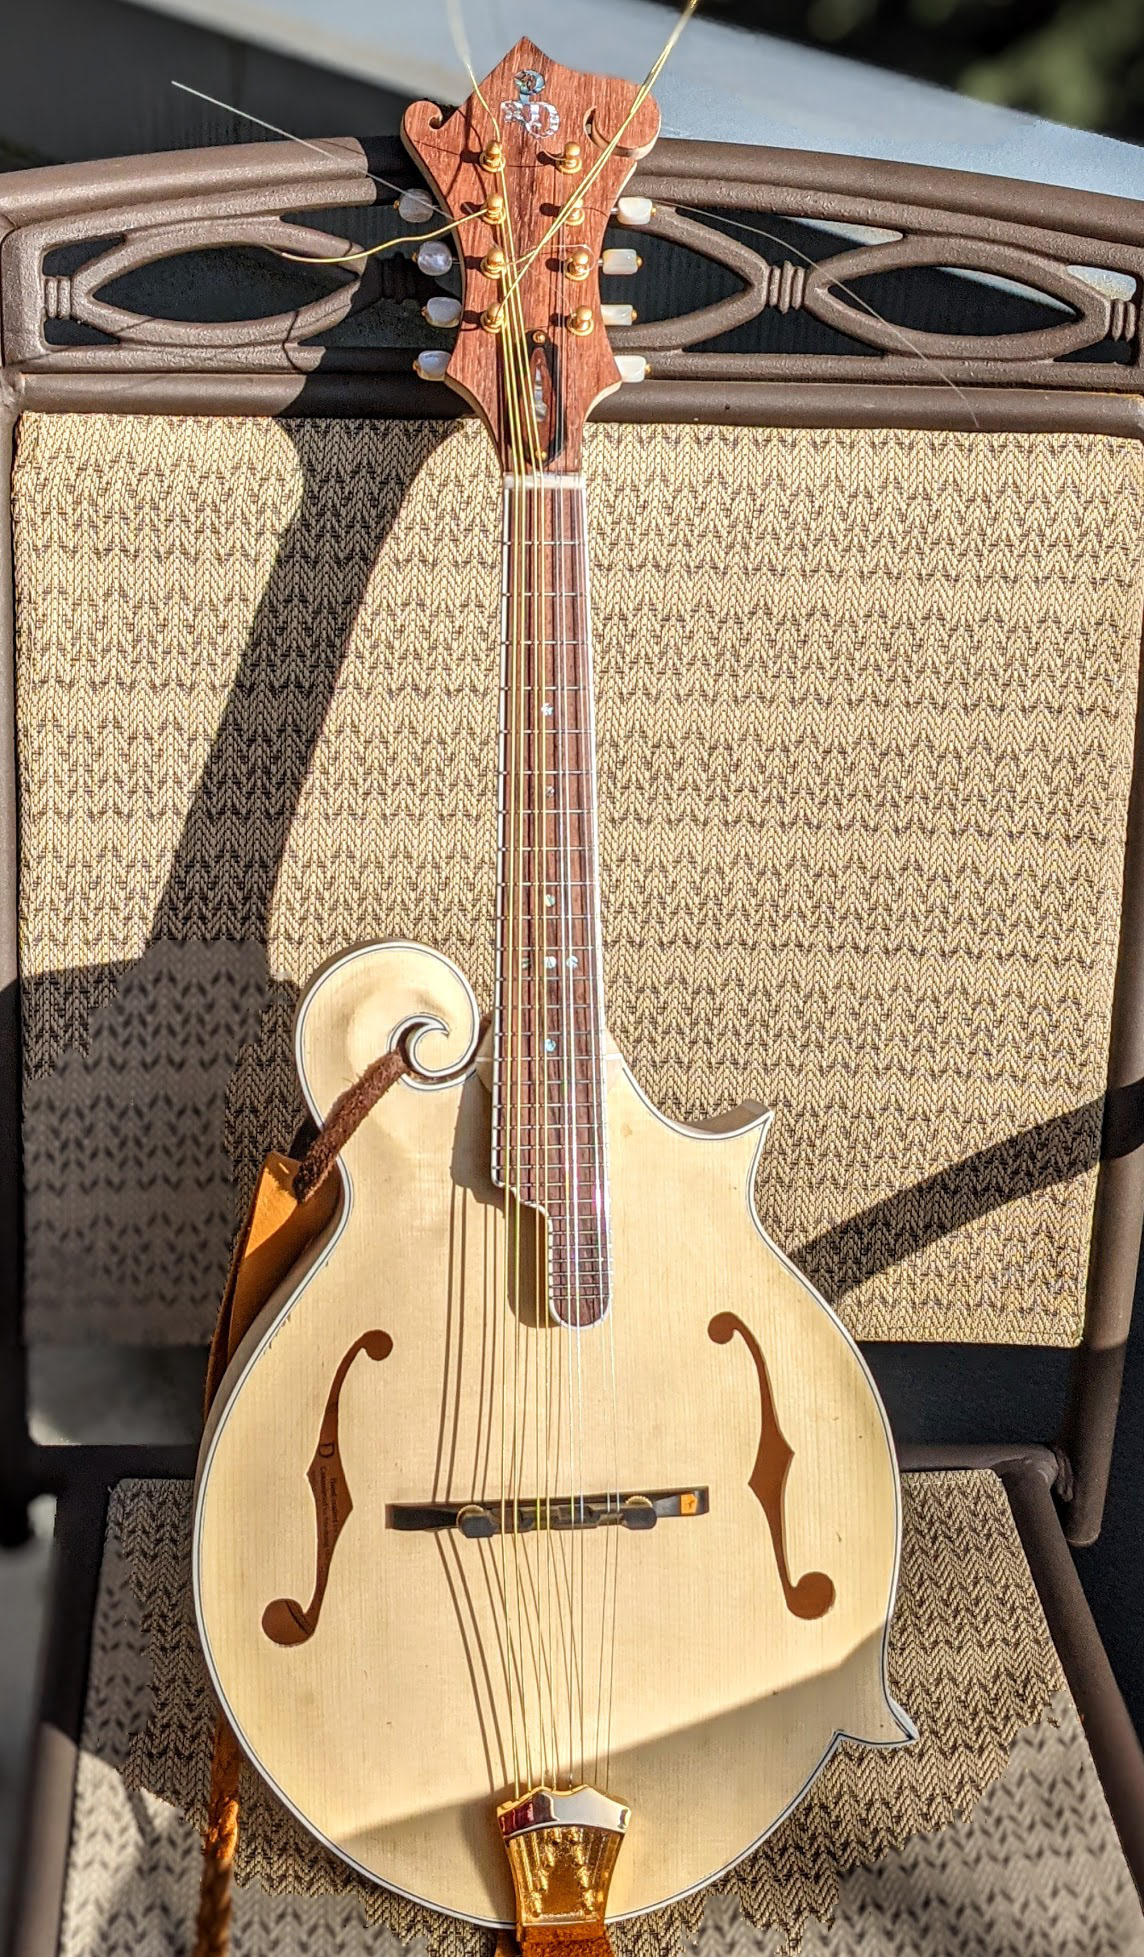
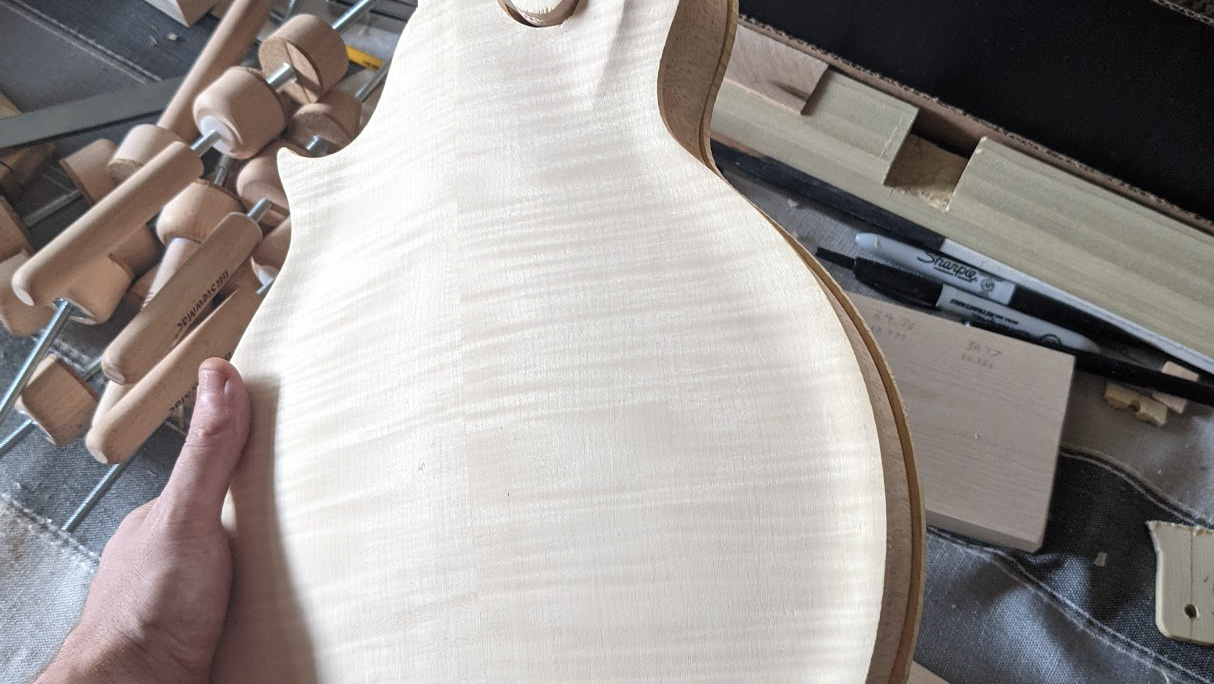
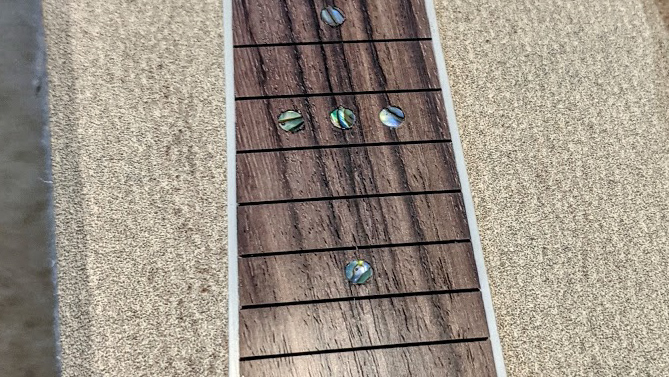
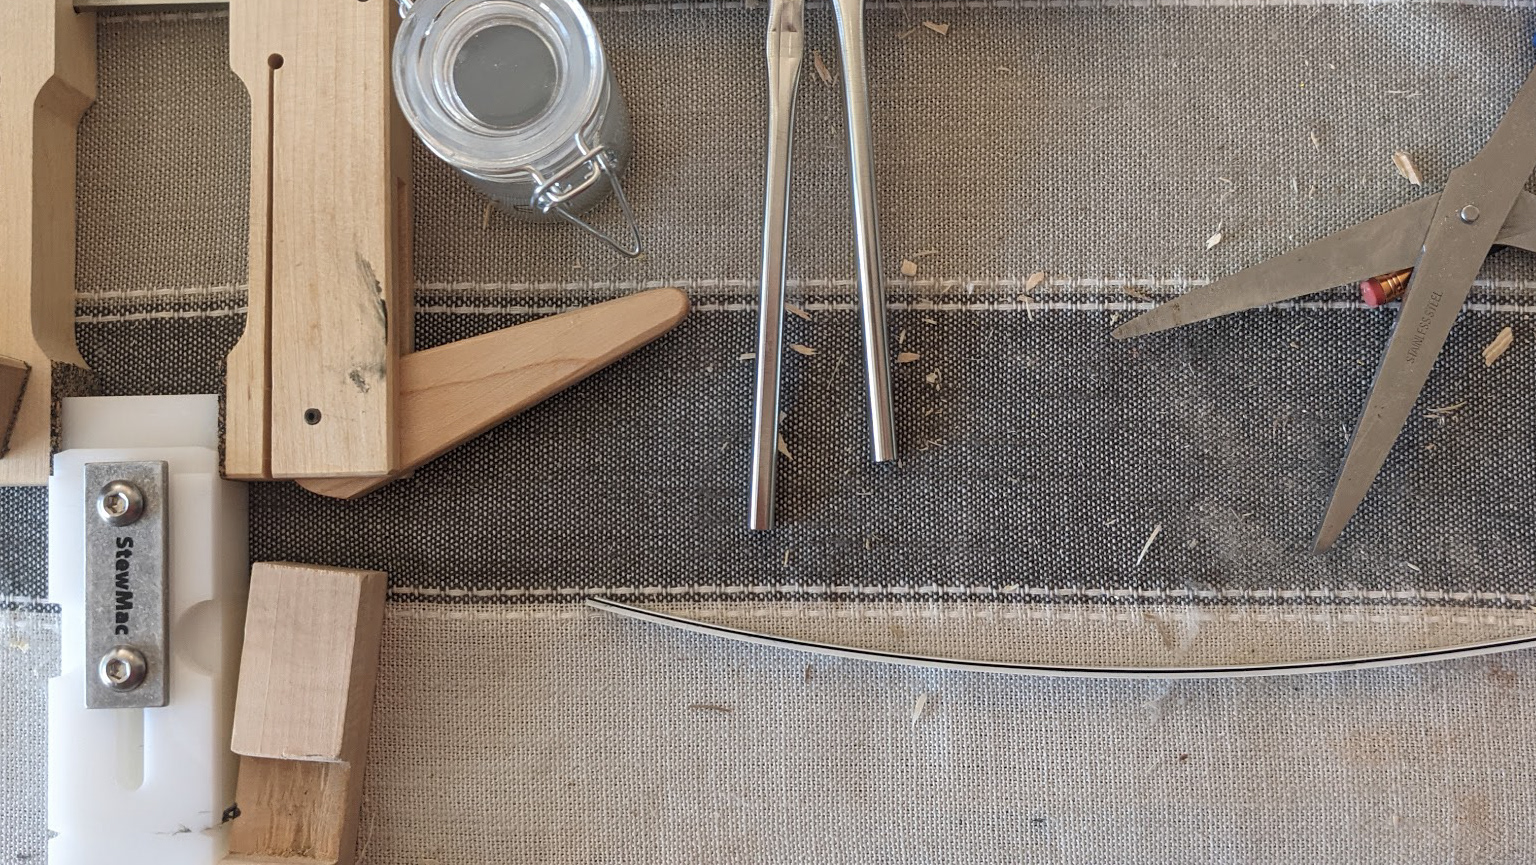
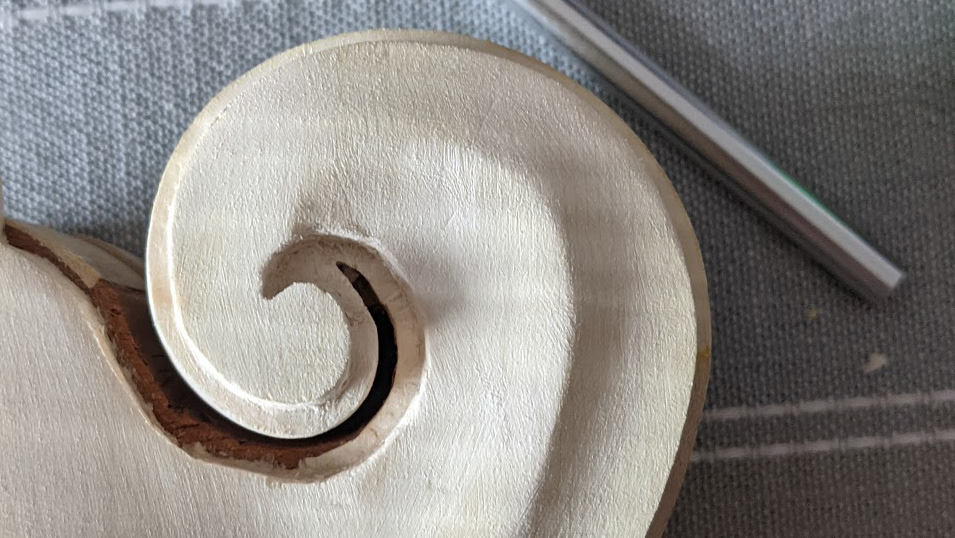
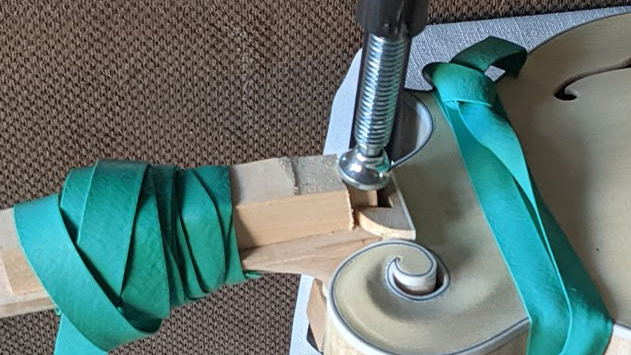
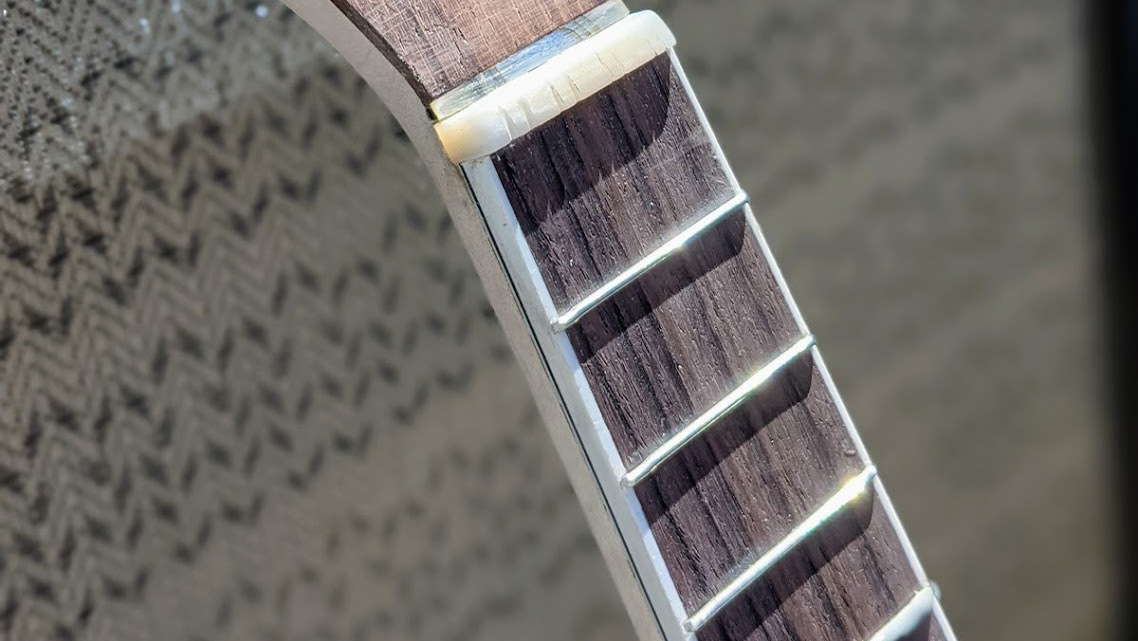
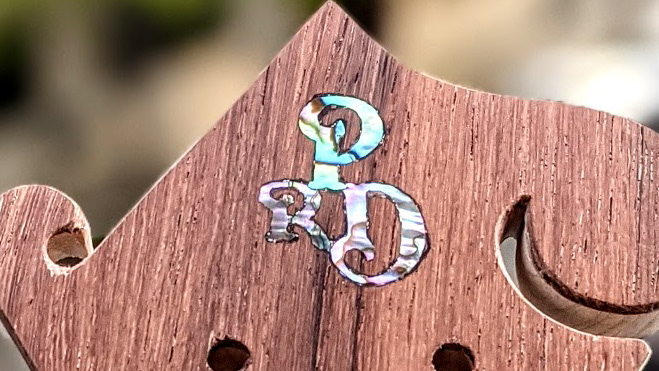
With assembly done, I had to wait for my hardware to arrive, and of-course it got delayed a day. I took this time to do some light fret leveling with a straight edge and some sandpaper, for the most part, the frets were super flat, I had to hammer a couple, and only needed to sand a few spots. I also leveled the bridge feet by sticking some sandpaper to the top, and wiggling the bridge around on it near its proper location until all the ebony was scraping.
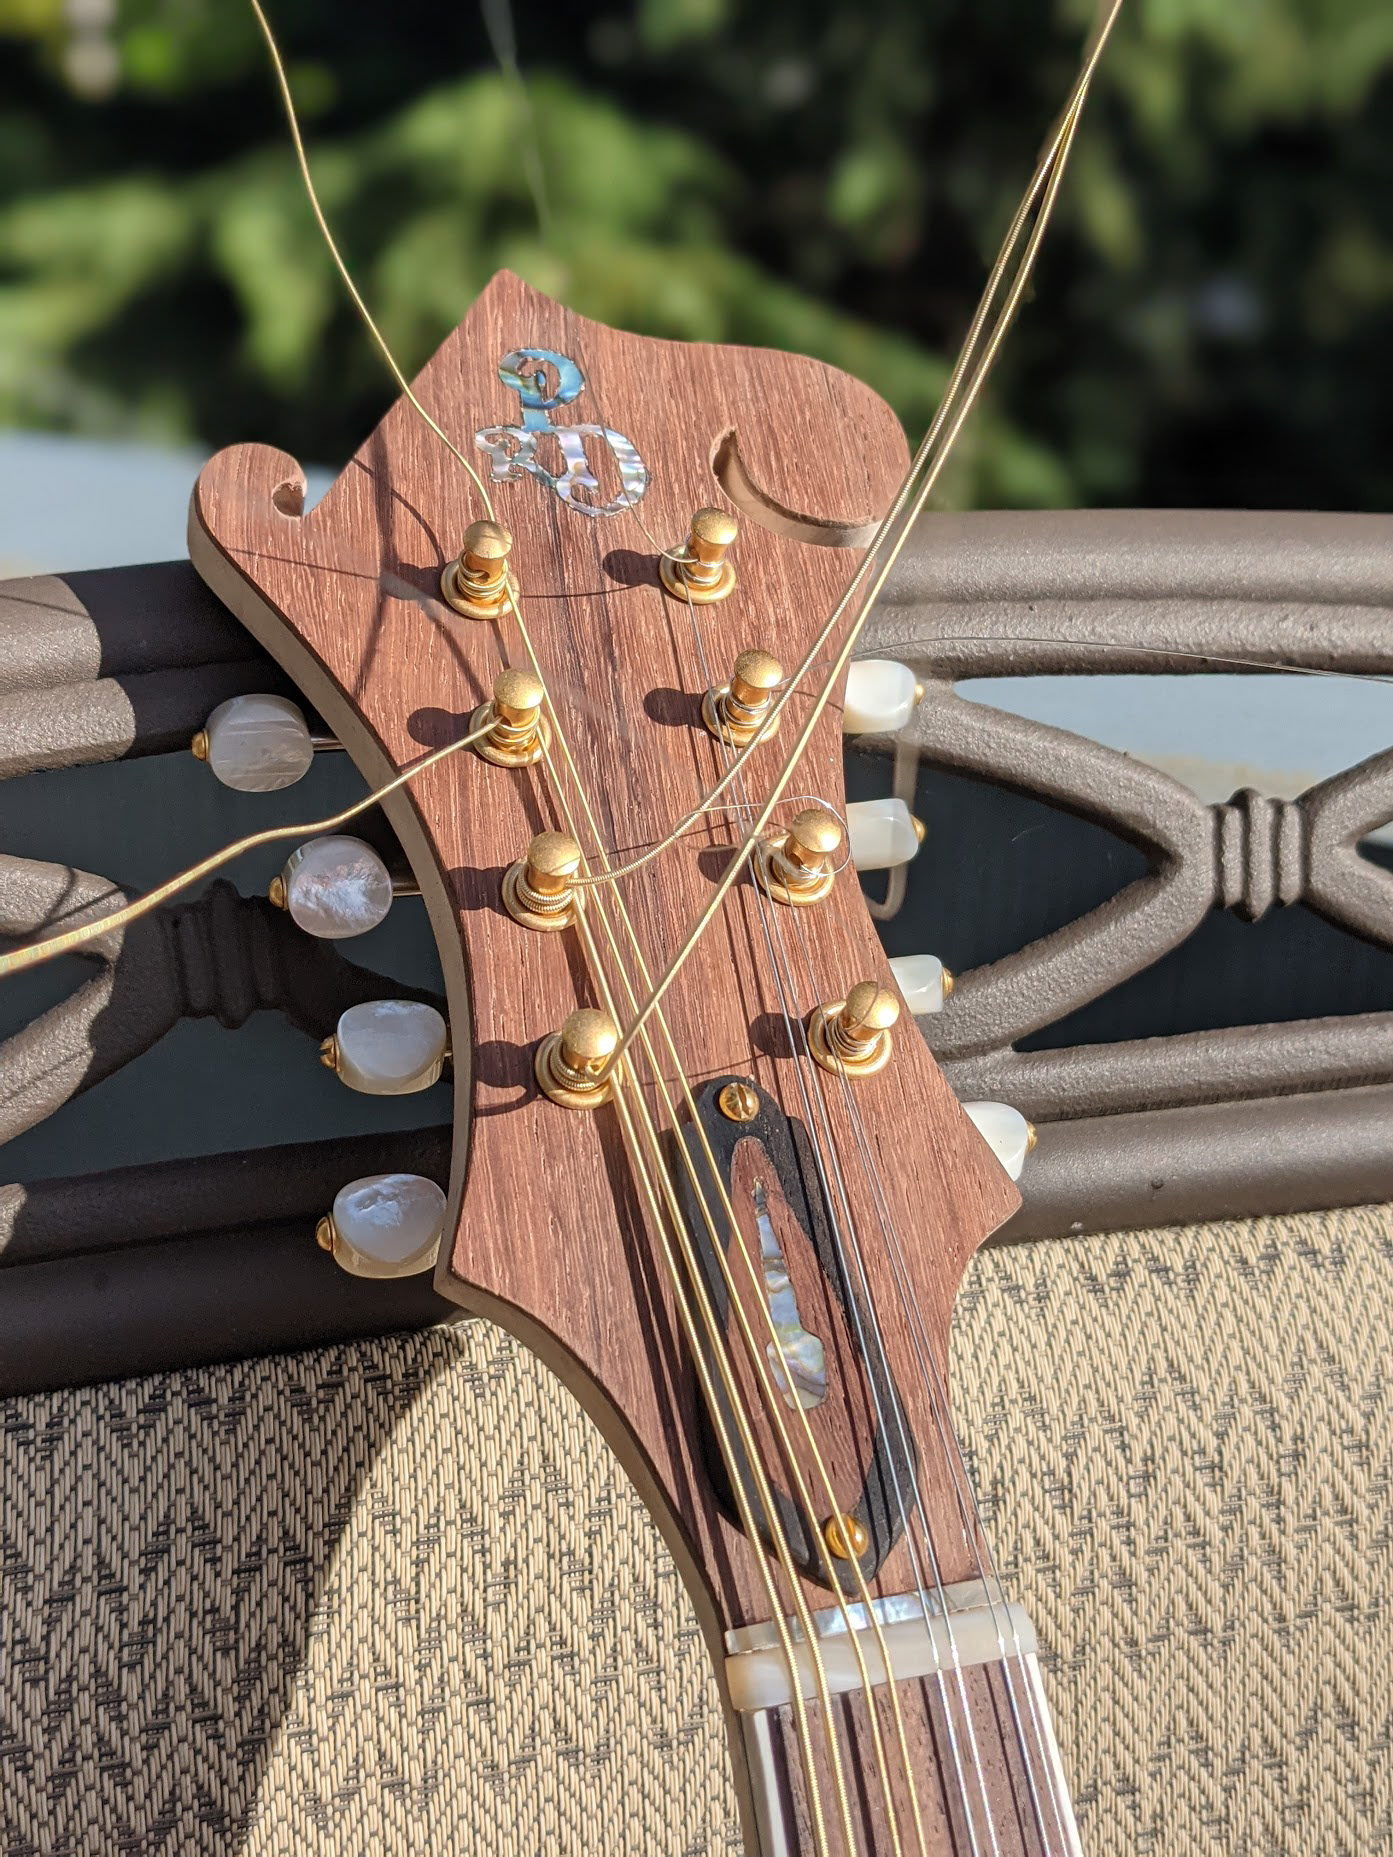
After my package arrived I inspected the pieces, Waverly's are SUPER nice tuners, I may have a hard time going back.
After my package arrived I inspected the pieces, Waverly's are SUPER nice tuners, I may have a hard time going back.
First I reamed out my peg holes with a violin pegbox reamer to allow the Waverly bushings to press fit to the face. If I had to do it again I think I would have gotten a flat reamer from Stewmac instead of a tapered ream. I then aligned the tuners and using a depth-stop drill bit, drilled my pilot holes for the hardware. Then I screwed in the tuners and they fit great.
Next I used a depth stop bit to drill the pilot holes for my truss rod cover and installed that.
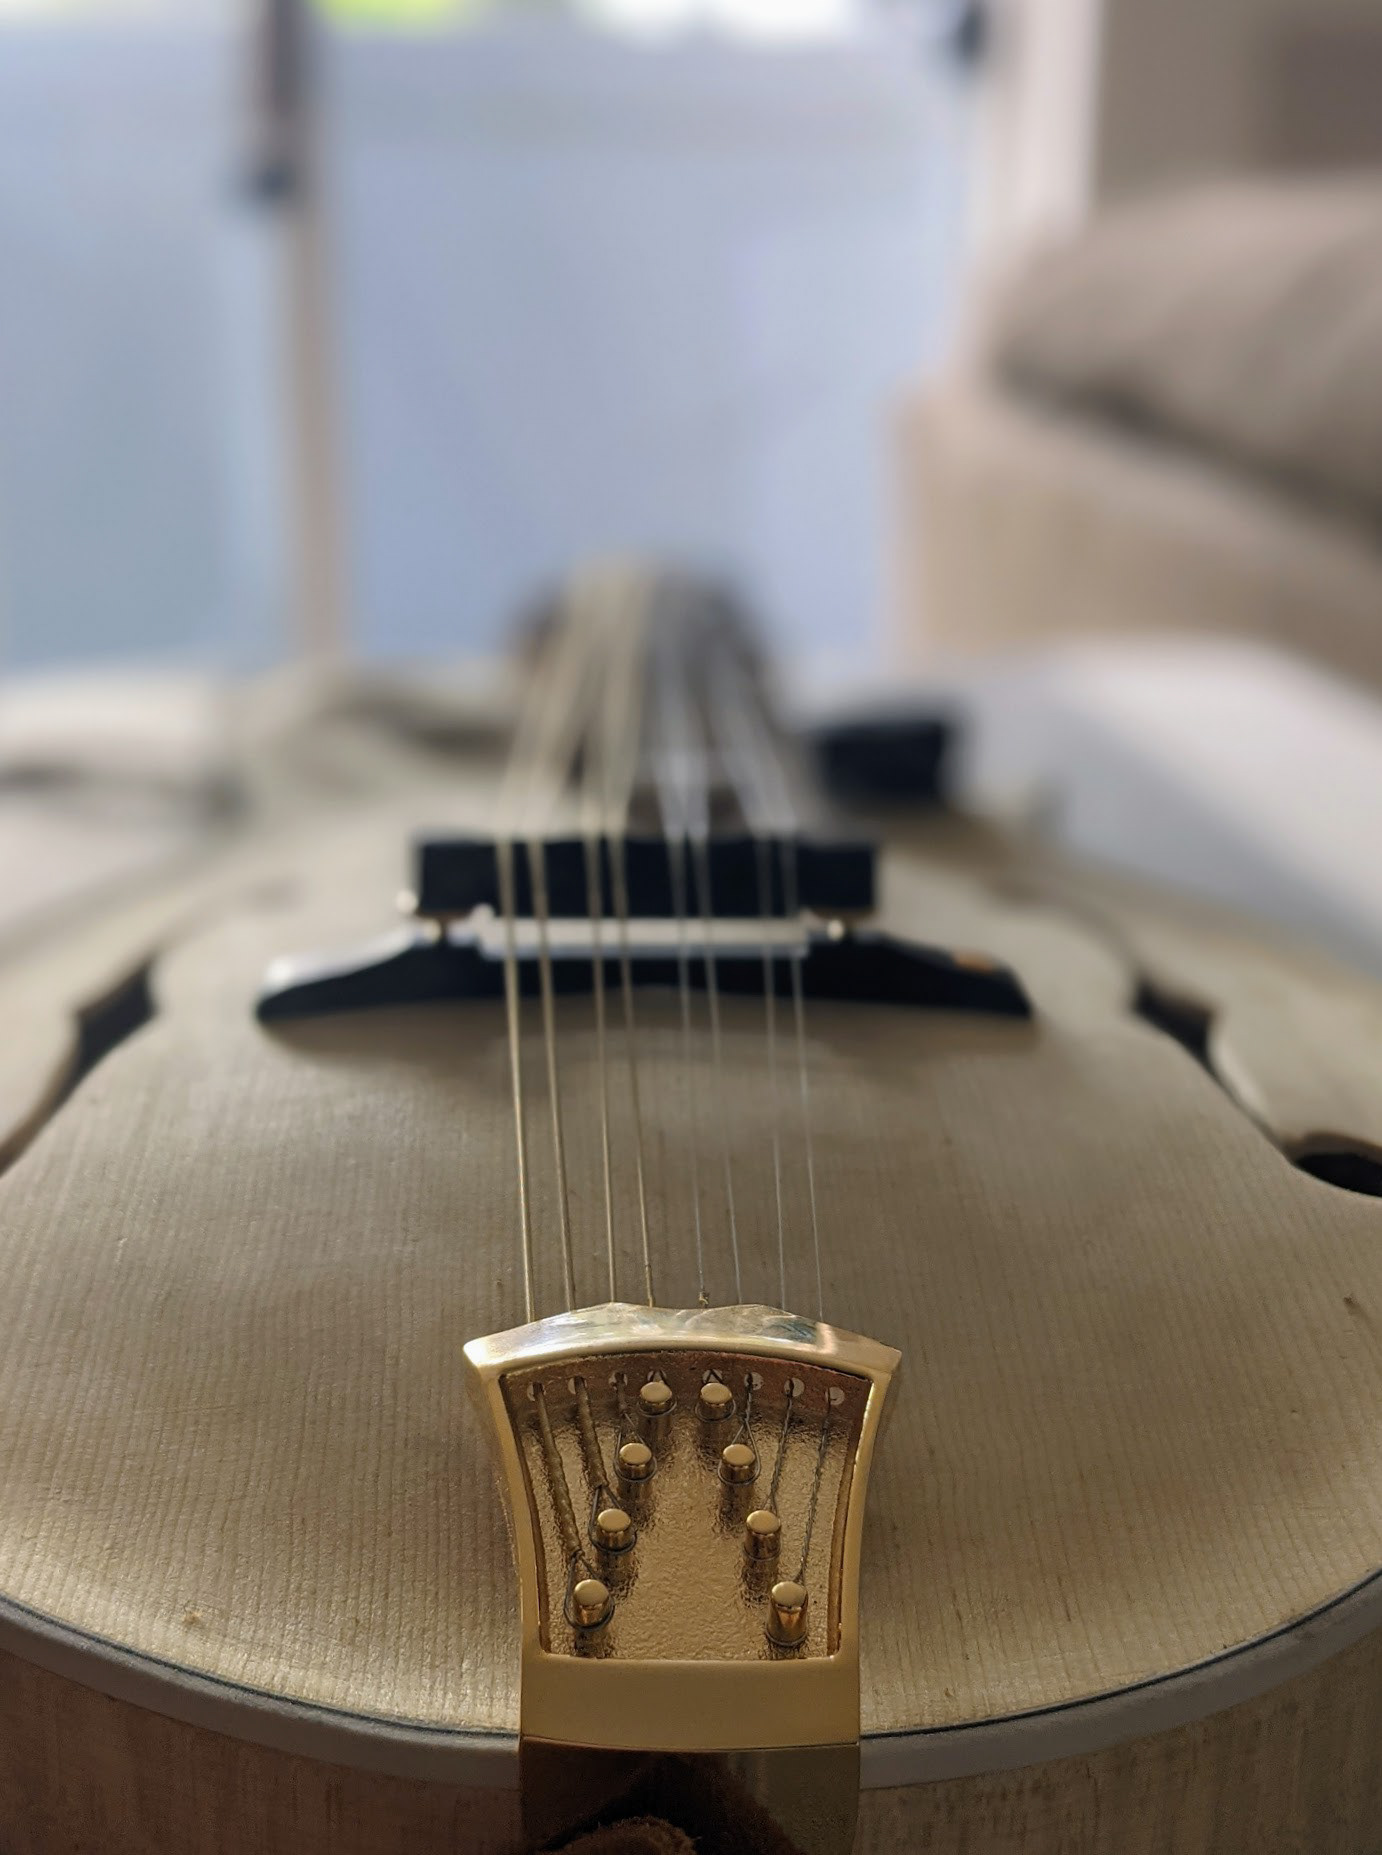
I re-found center using my neck set template and drew a line square down the bottom. I lined up my tailpiece and used an awl to score a start hole for the bottom screw. I drilled the pilot hole, and installed the tailpiece using just that screw. I then followed the same process with the side holes. I then found the center of the end pin and drilled a pilot hole there and installed all the screws and endpin. This tailpiece did not require a large tapered endpin hole.
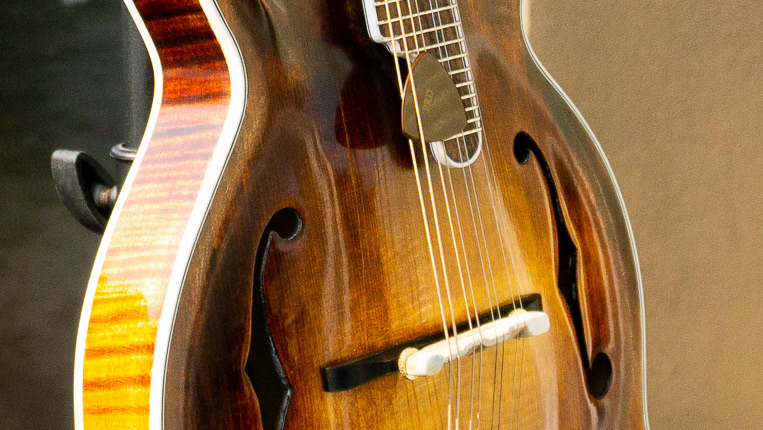
After that it was time to string it up. I had to make a small nut adjustment because one of my A strings were catching. After getting bridge height and intonation correct, and retuning 3000000 times while the strings and instrument got used to the tension it was ready to play!
I am realllly happy with the sound. I could be biased but I think it sounds better than my other mandos. I need to adjust some of the action, make the neck a bit less chunky in 1st position and level a couple frets still, but I am amazed I made a mandolin that is functional and sounds good.
Now it is just a matter of playing it and getting the feel dialed in, in a week or so I'll start staining. I am considering busting out the strobe tuner and working the Siminoff method for voicing.
