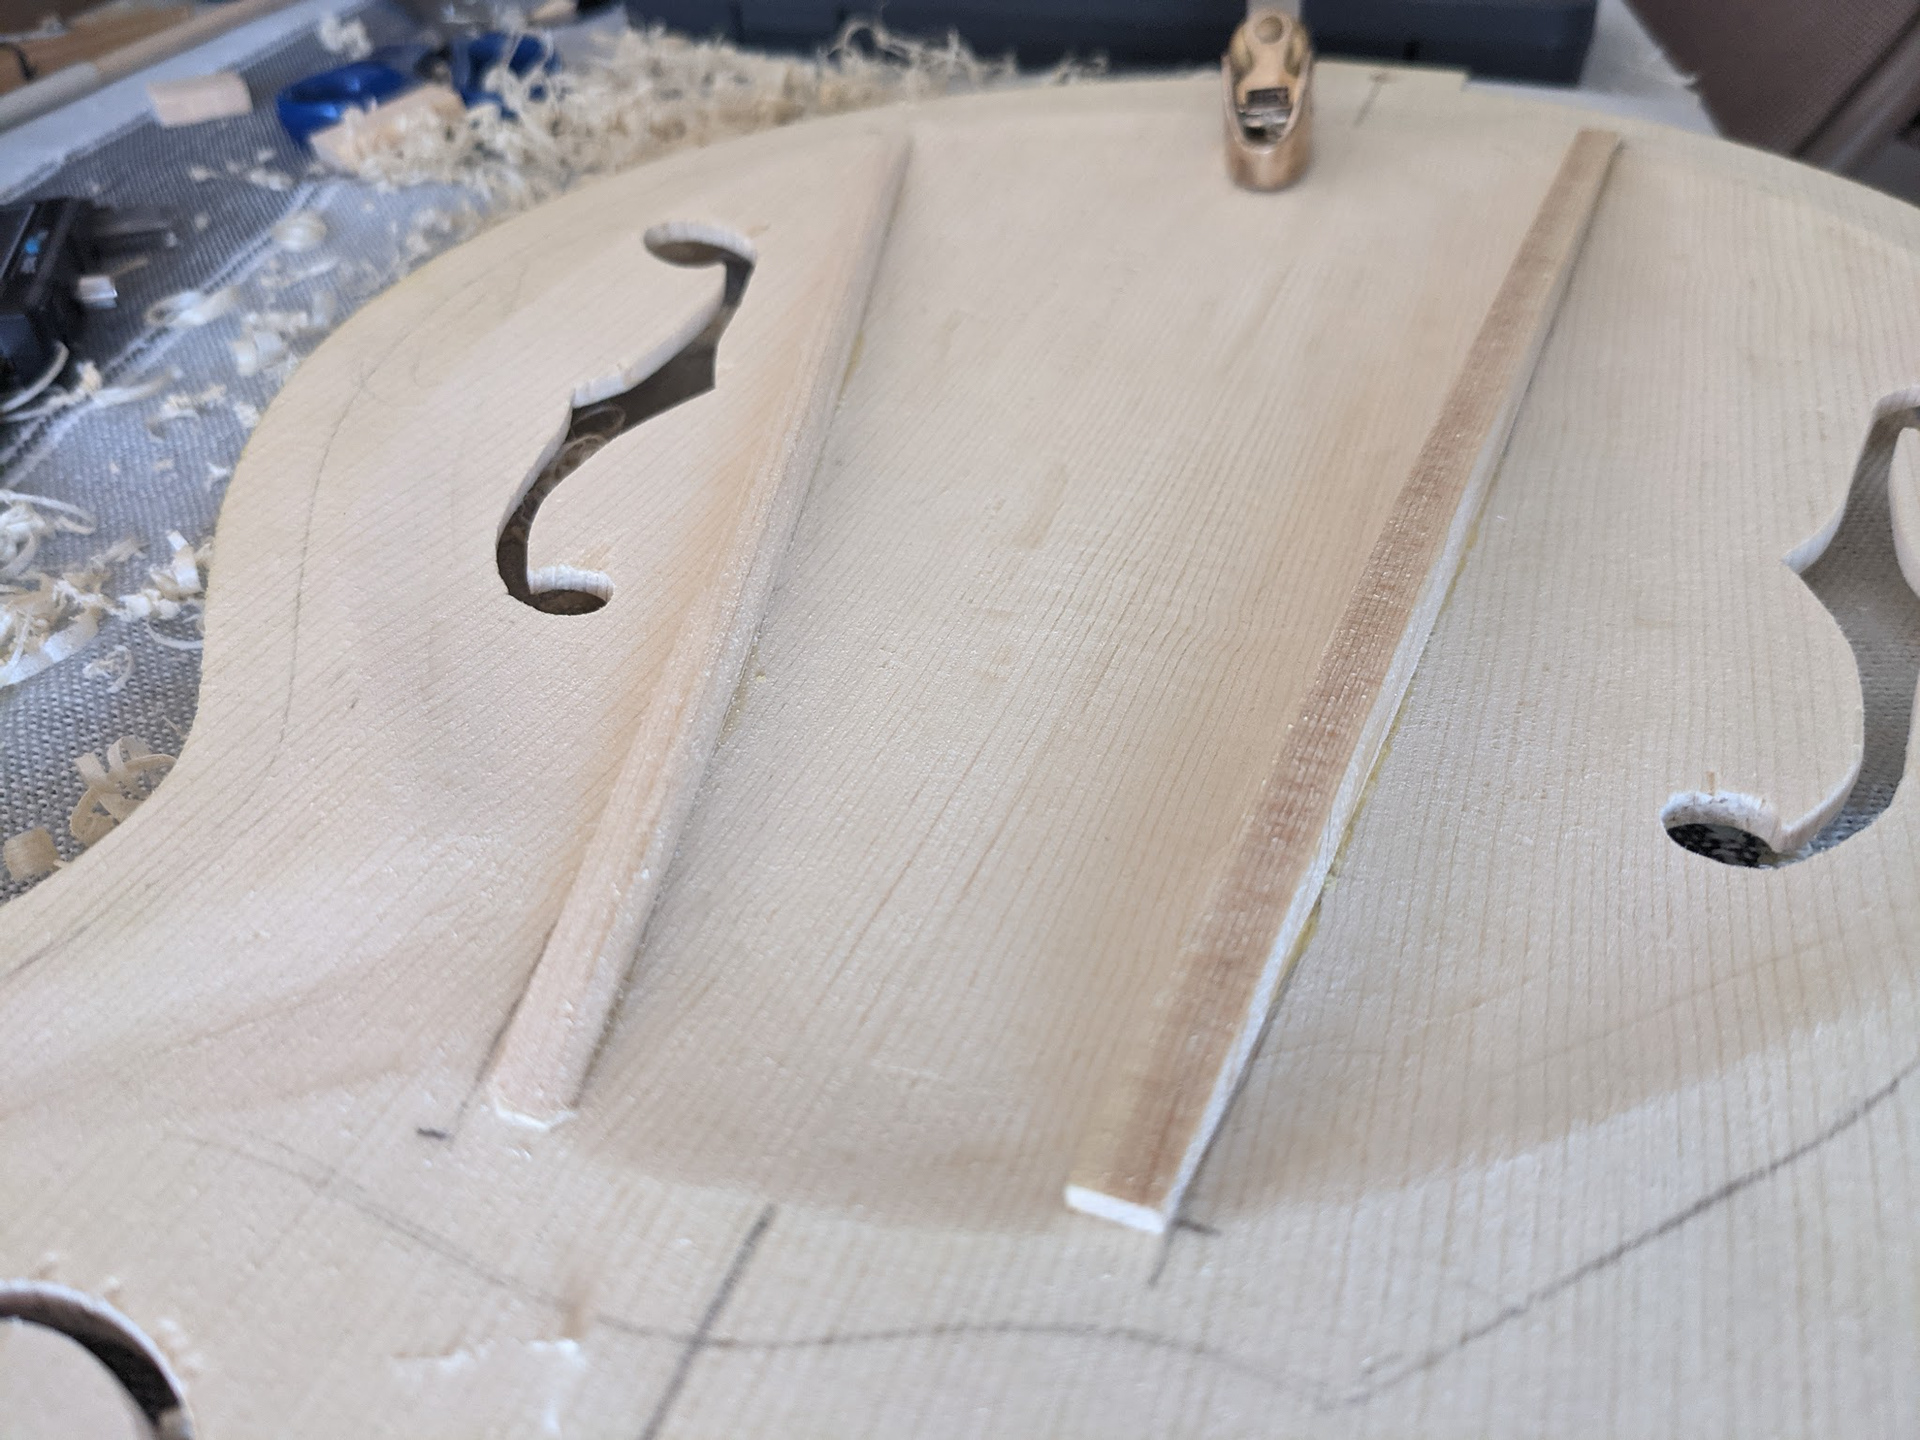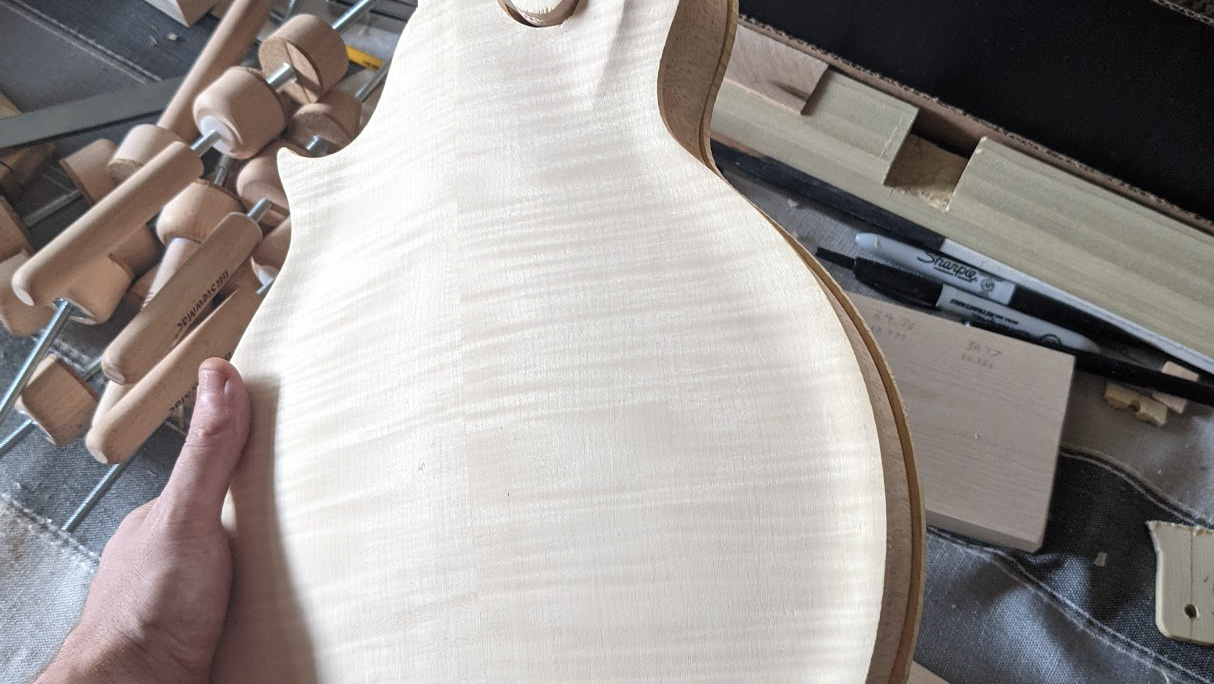
Using the plans I made a template to lay out the location of my tonebars on the underside of the top. I then cut the tonebars to size, and using a pencil in a closepin, I was able to draw a rough line to start shaping the tonebar to the curve of the top. Using my finger plane I started carving this shape into the tone bars. After I was close I used a pencil nub with one side sanded down to do the same operation to a finer degree. Using sandpaper I adjusted the fit so that when holding the tonebar inside the instrument I could see no light coming through the join.
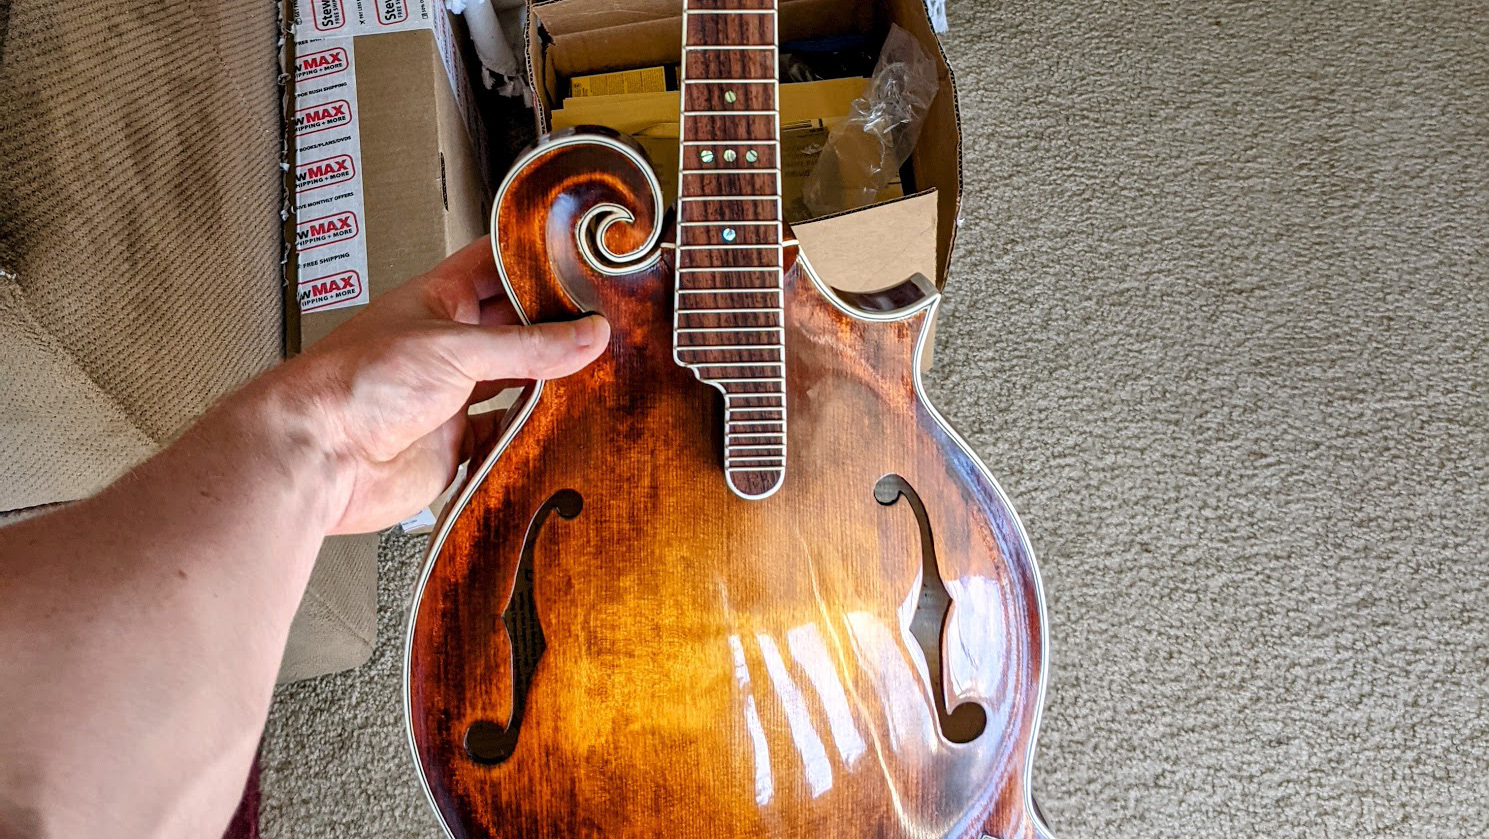
Now that my tone bars were shaped it was time to cut the F-holes. This was scary as heck with how much time I had in these tops, but also super exciting to see a distinctive “instrument” element take shape. I drew out the centerline on the top, measured the location of the 16th fret crosspiece, then measured the location of the bridge from there, and squared out to each side to get my F-Hole locations. I made a template using some thick plastic quilting template and the plan to align the F-Hole with the side of the instrument, aligned with the bridge position drawn on the instrument. After a few test drills on some scrap, I drilled out the top and bottom circles of the F-holes and used a coping saw to roughly saw the lines between them. I sanded to the lines using some dowels with sandpaper stuck to it, bent feeler gauges with sandpaper stuck to it, and loose sandpaper.
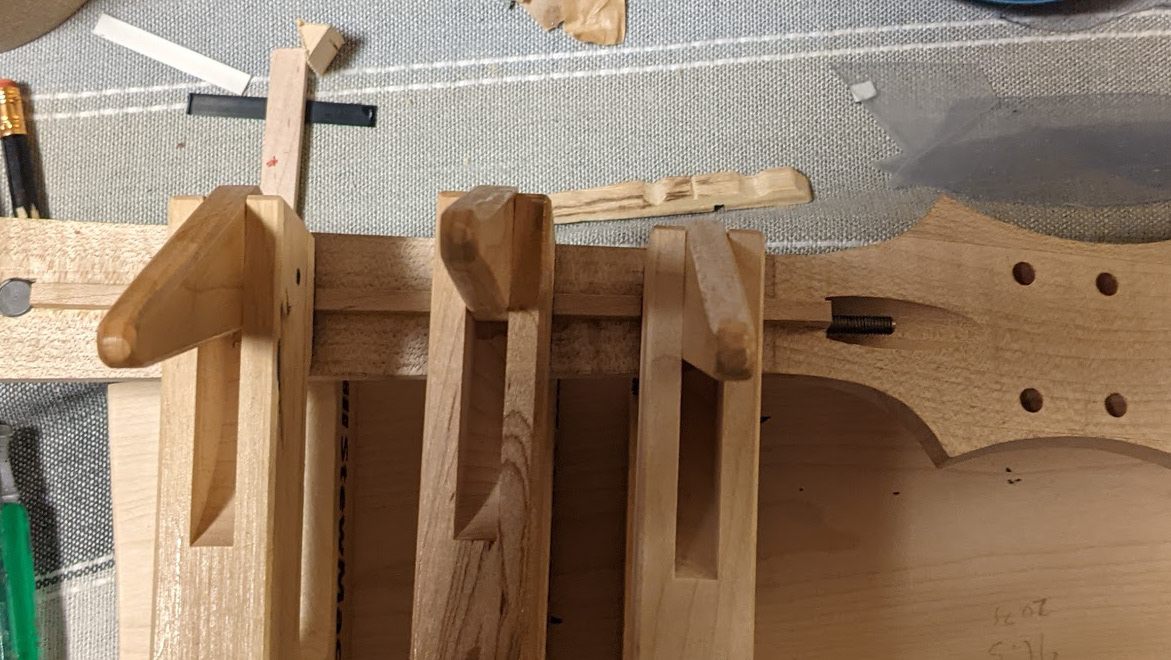
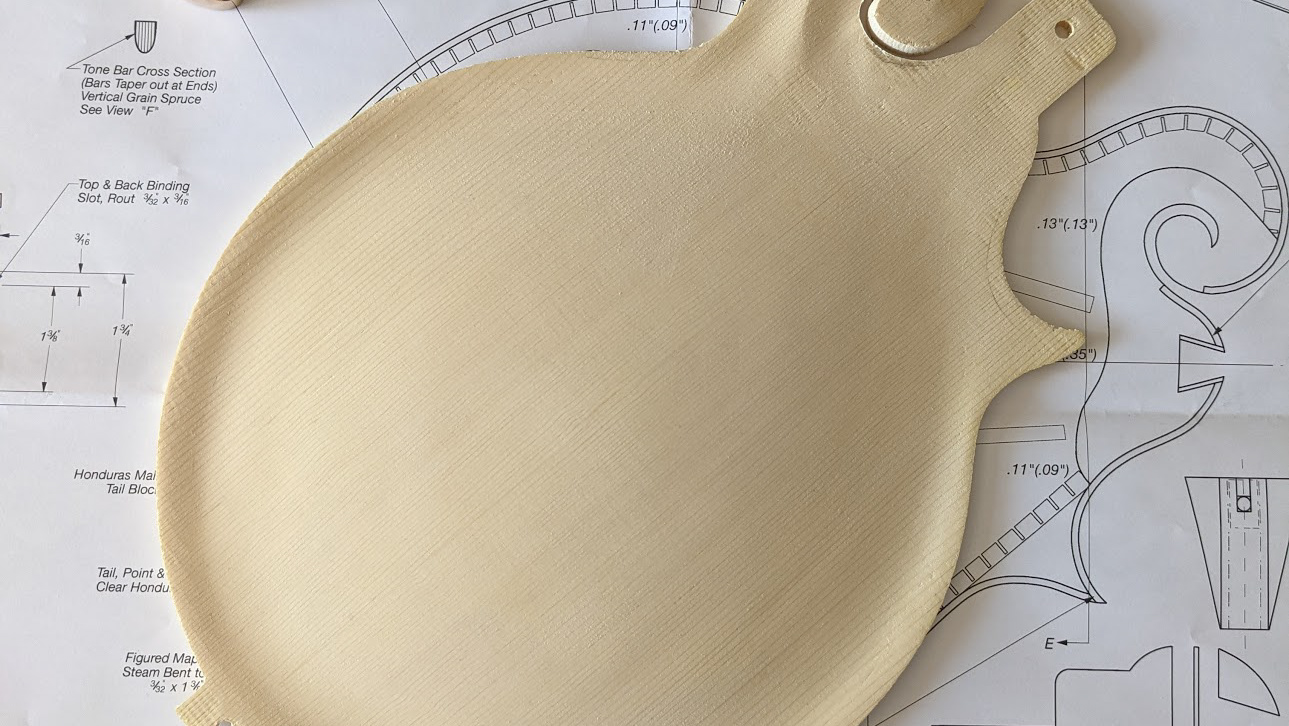
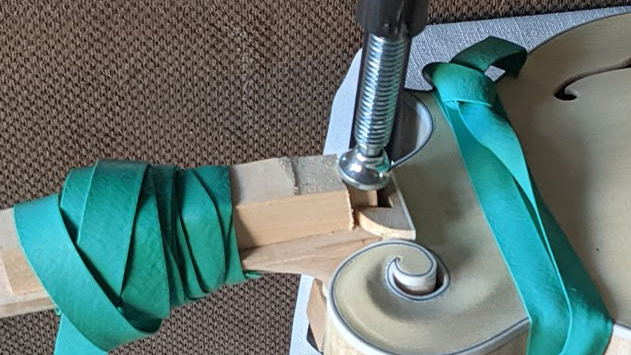
With the F-holes done I clamped down my tone-bars for gluing
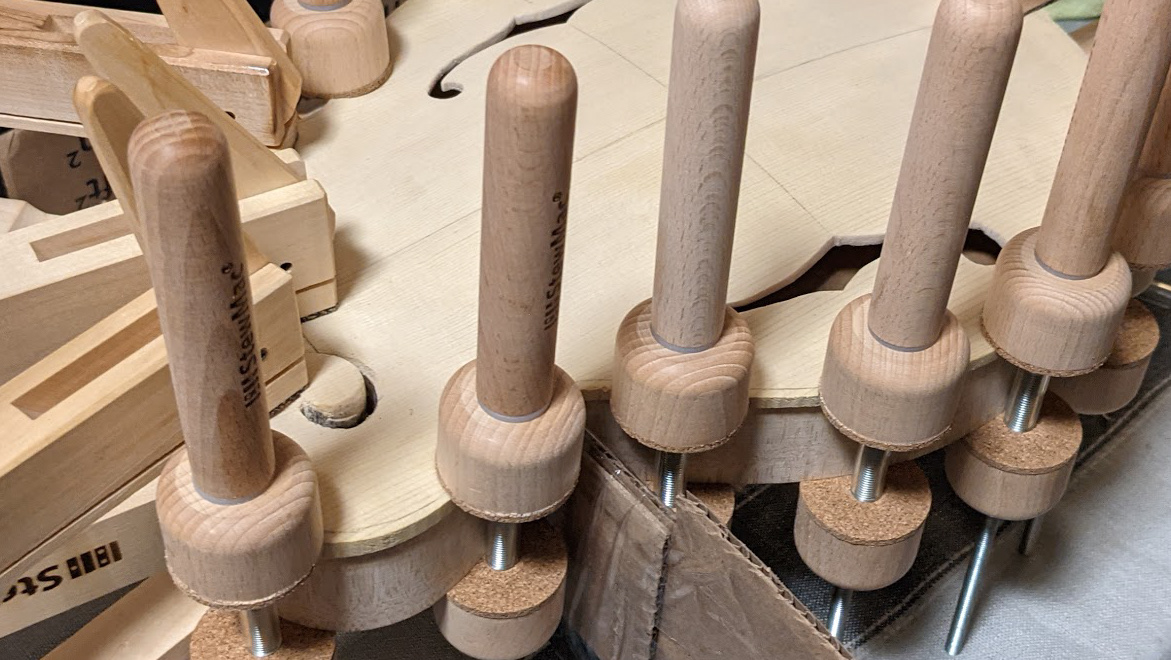
With the tone bars glued, I used my magic finger plane to shape them to the dimensions in the plan and smooth/round them out.
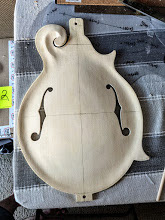
F Holes Cut
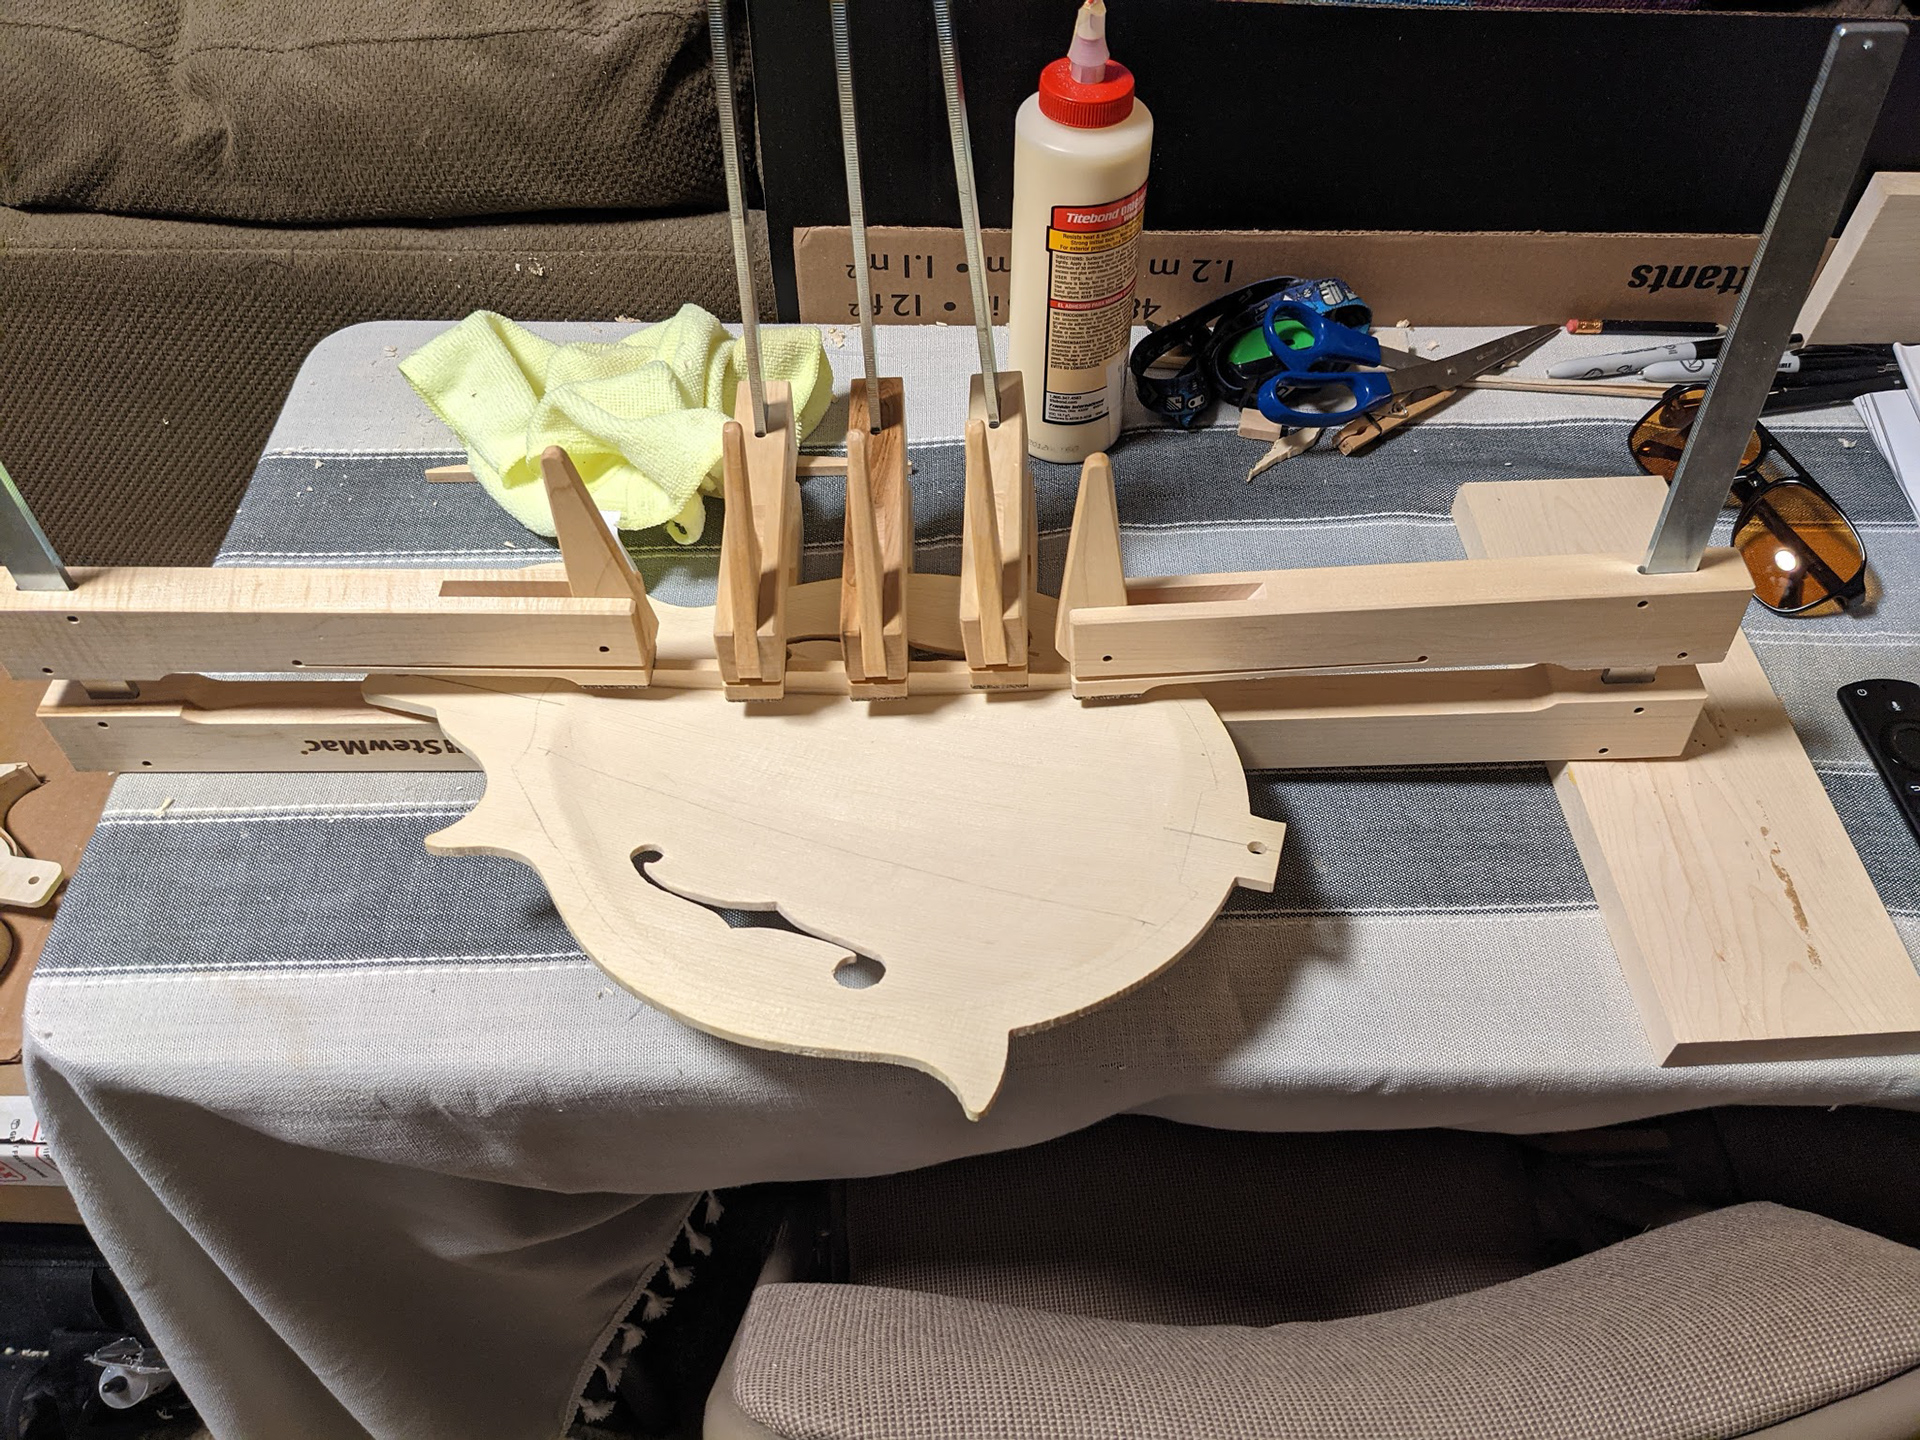
Tone Bars Clamped