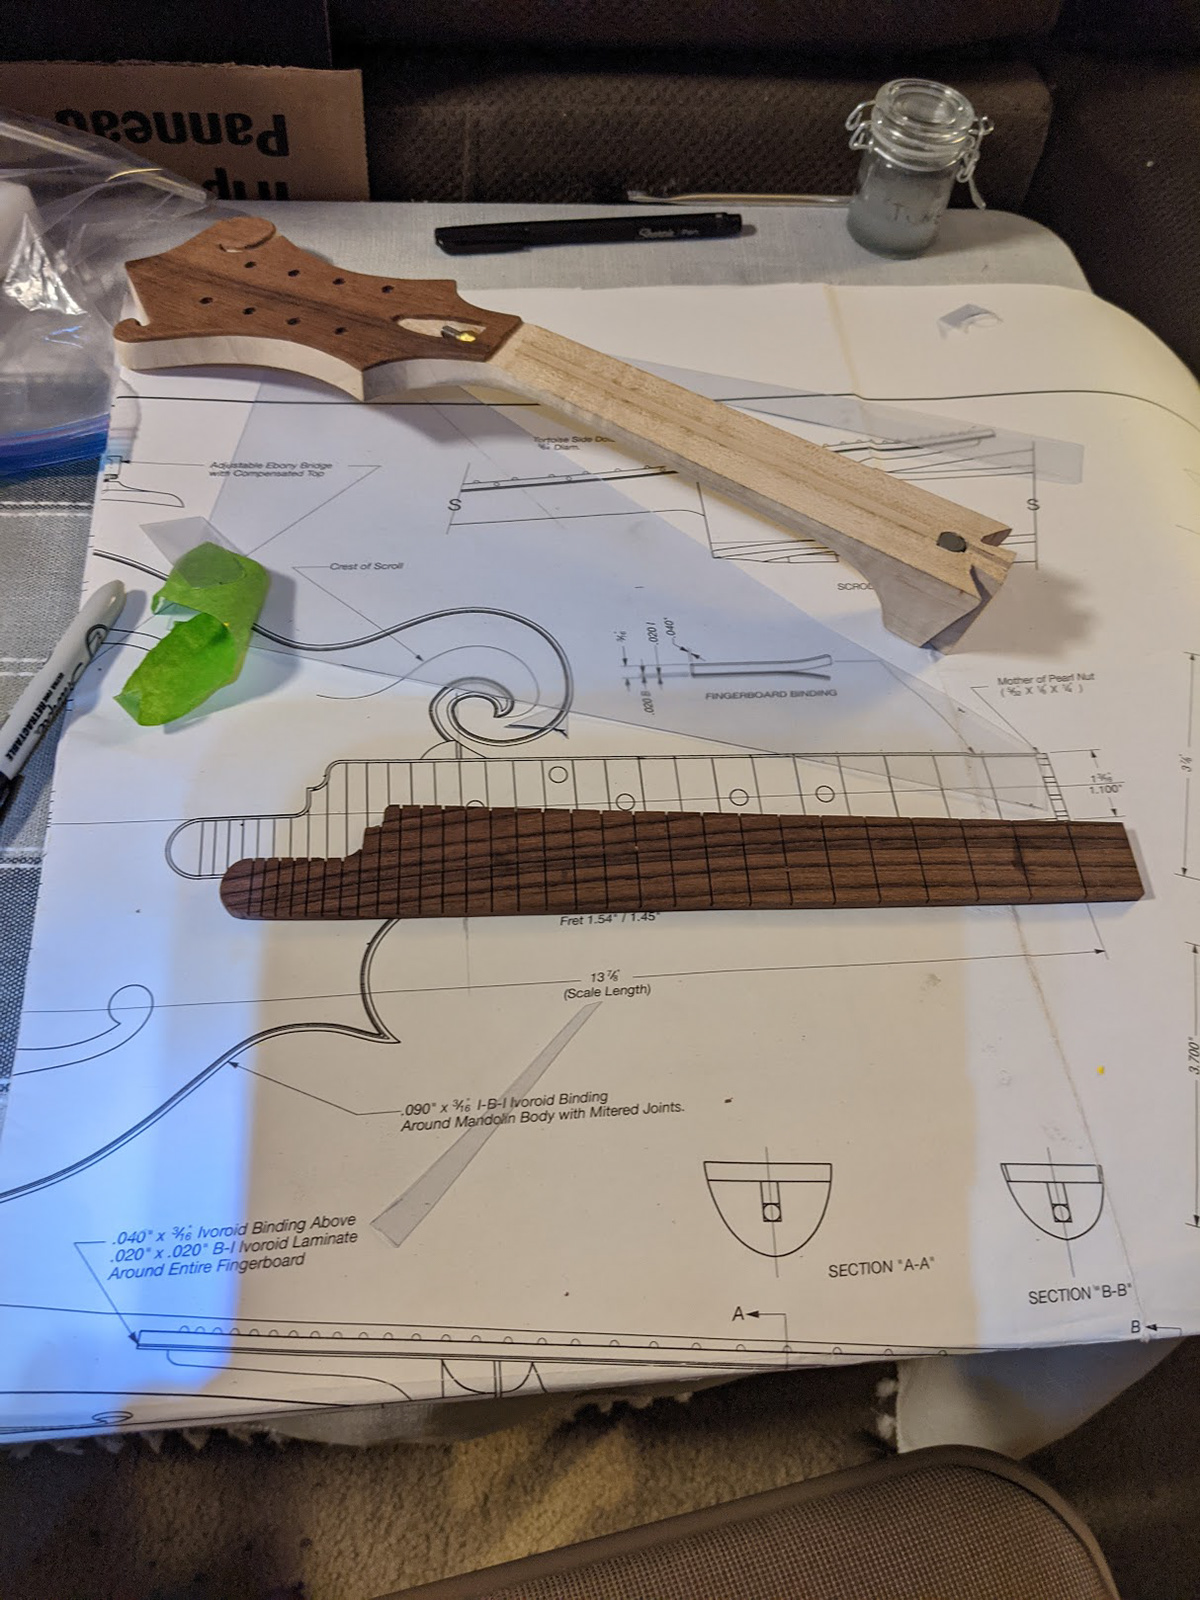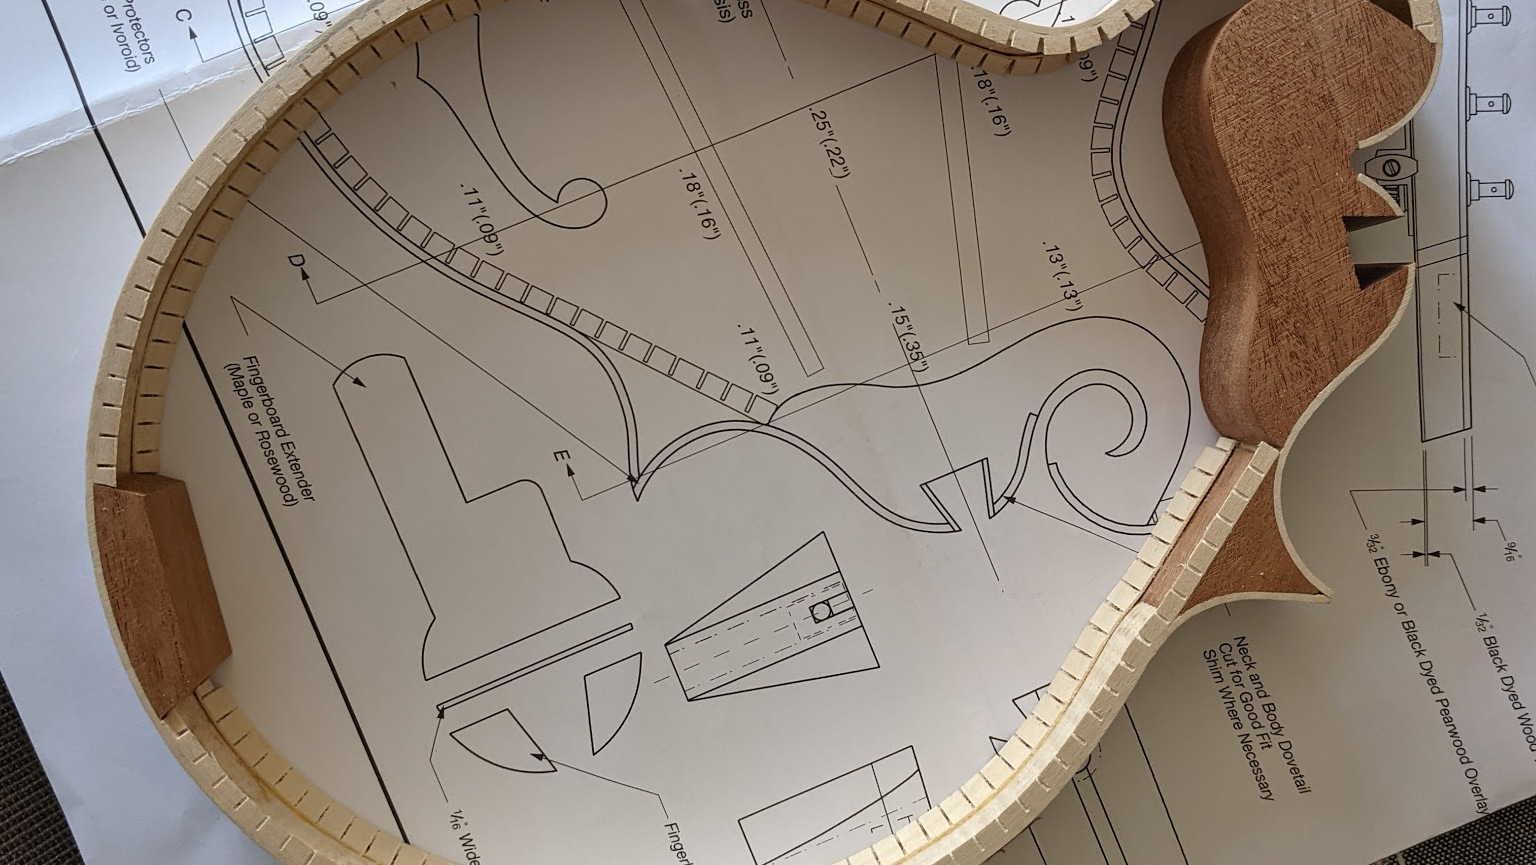
Using the blueprint, I made a template for the fretboard, scored along the line and started to shape it using a hand plane. I was super happy with how the Japanese pull-plane worked for this job.
After doing one side I realized I screwed up bad, I had it marked out backwards, and the taper went the wrong way. After doing some math, and re-finding the center I was lucky enough that I had enough material left on the wood to fix this issue, a millimeter or two more and I would have been out of luck. Then using my fretsaw and some files I shaped out the decorative bit.
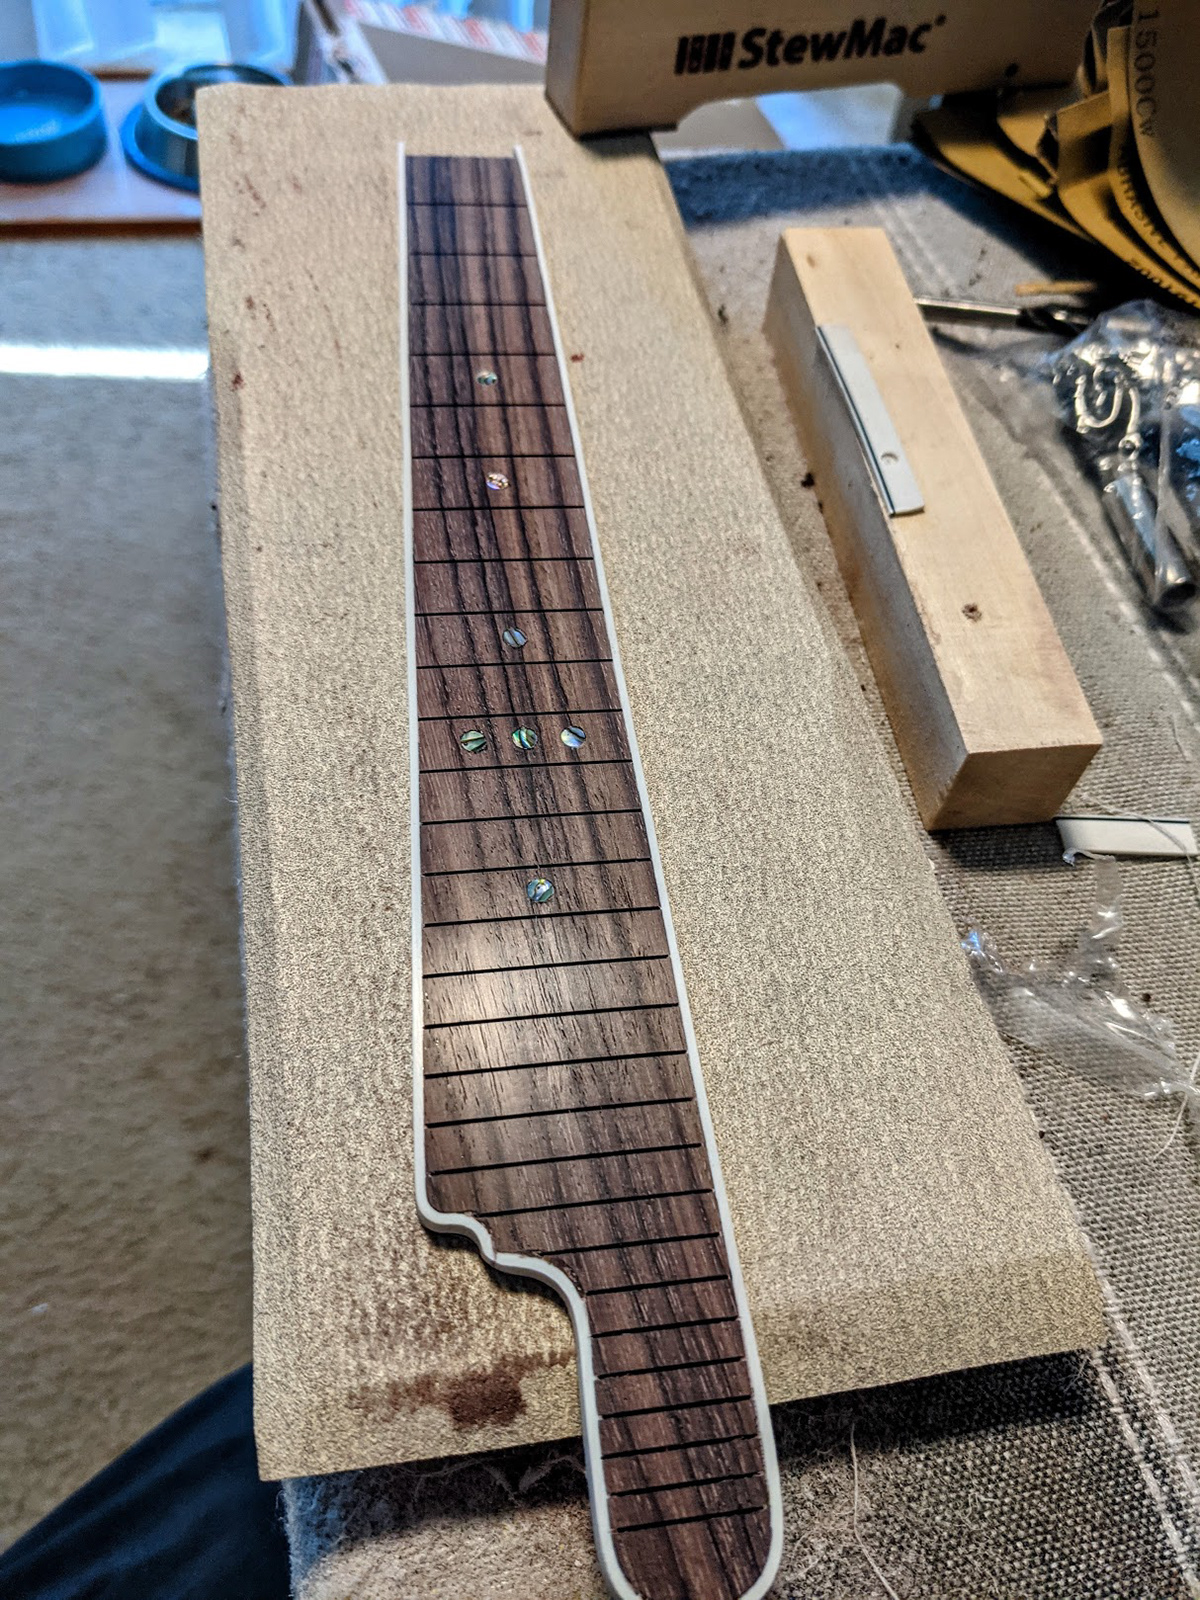
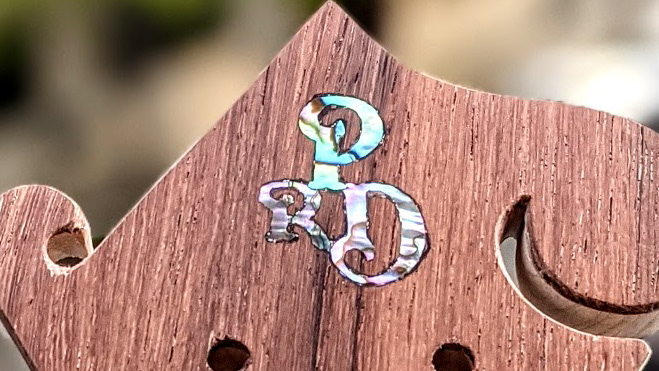
I then measured out the center for the dots, poked a pilot hole with an xacto knife and used a brad tip drill bit to put a shallow hole in the board, a little CA glue and the abalone dots were installed.
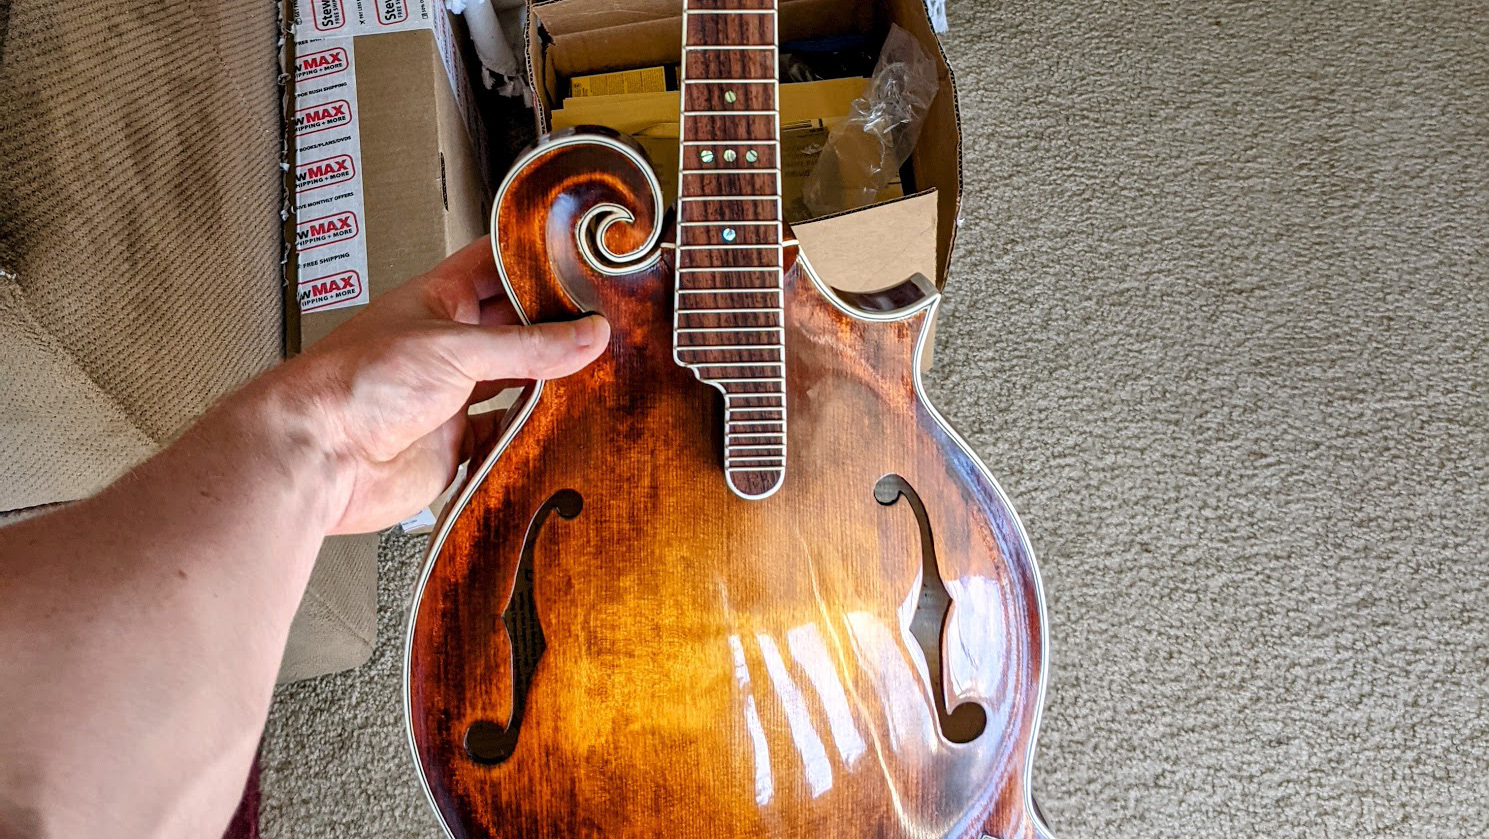
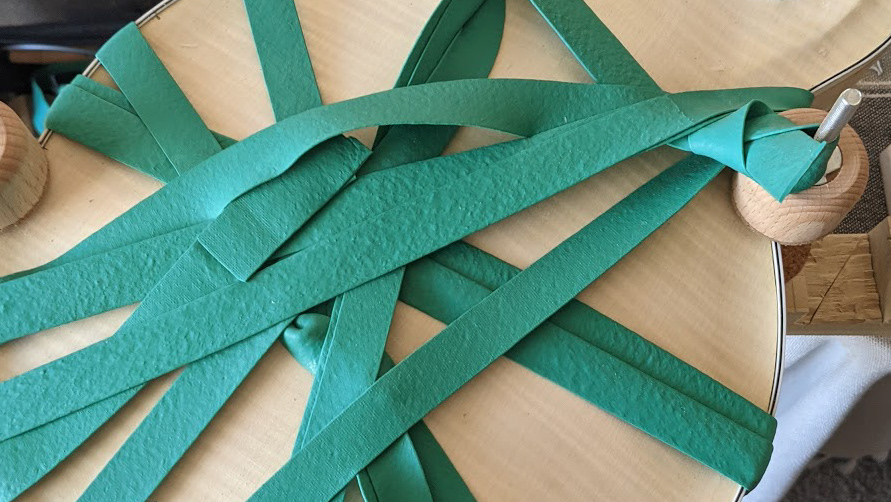
I laminated and scraped the binding for the fretboard and I was off on a 3 night lake vacation for my birthday. When I got home, I went back and forth between nursing a hangover and binding the fretboard. After binding I sanded the binding and dots flush with the top, and then did some finish sanding to bring out the look, as other than oil, the fingerboard won’t take any finishing coats.
I was super happy with the results.
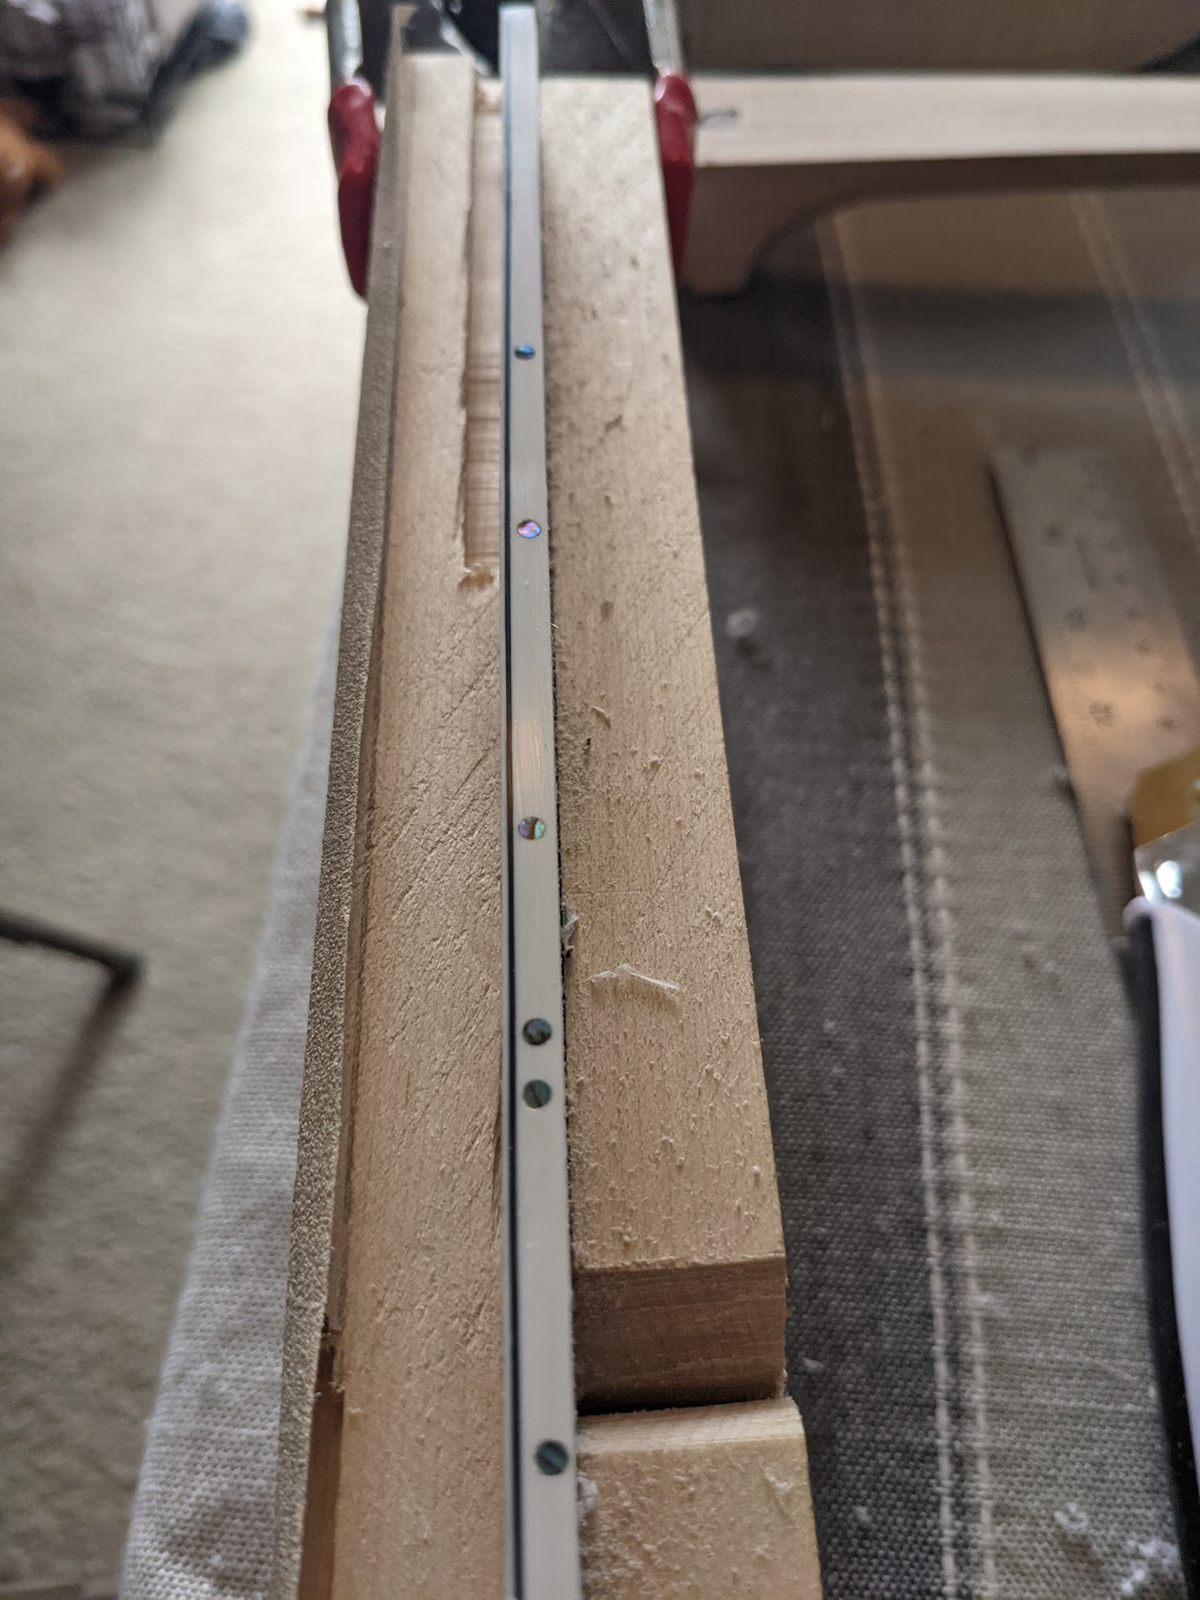
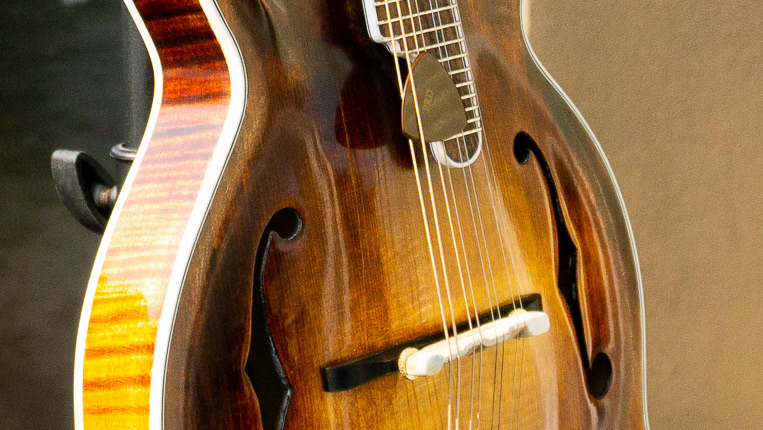
The next day I installed the side dots and got to fretting.
Fretting took some work, I am not sure how happy I was with my fret tang nippers, they put a little bit of bend in the fret on the end, but just a tiny bit which isn’t super noticeable and shouldn’t affect how it plays.
I then filed the fret ends flush with a fret file, beveled them, and rounded the fret ends with a fret-dressing file. I think it came out pretty great for my first time doing this.