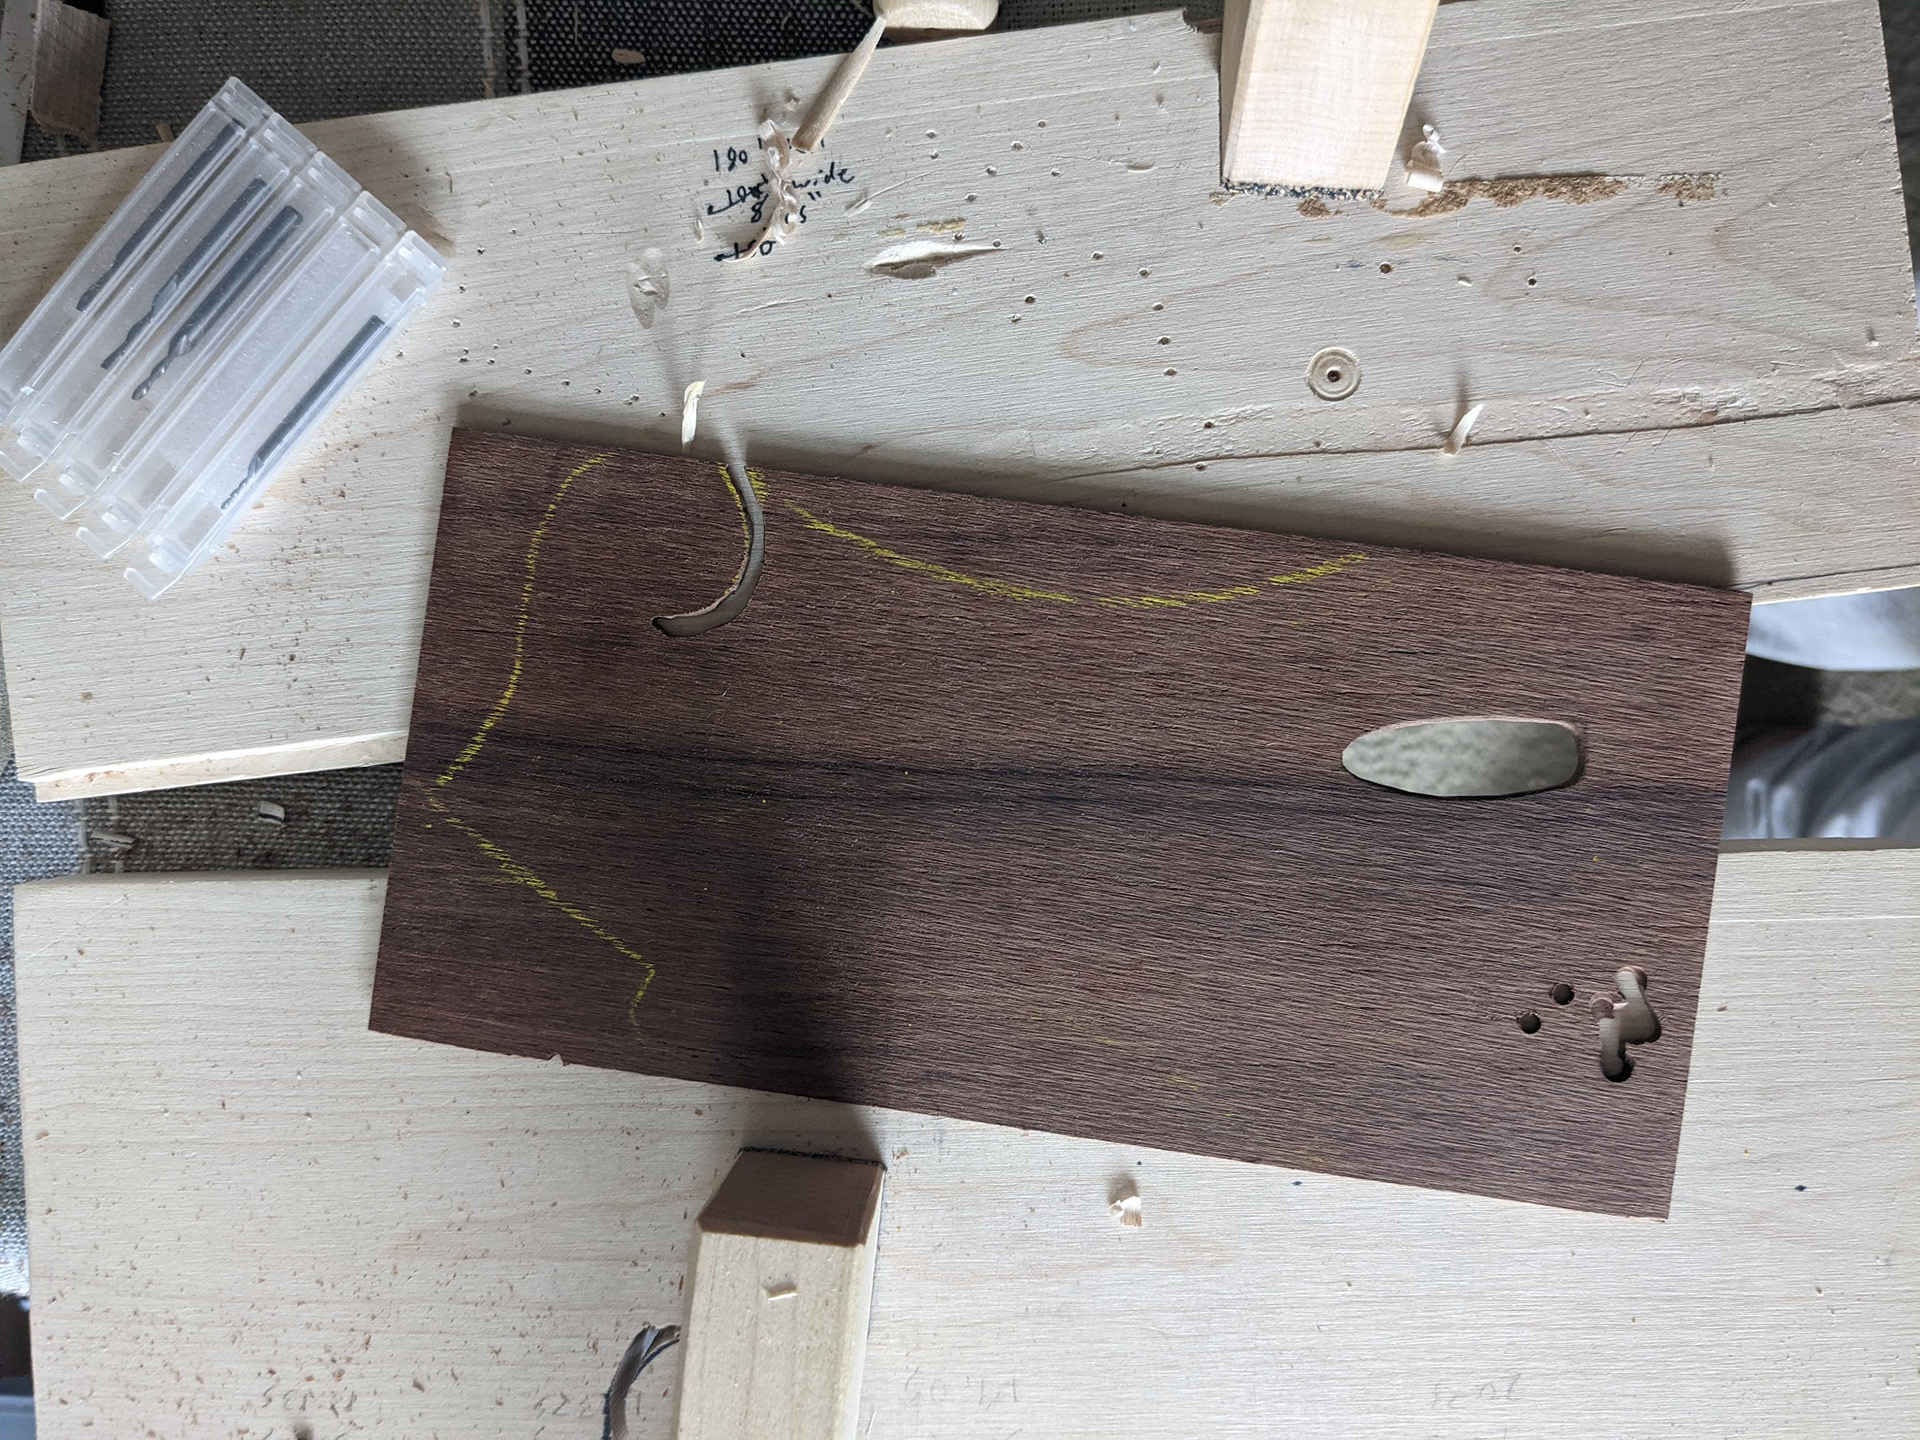
I created a template from my headstock and used that to draw the lines for the truss rod cutout and the scroll piece of the headstock veneer. I then cut this out with a router bit on the Dremel and the stock Dremel router attachment (I am still waiting on the precision router attachment to come so I can do inlay.)
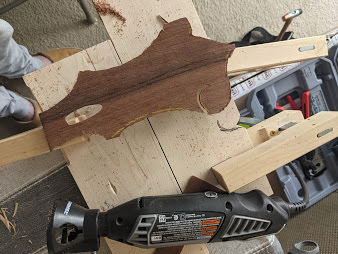
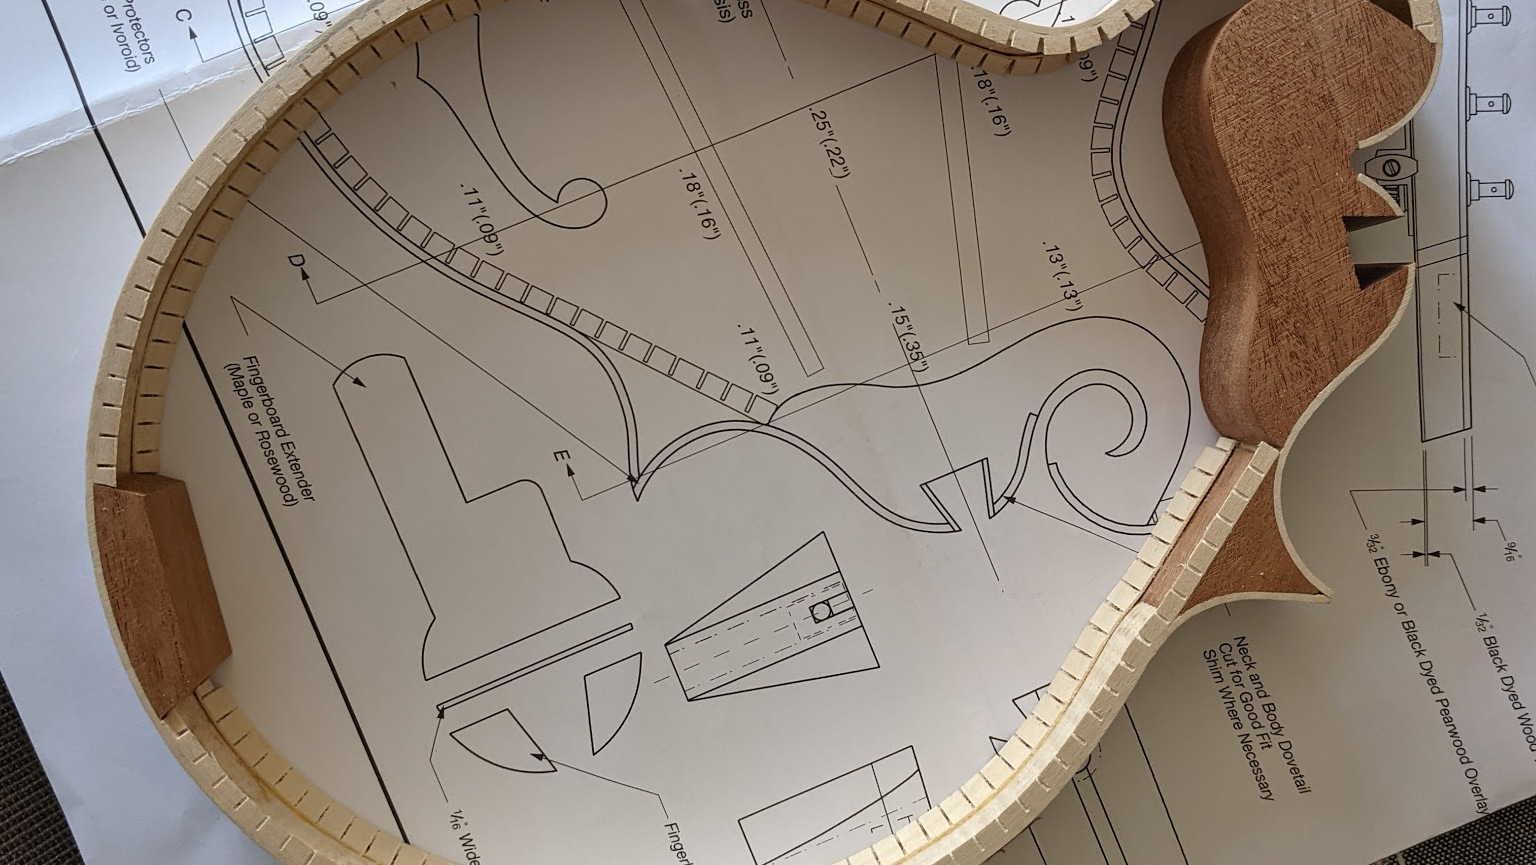
Using the scroll slot and some dowel pins, I was able to line the board up on the headstock, flip it and draw my true guidelines. Then it was back to the Dremel to roughly carve the shape of the veneer. I noticed it was a bit too thin on the scroll area so I joined some of the scrap to give a little extra width there as I have decided not to bind the headstock and I need it to cover the entire face.
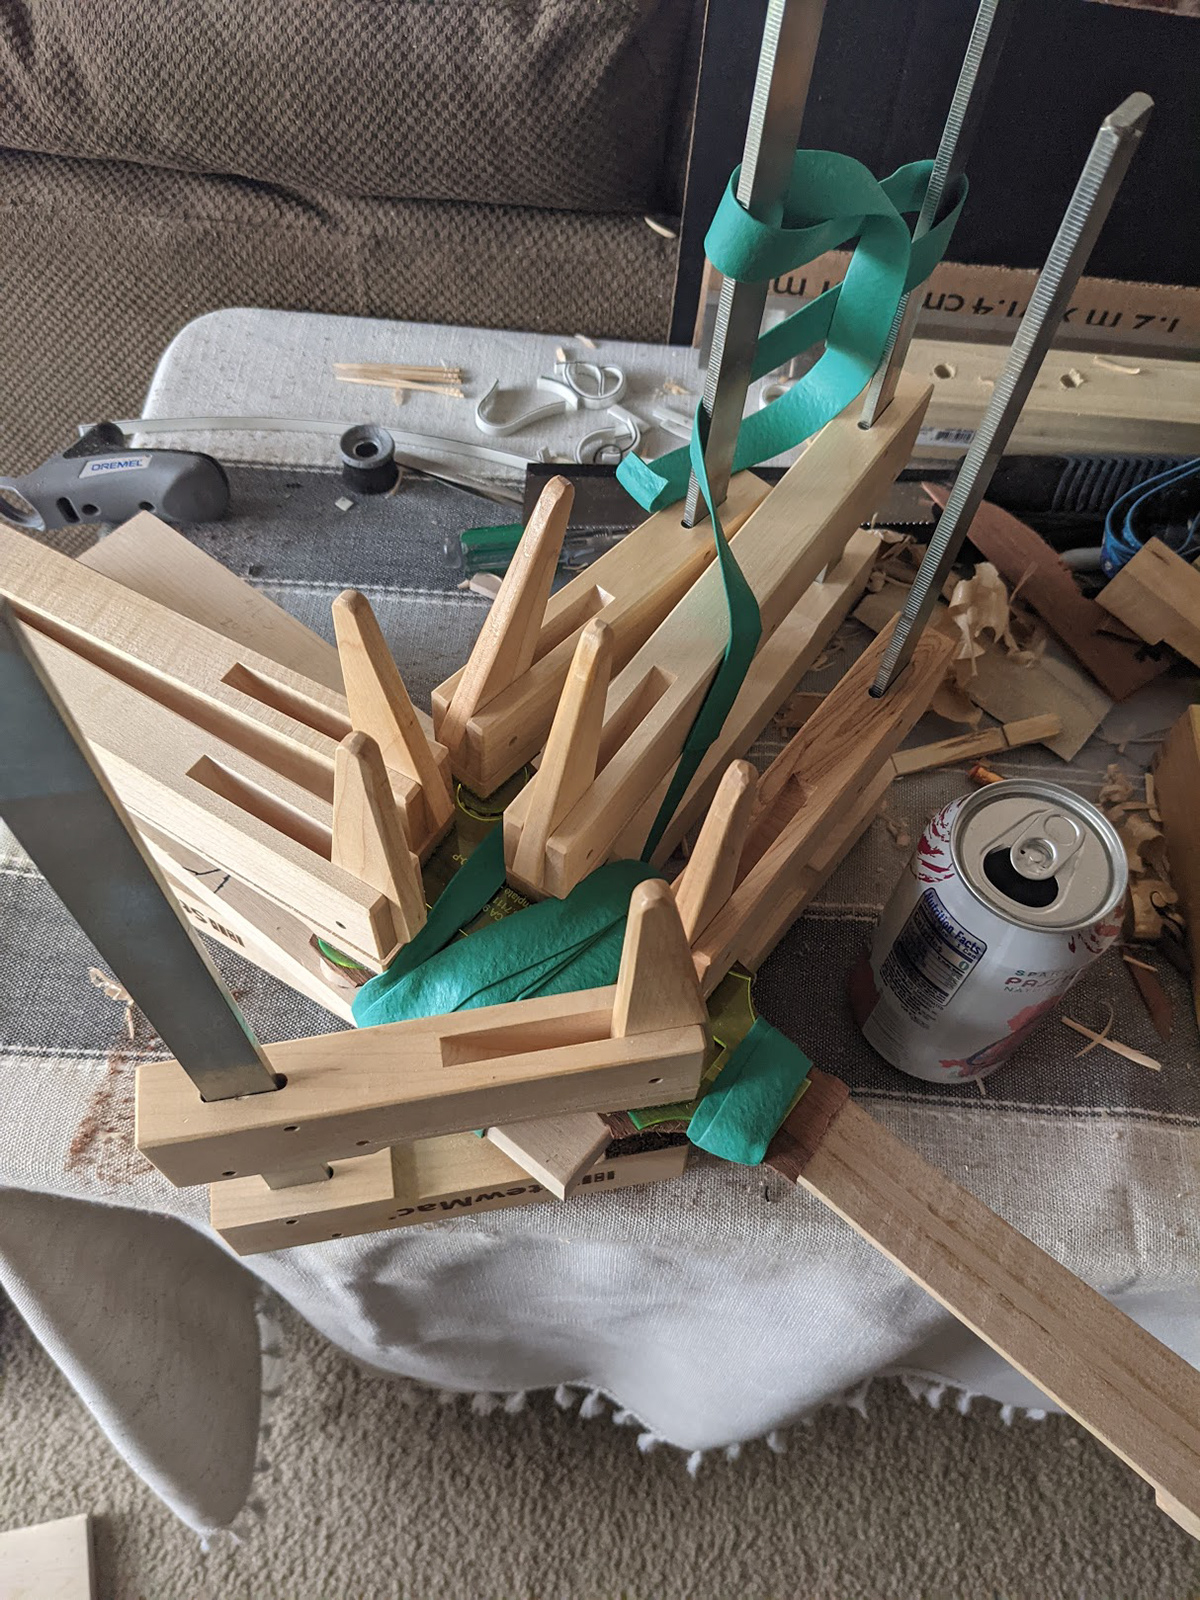
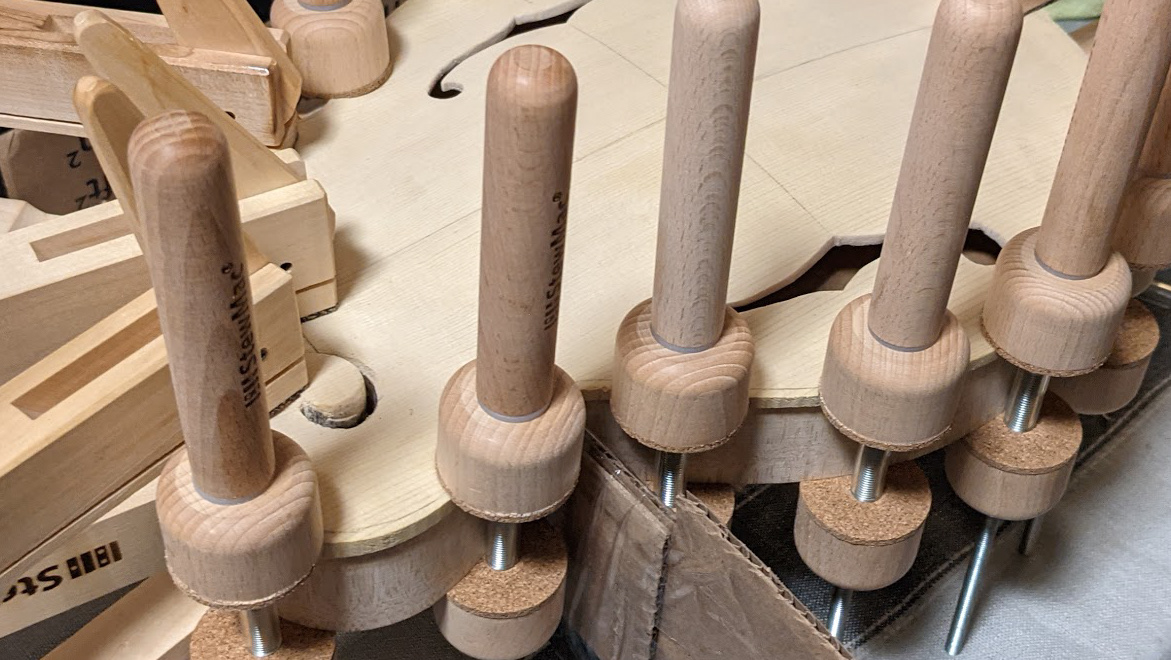
I made a wood caul for the back so the pins can come through, and used an acrylic top caul so I can see the alignment when clamping. I then spread the glue around and clamped it up. 6 hours later I adjusted the nut cavity to fit the washer and loosely fit the truss rod hardware.
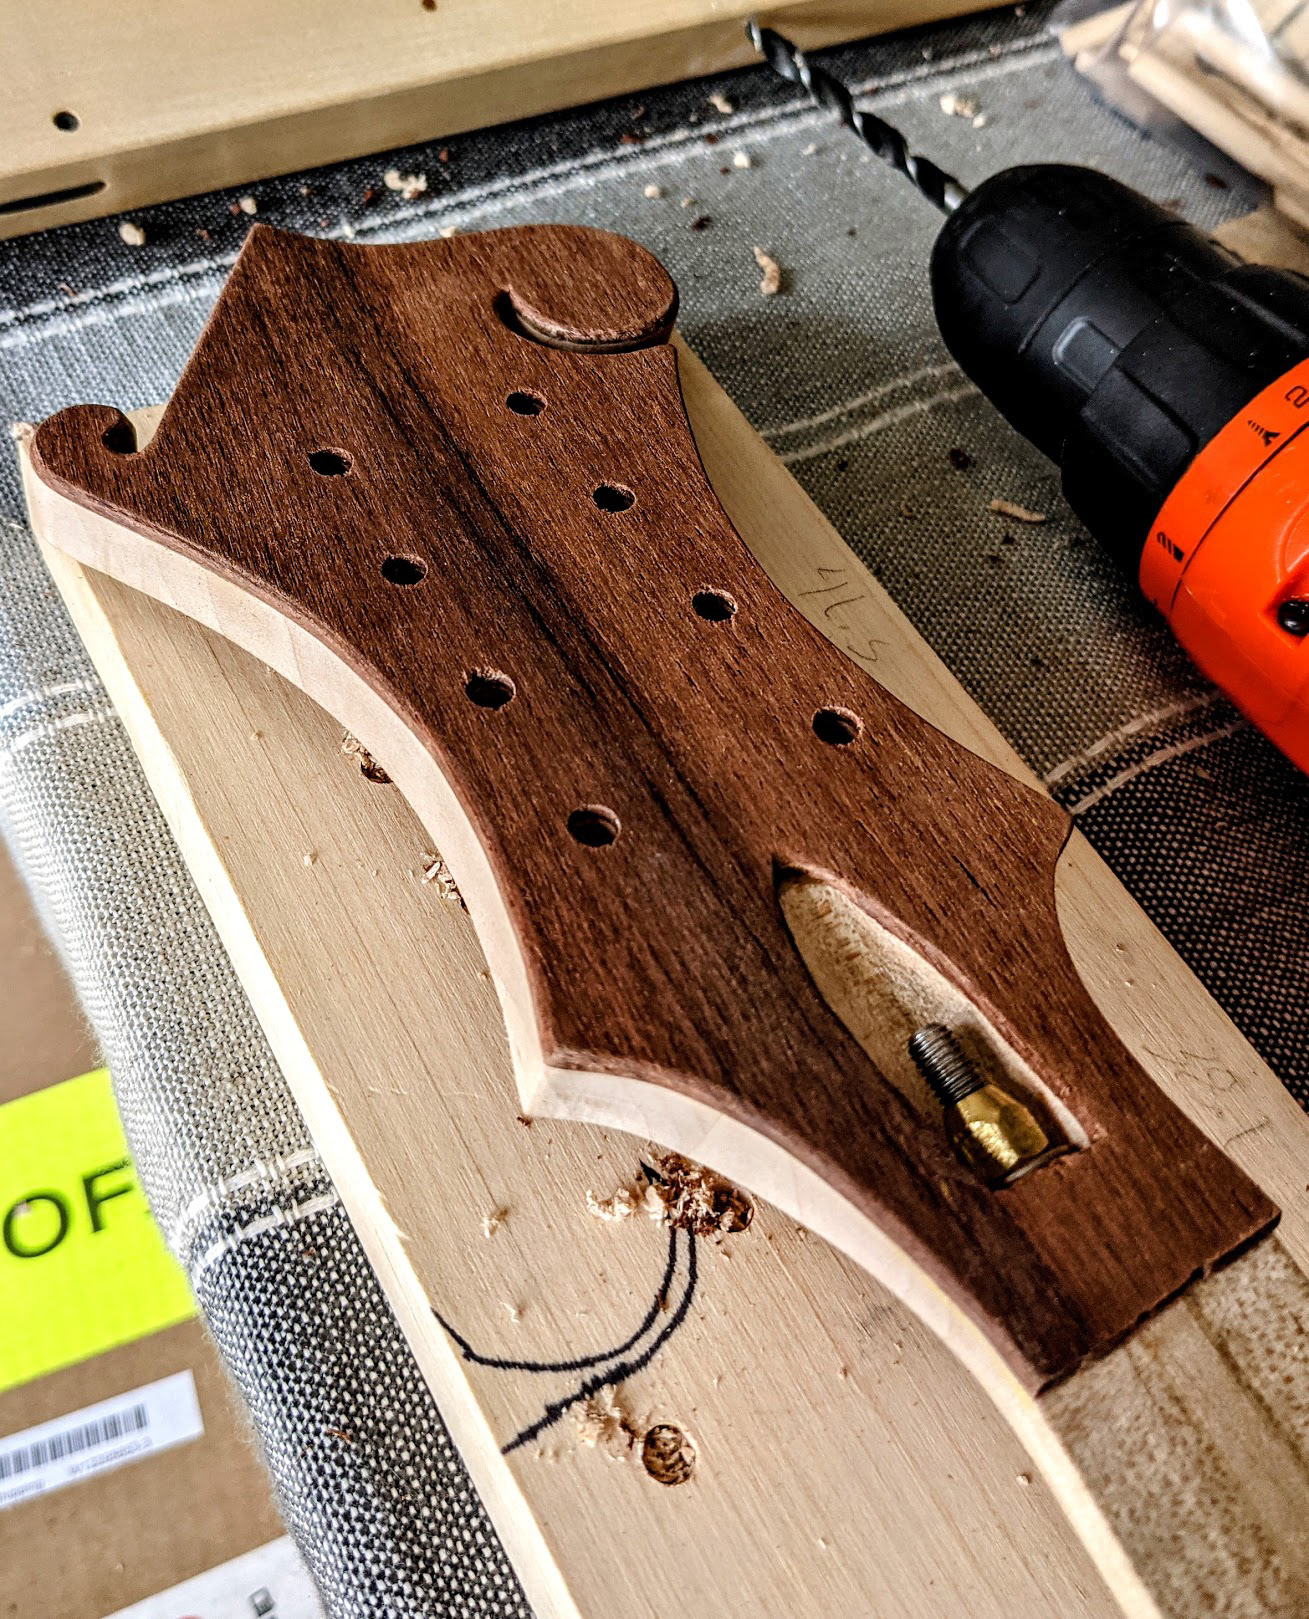
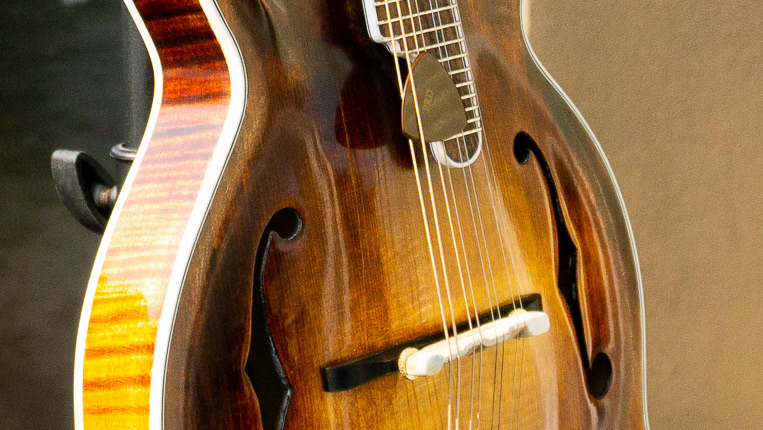
After gluing I tried slimming this down with some files, and broke a piece off; glue, clamps, and time to rejoin that piece. Then I figured it out, using my carving knives I was able to get the headstock close to flush with the sides. I drilled out the peg holes and a hole through the small scroll using the headstock as a guide and a backing board to stop any chip out. Using a smaller knife I finished flushing the details and sanded everything flush, then smoothed out the hard corners, resulting in the finished veneer (minus inlay).