After several weeks of playing, adjusting, more playing, more adjusting it was time to take the hardware off and start finishing this mandolin. I decided to use the Rosa String Works process for this, I can't recommend this guys channel enough, it has taught me a lot.
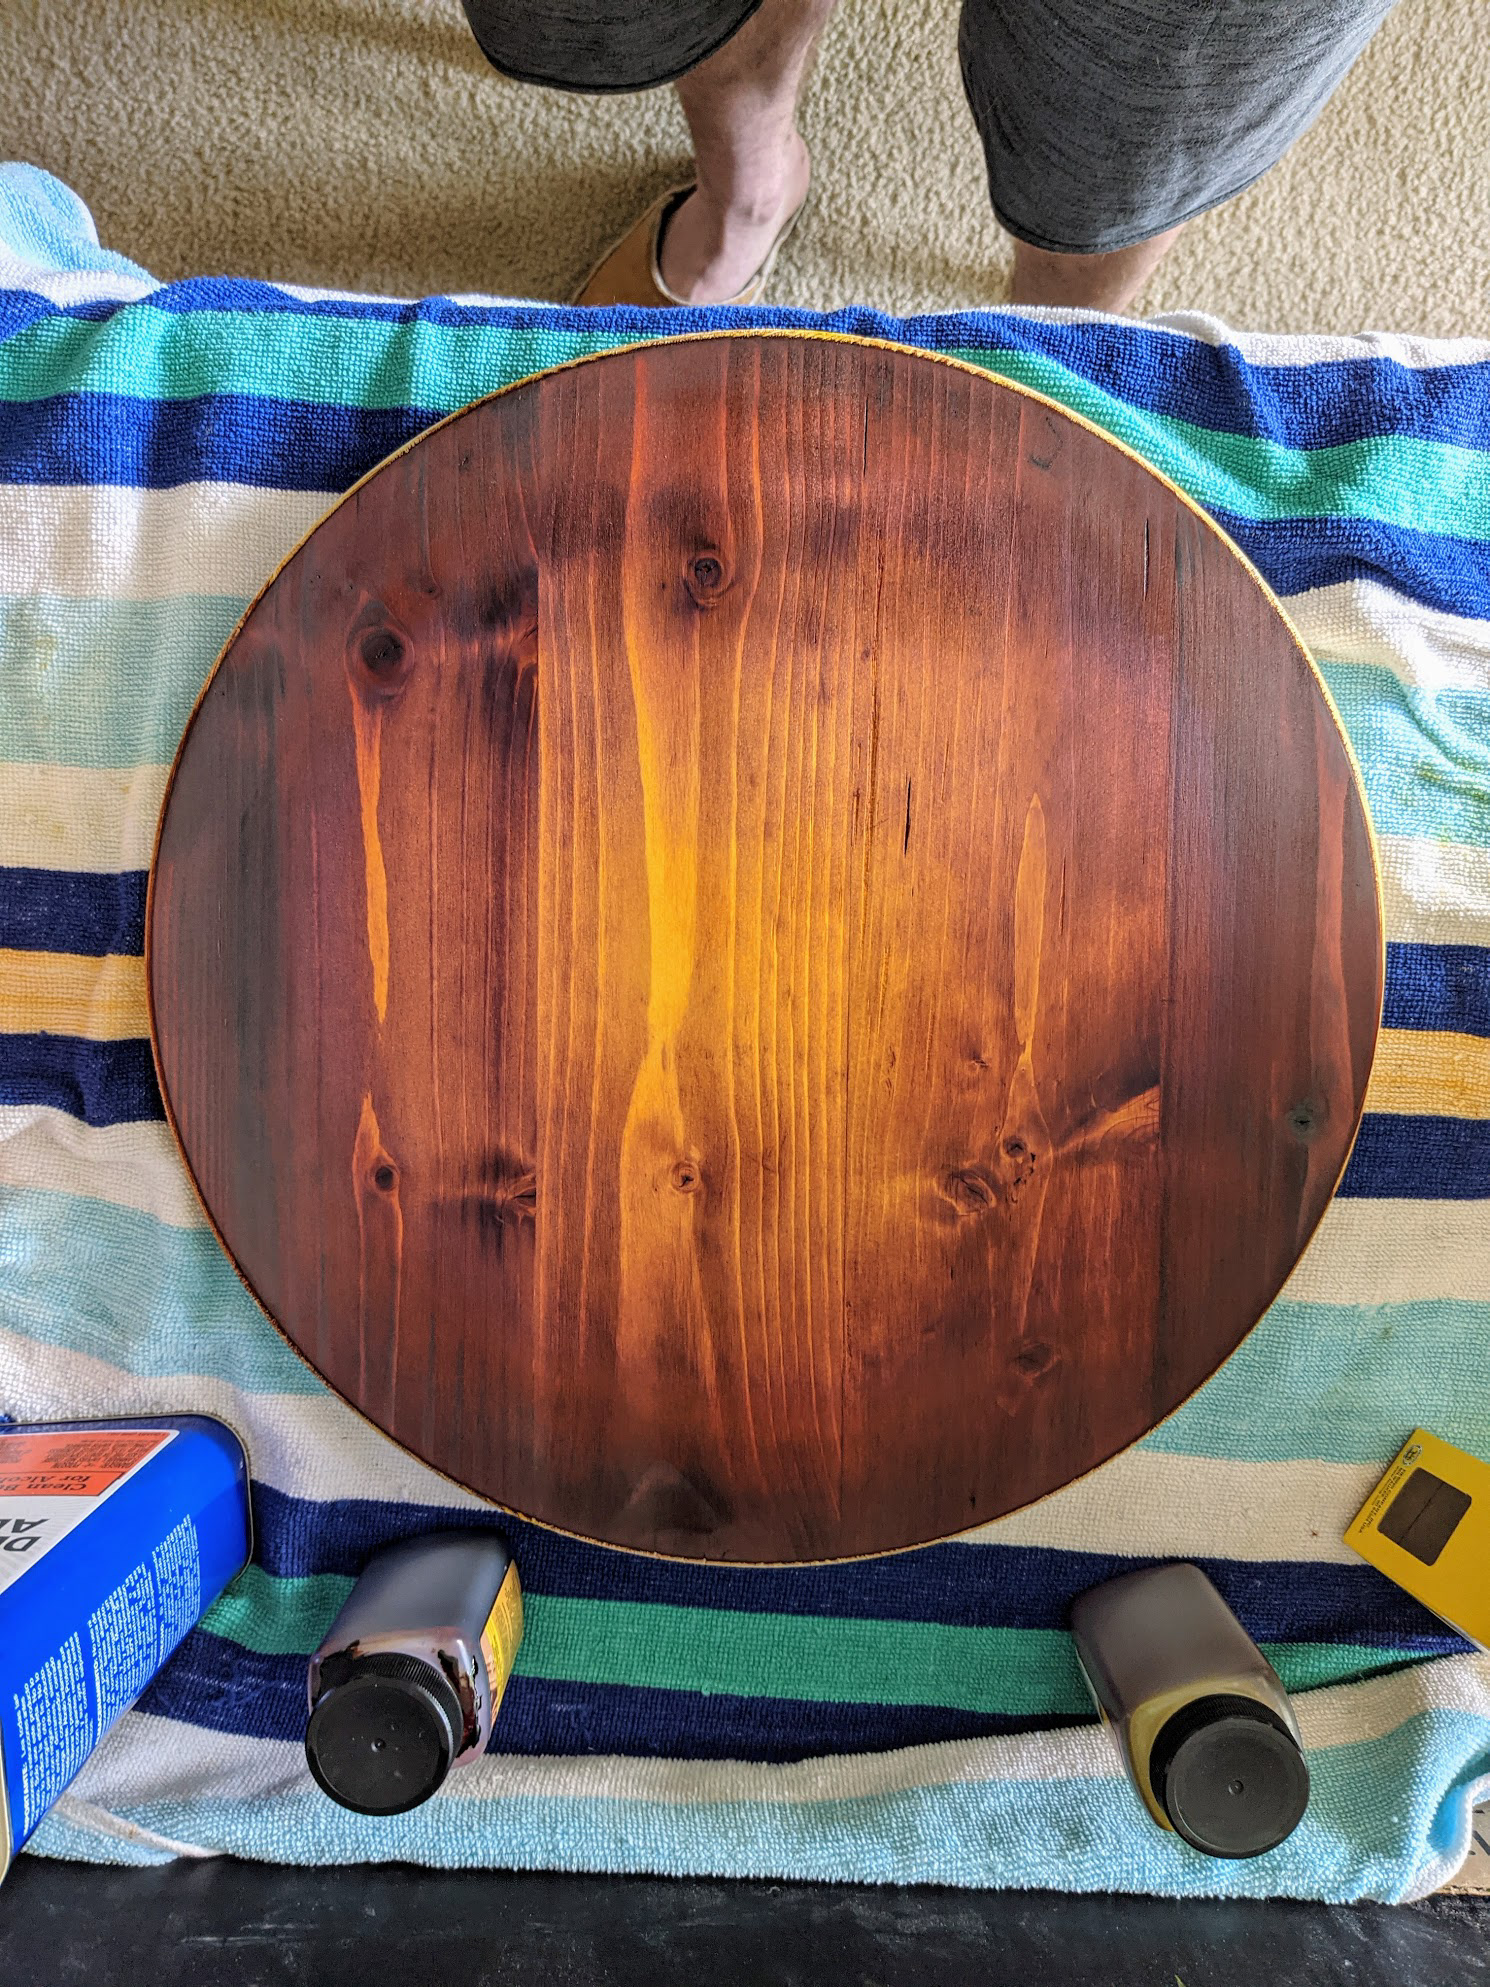
I picked up a piece of spruce to practice the sunbursting process and get a feel for the stain. I am glad I did this because it was a bit of a learning curve.
I used Fiebing's Leather Dye and I have to say this stuff is a dream. Having stained wood with other products for non-luthier projects, this is a night and day difference. It doesn't smell bad, it dries quick, it is alcohol based so it doesn't raise the grain, and even better some denatured alcohol makes it really easy to blend. I will be using this on any woot-staining projects in the future.
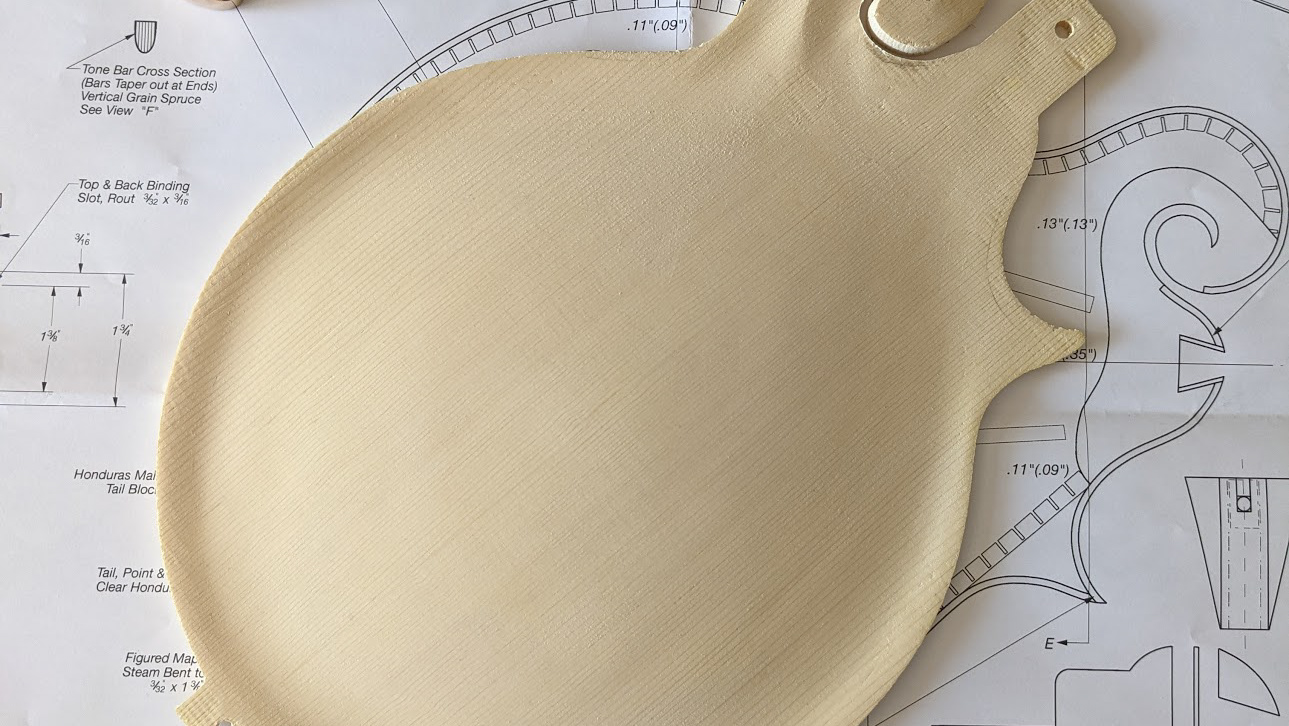
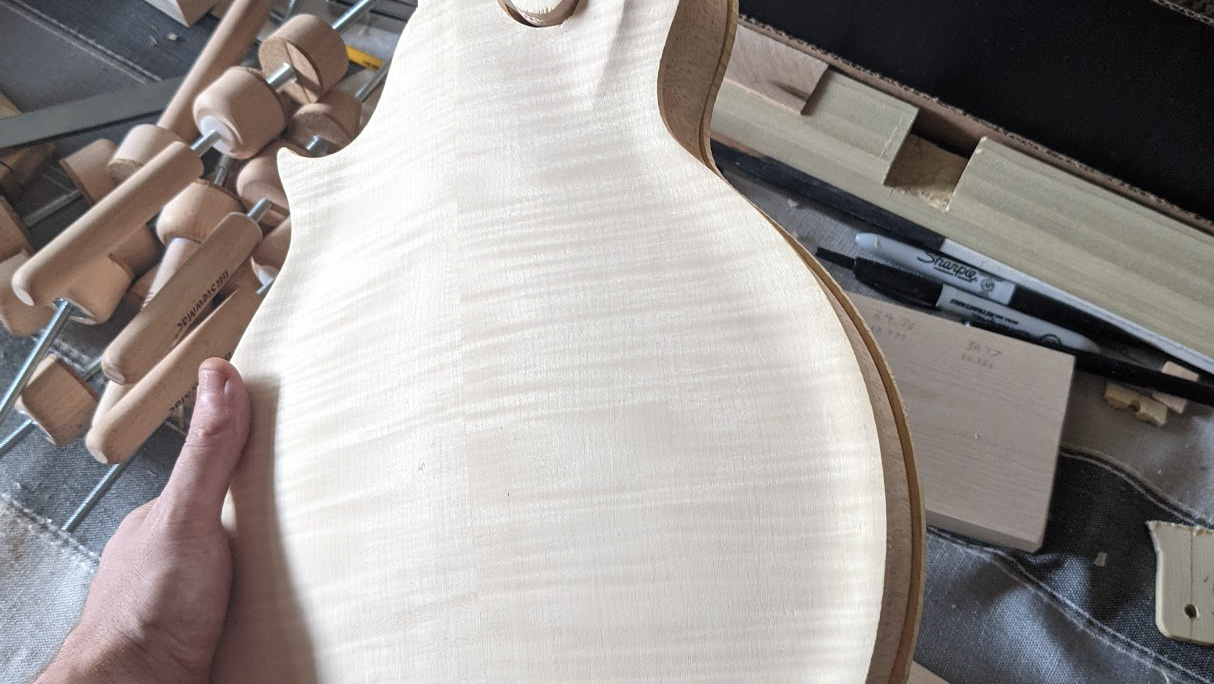
I started filling any gaps with Elmer's stainable wood putty and sanding everything to 320 grit trying to get rid of as many scratches as possible. From there I used a damp rag to raise the grain, and sanded 320 again. I repeated the grain raising and sanding process 2 more times.
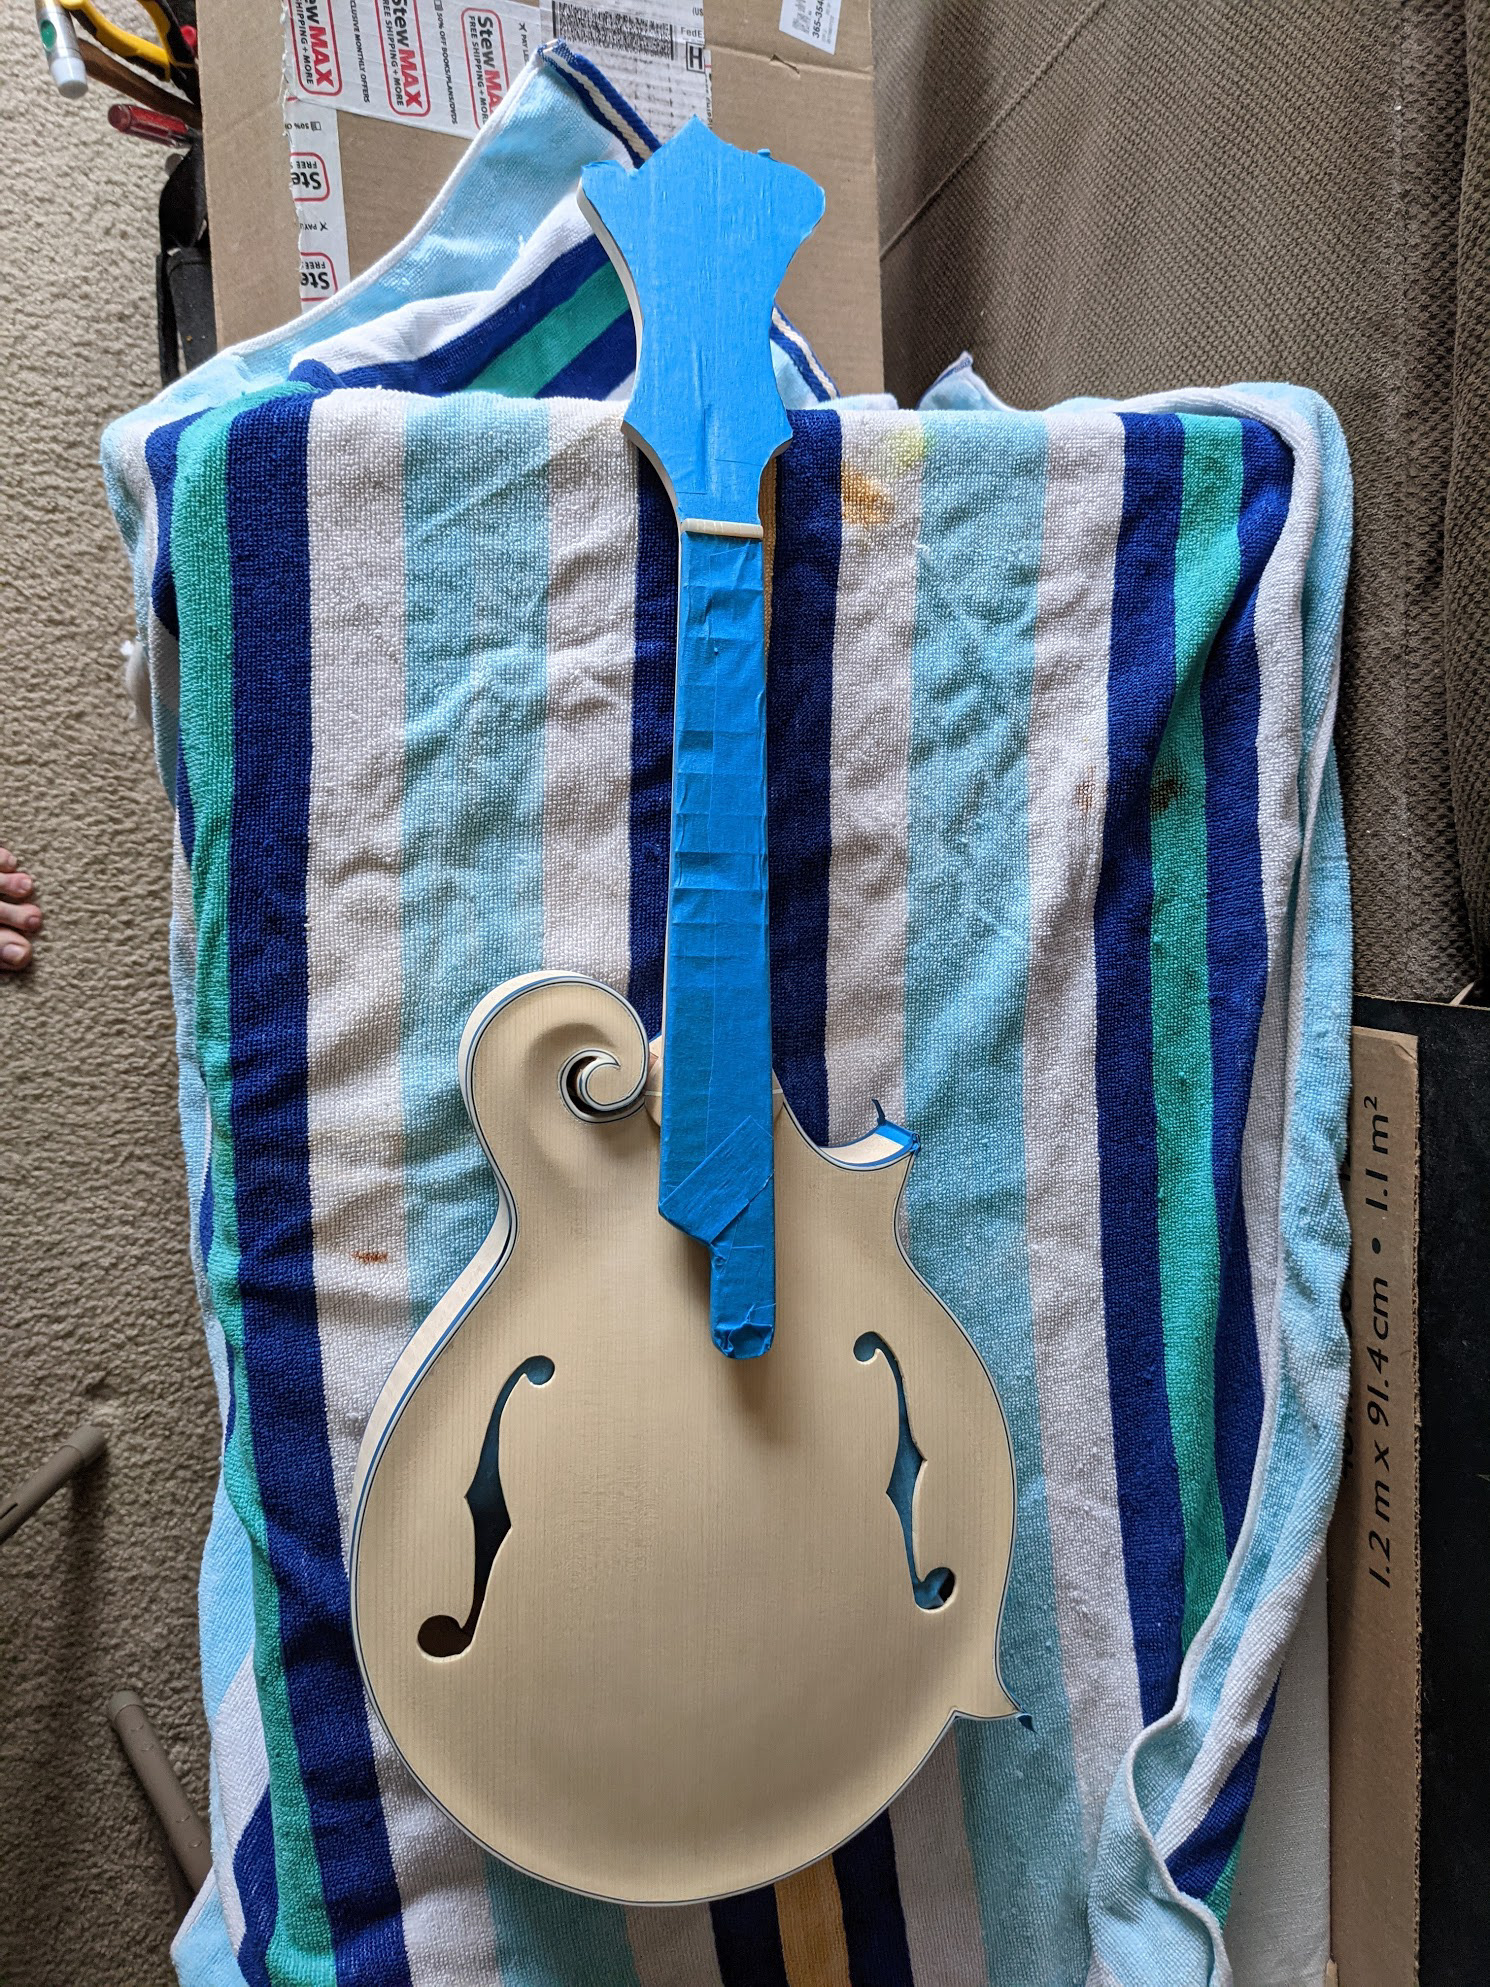
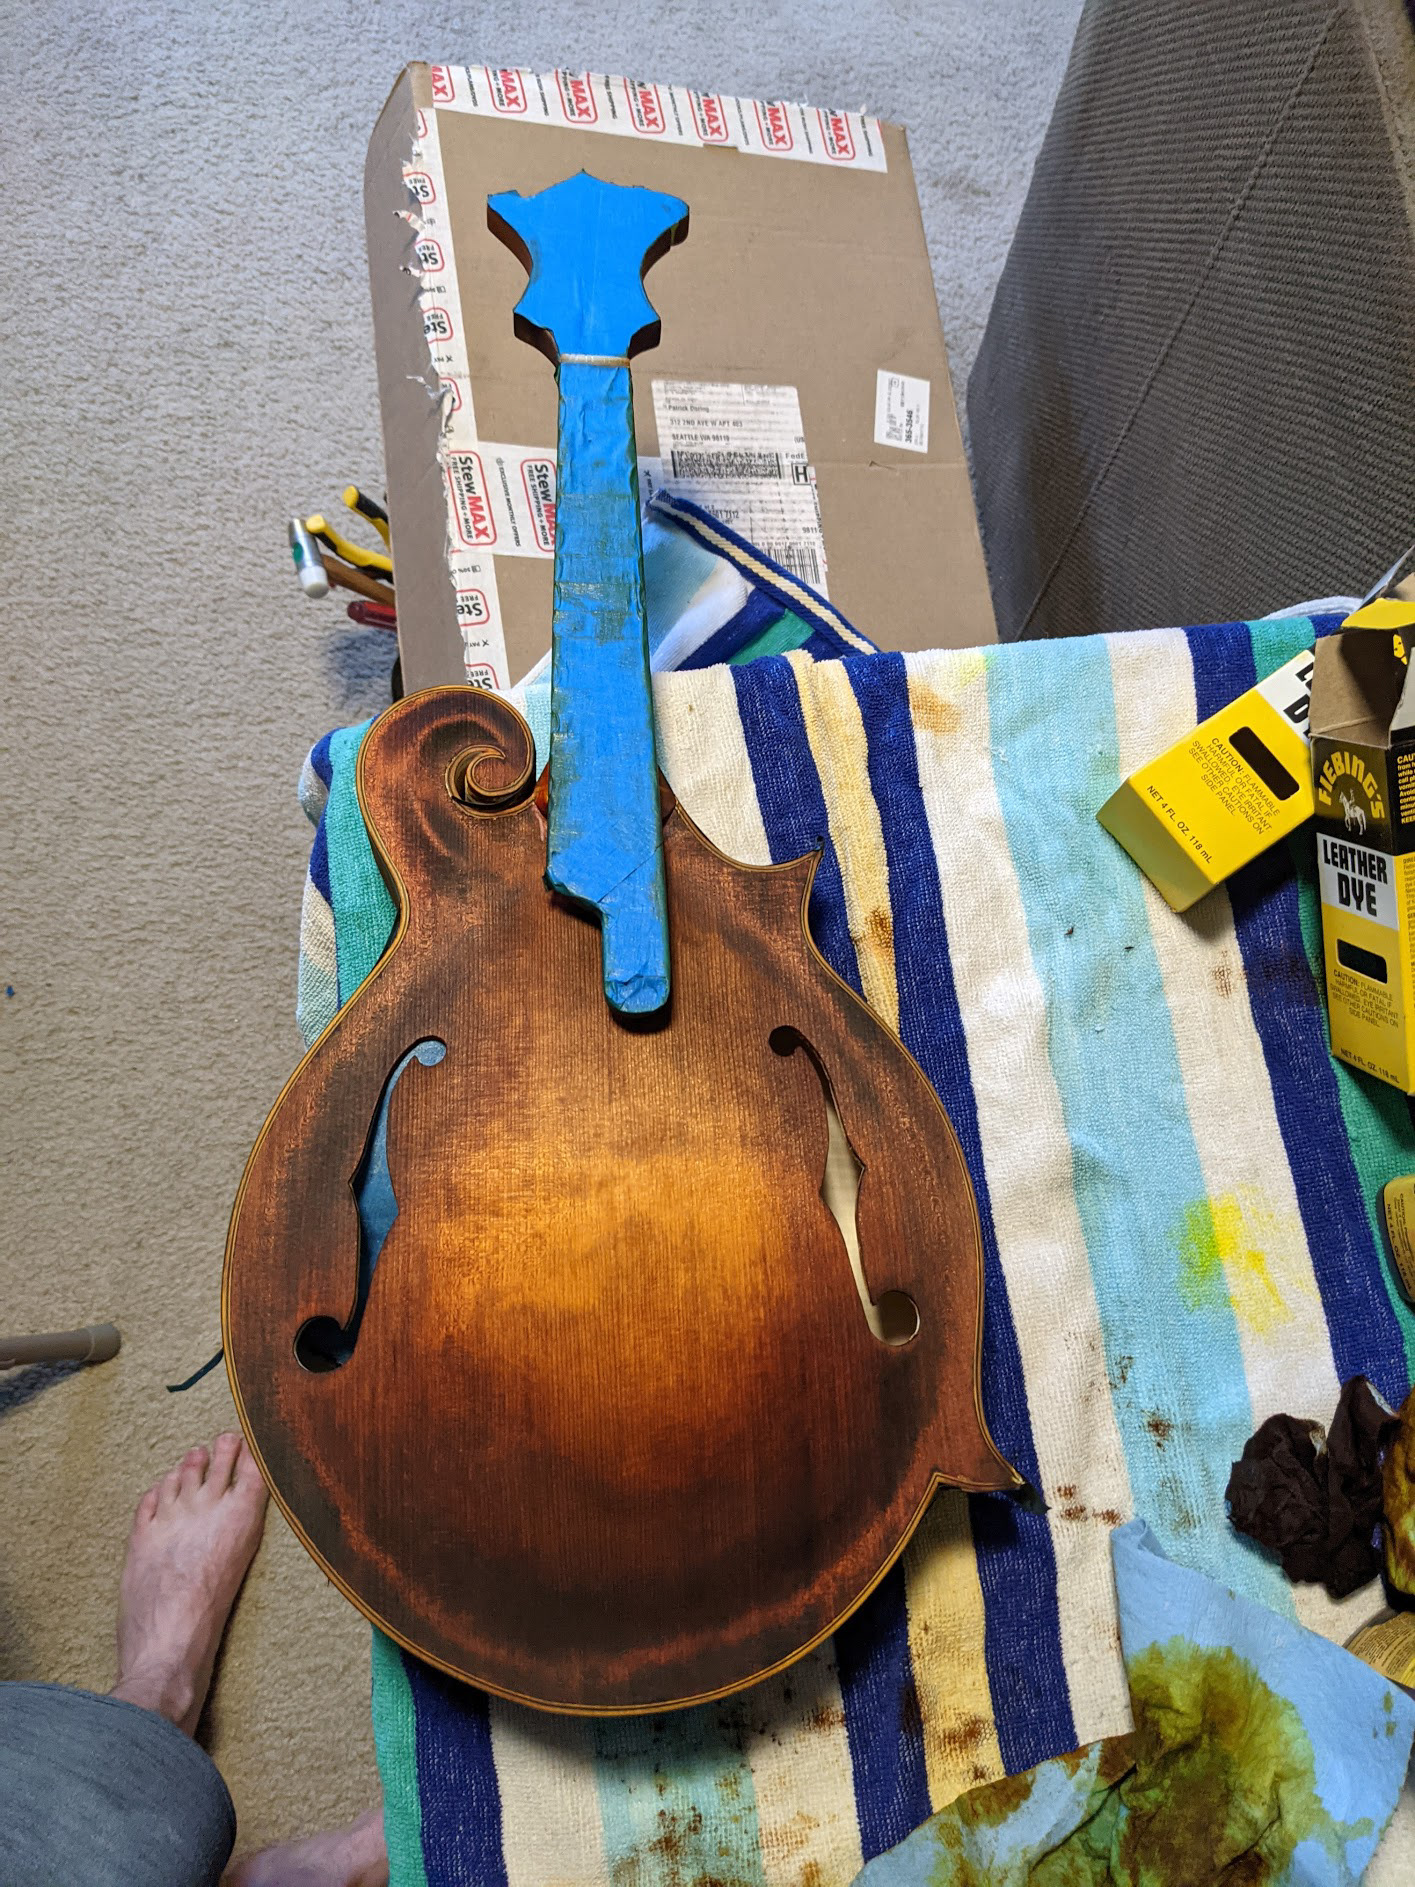
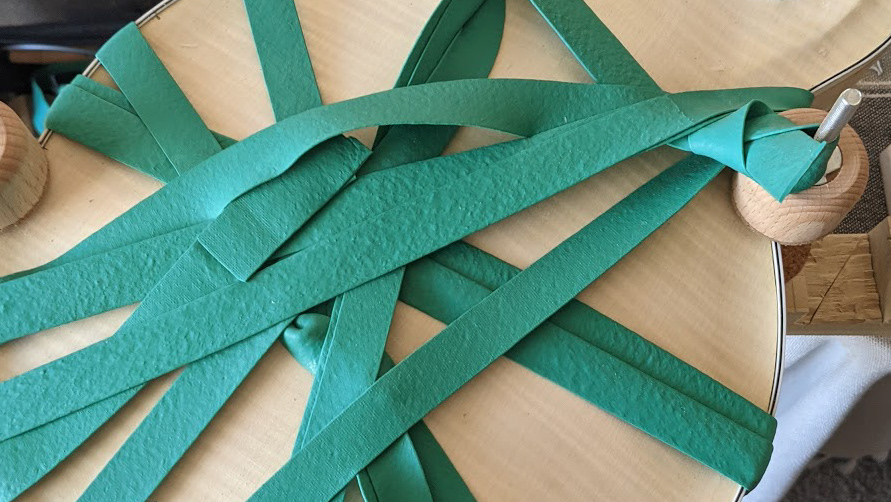
I then taped off the headstock veneer, fretboard and as much of the binding sides as I could in an effort to reduce the amount of scraping needed.
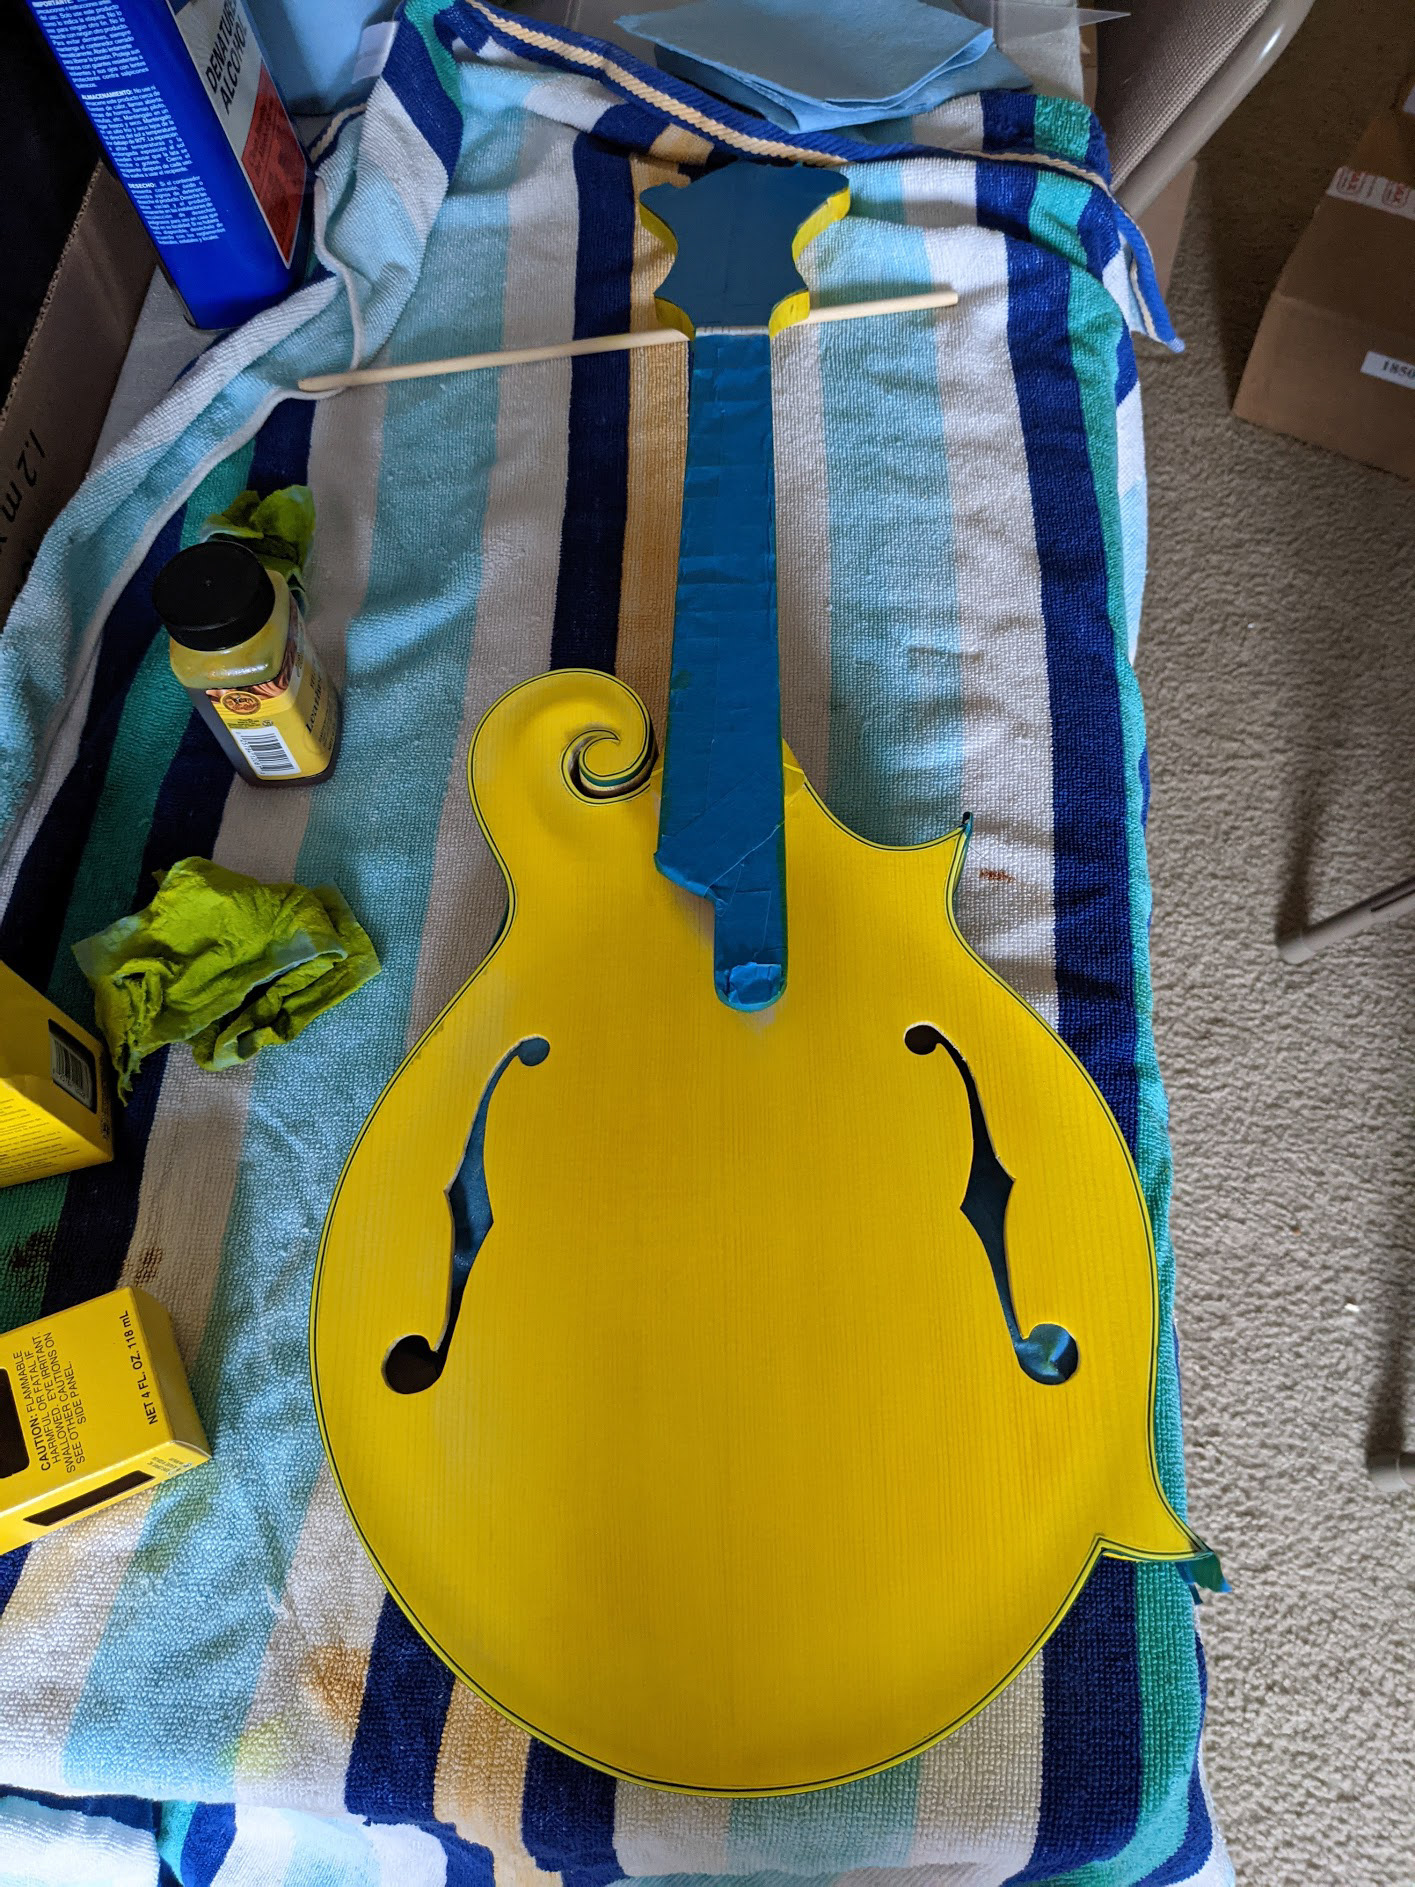
With my bottles of Fiebing's Leather Dye in hand, next was the scary part, dying the entire thing yellow. It looked as though I did a pretty good job sanding, I only had to touch up a few scratches in the yellow.
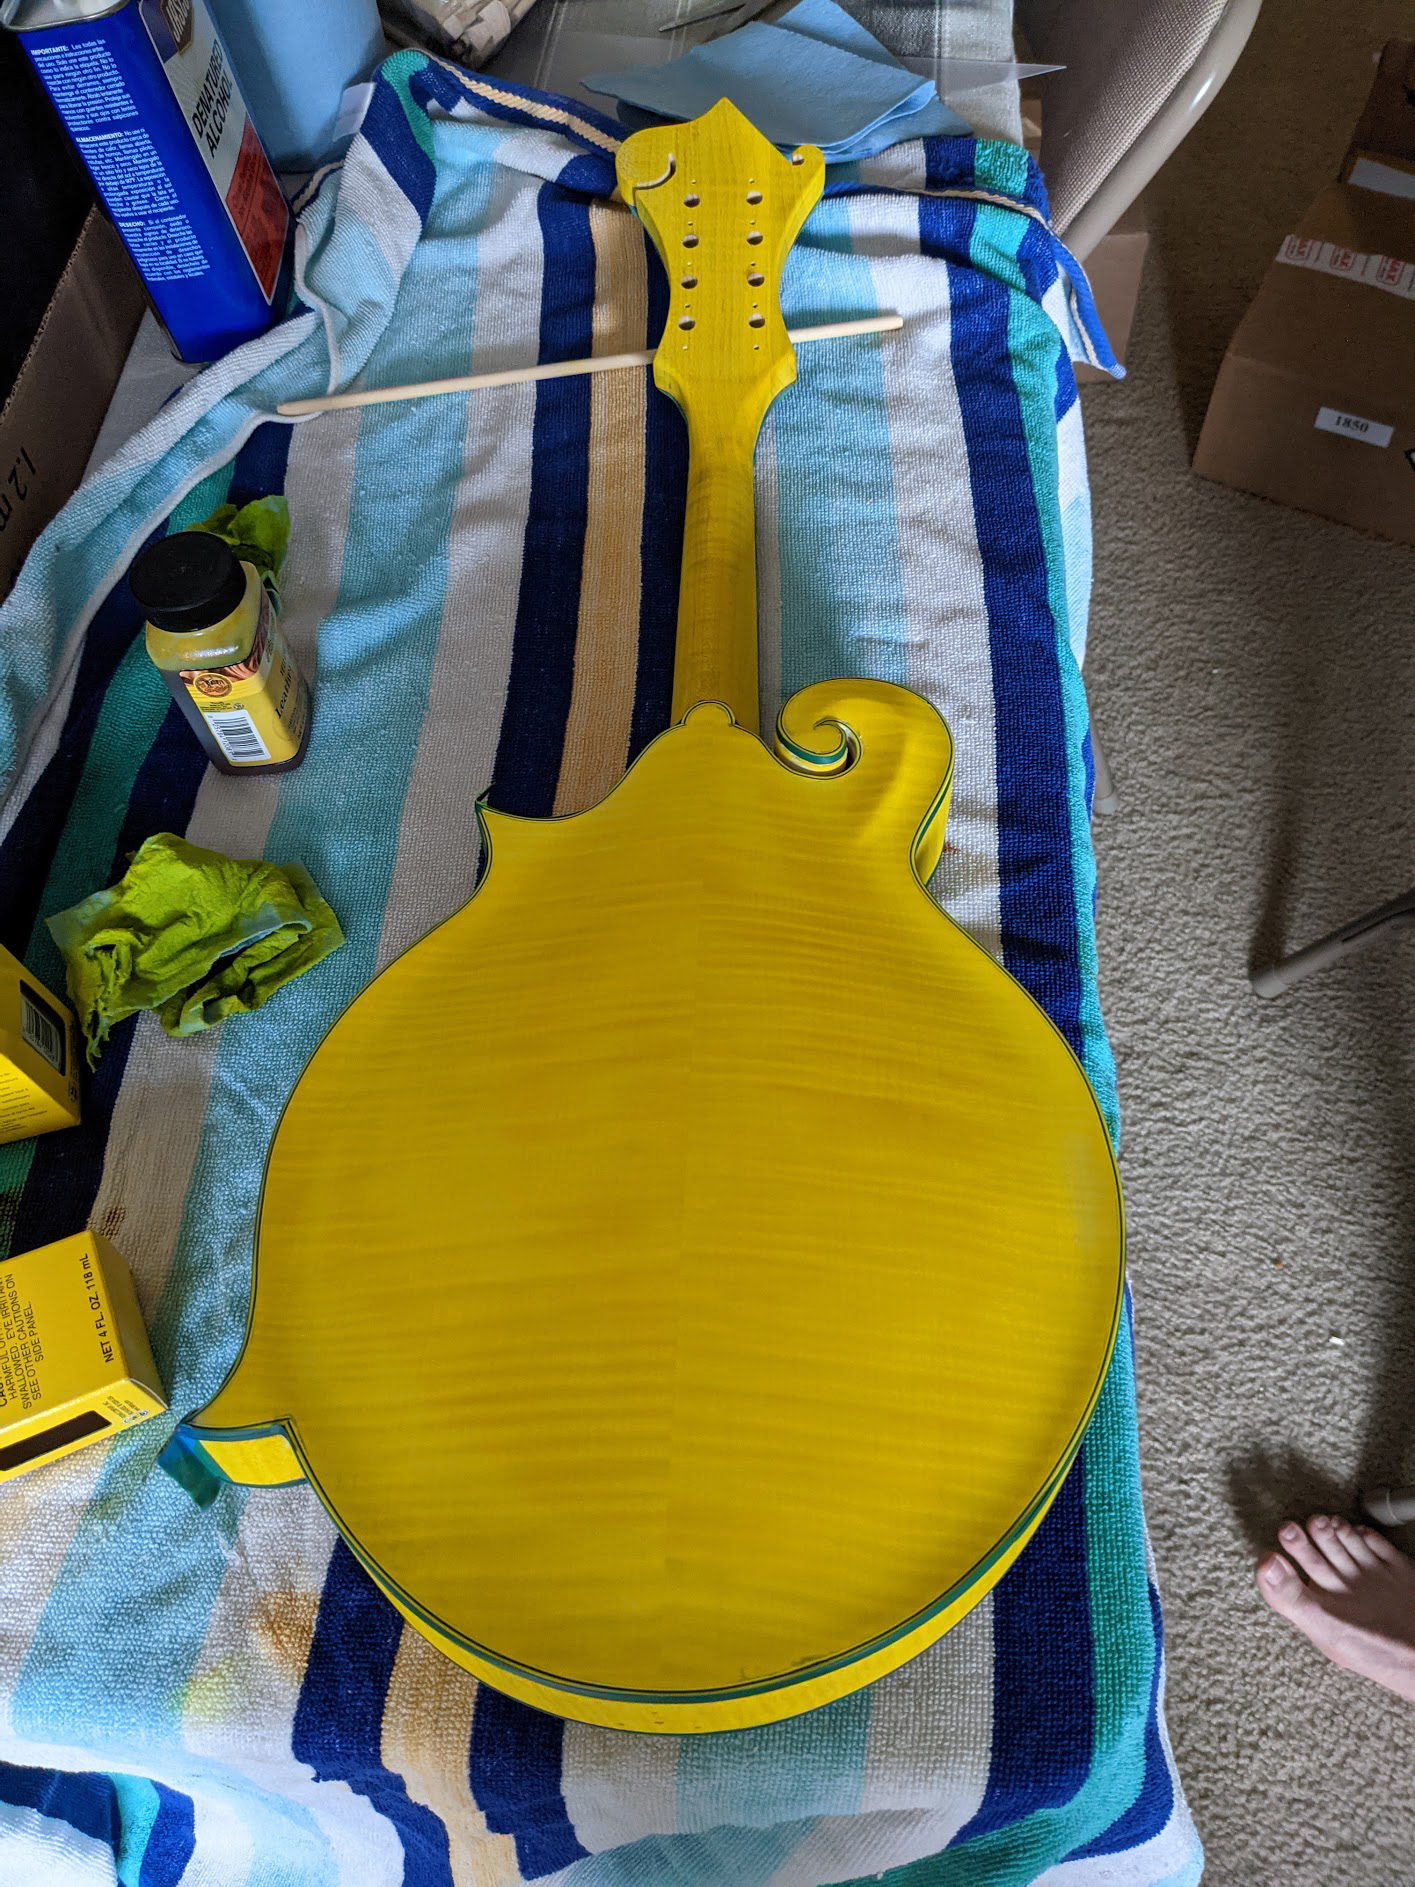
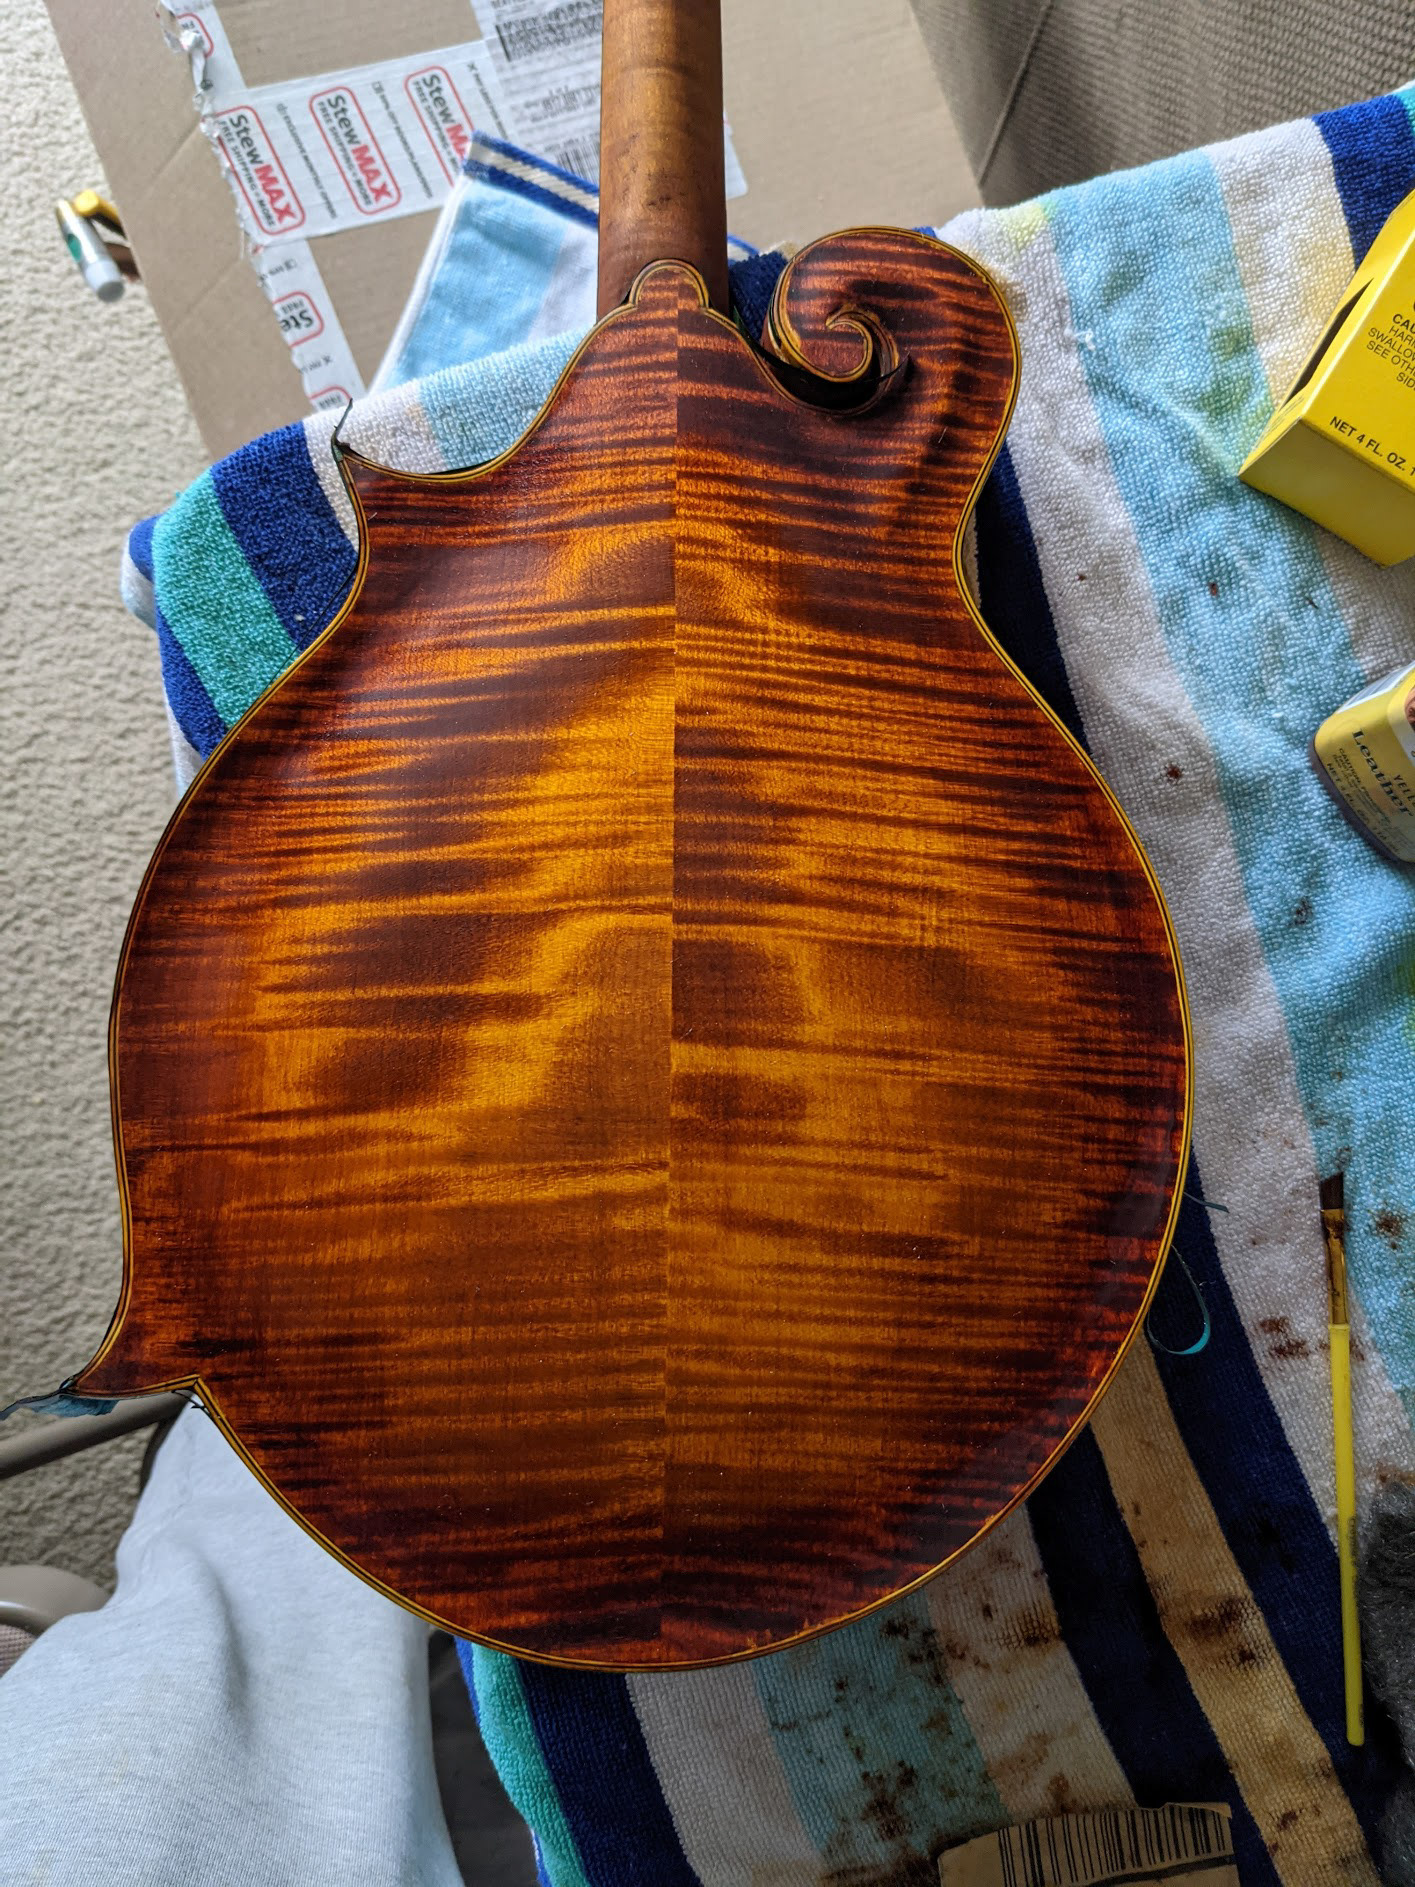
Starting on the back I used some dark brown to form a ring around the edge, darkened the scroll and points. I then blended this to center using a circular motion. Then I took some alcohol on a clean rag and blended in circles from the center out to the edge. I have to say I was SUPER happy with the results.
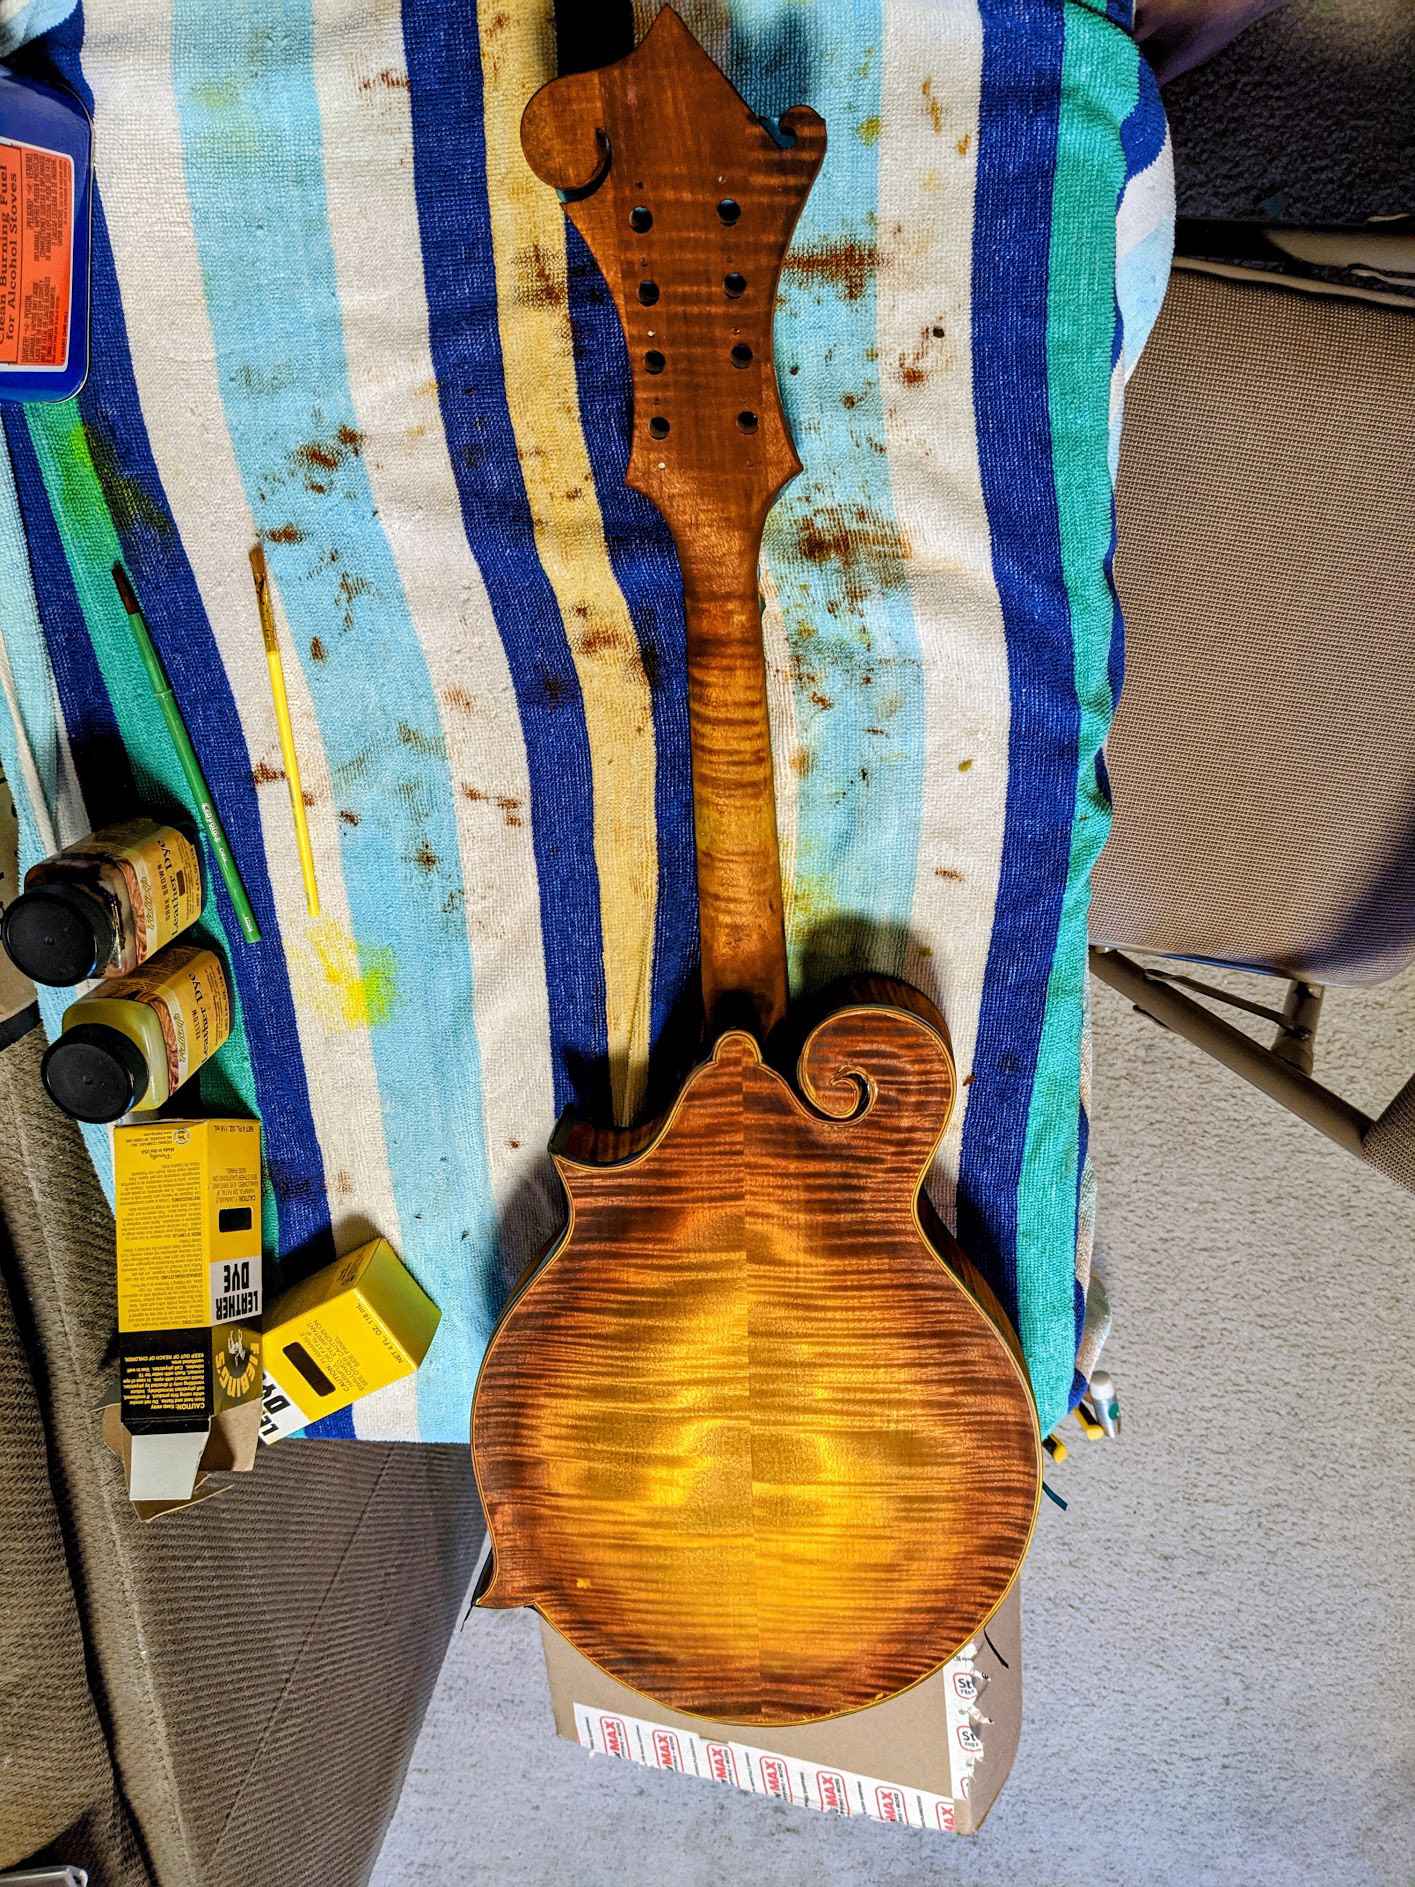
Next I did the sides, I don't have an airbrush so I had to do my contouring here. I darkened the points and then used the alcohol to blend that to the curves of the side. I followed the same process for any other areas I needed shaded (tail, neck joint, scroll.)
I then did the back and sides of the headstock, followed by the neck joint, and you guessed it, I used alcohol to blend these two points to the center of the neck. After this I followed with some shading on the sides of the headstock.
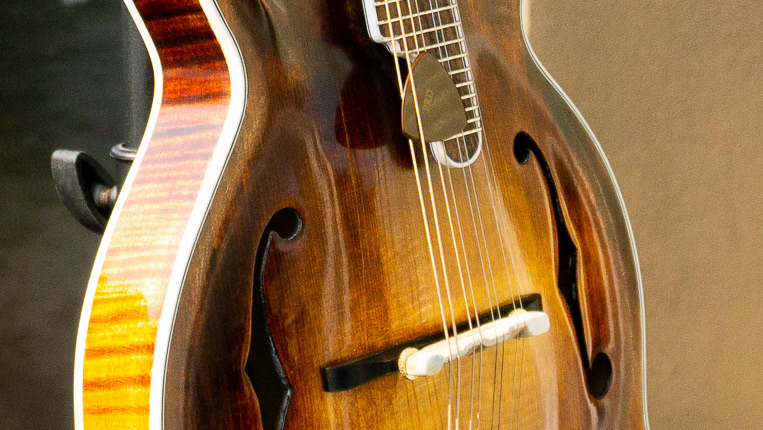
Next up was the front. I knew the spruce would take the stain differently, I had not idea how differently it would. I am not quite sure if I am happy with this finish, it has a great antique patina look, but it is for sure a bit more splotchy than anywhere else. What is interesting is that there is some serious grain curls going around in the recurve which is leading to a lighter line in this area.
Lastly, I used a paint brush to darken the inside edges of the F holes, and any missed nooks or hard to reach areas.
The next morning I did another pass, getting my dark areas darker. I am going to sit with this for a bit, I am really happy with most of it, I need to figure out if I like the top or not.