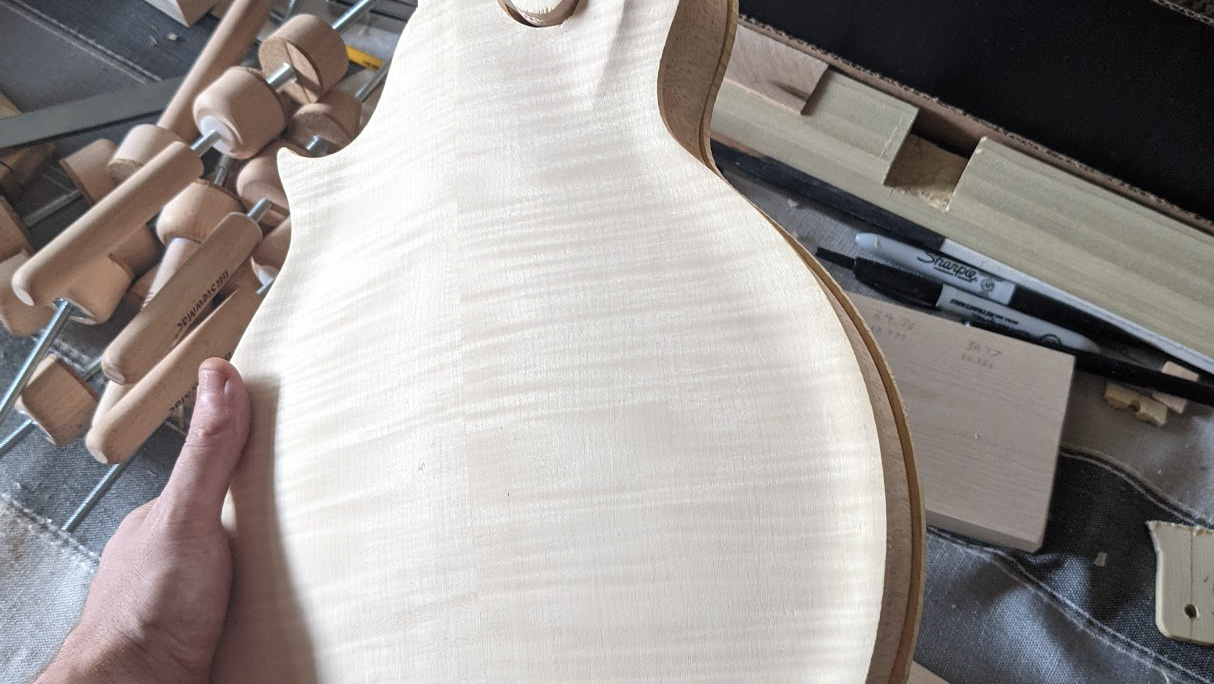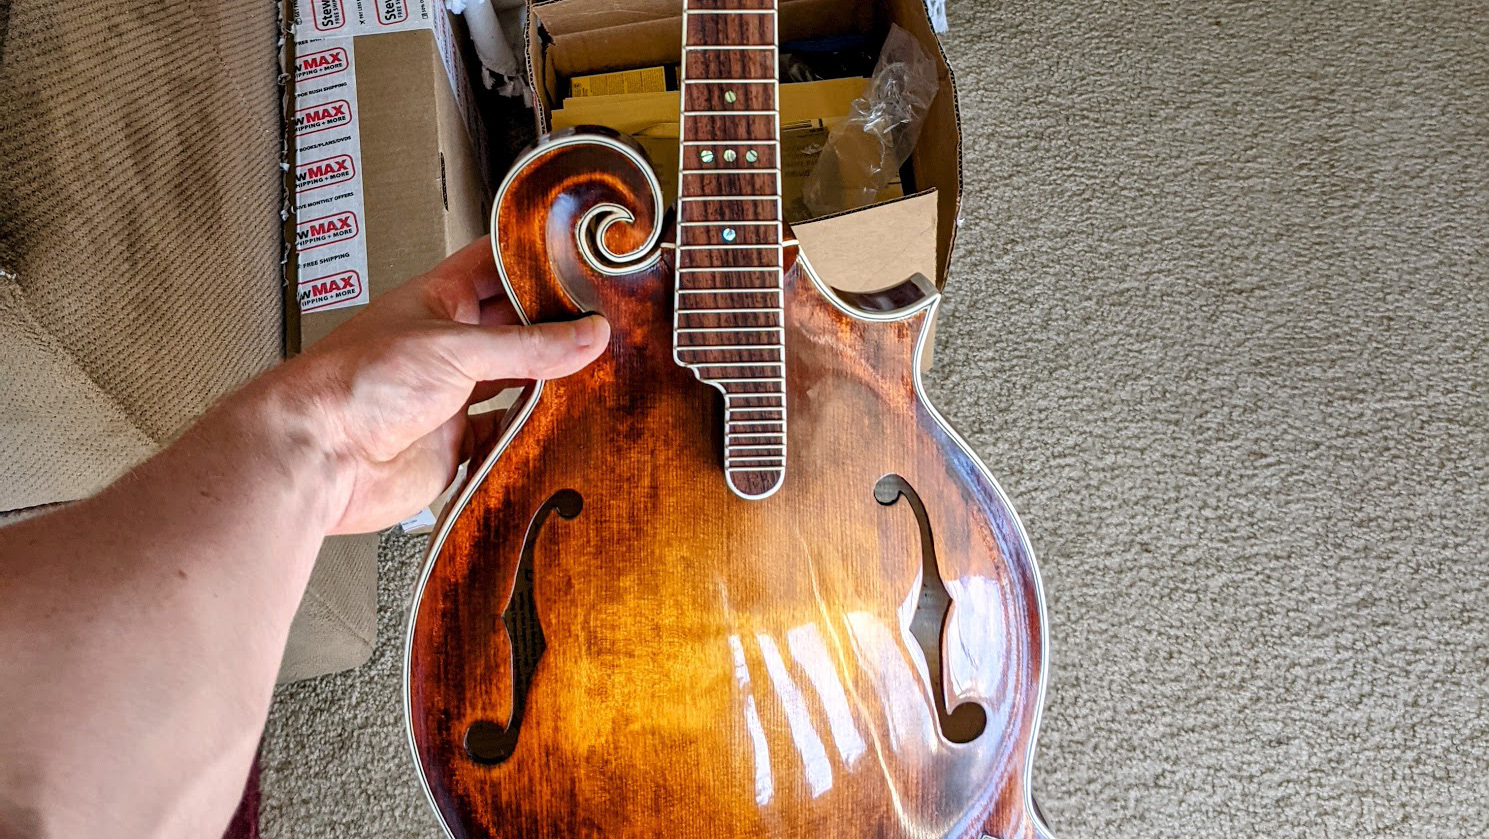
I wanted to keep a natural look on this mandolin but the headstock felt so bare all alone, so I decided to try my hand at inlay.
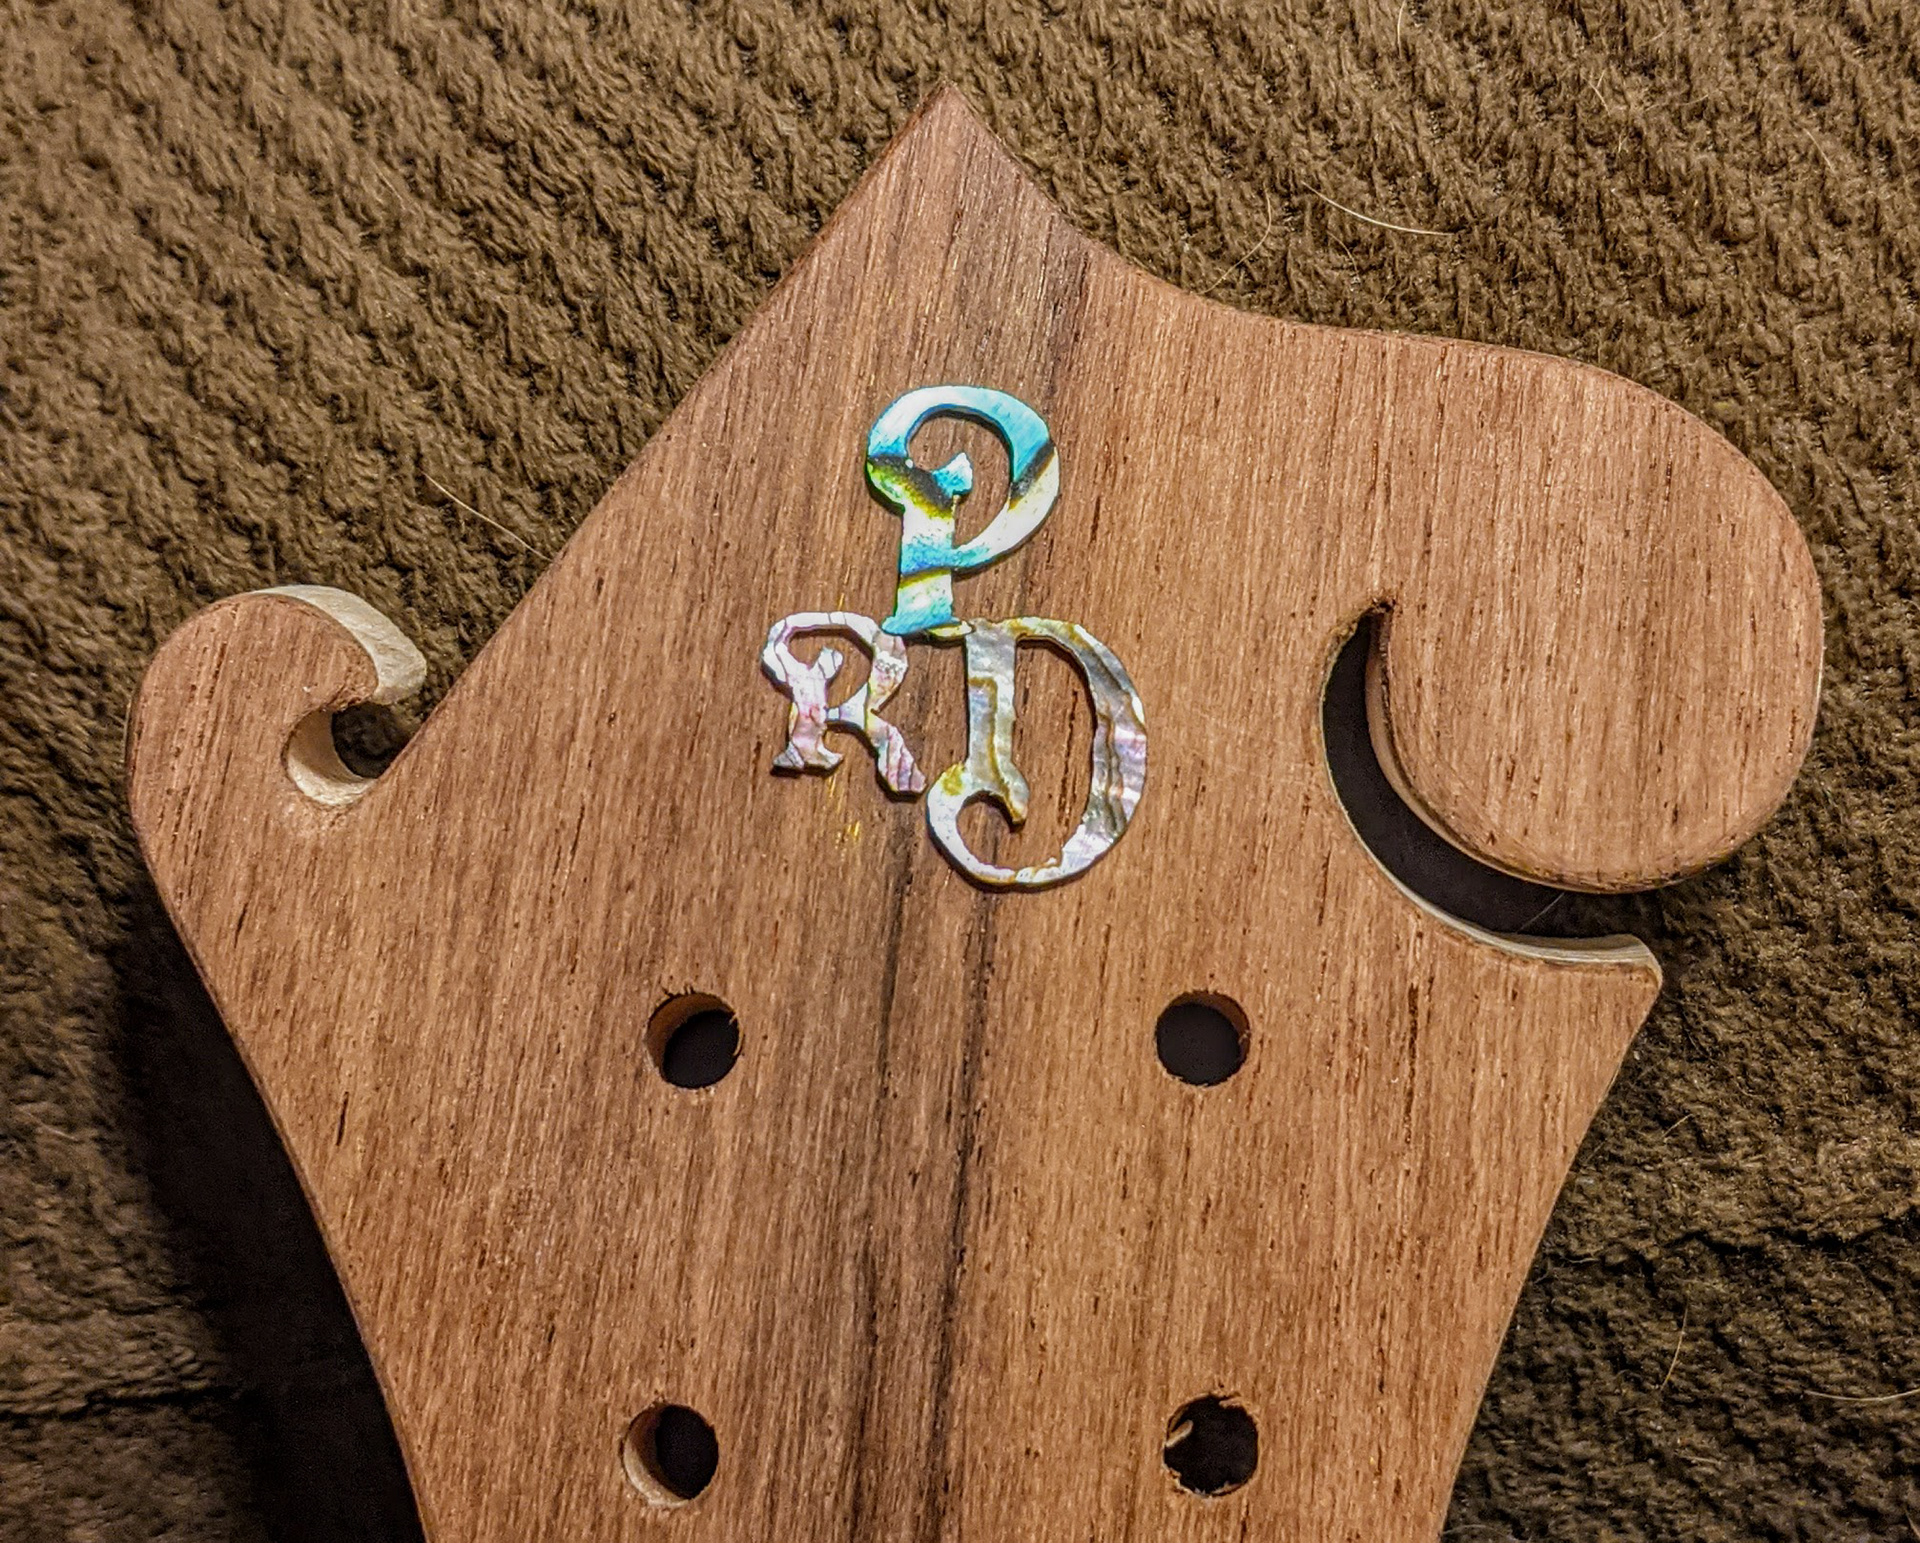
I still wanted to keep it relatively simple in case things didn’t work out and to let the wood shine, so I decided to go with the good old fashioned PRD (my initials). I started by searching for a few fonts that I liked and playing around in photoshop, turning the letters into smart objects and playing with sizing, arrangement, thickness etc. I landed on the attached logo and set out to start cutting the abalone.
I printed out the individual letters of the template and glue-sticked (stuck? stickied?) them to some of the nicer pieces of abalone I had. There was a bit of a learning curve to cut the abalone, and I went through a ton of jewelers saw blades. By the third letter I was feeling pretty good. Drill the hole, cut out the inside, cut out the outside, move on to the next letter.
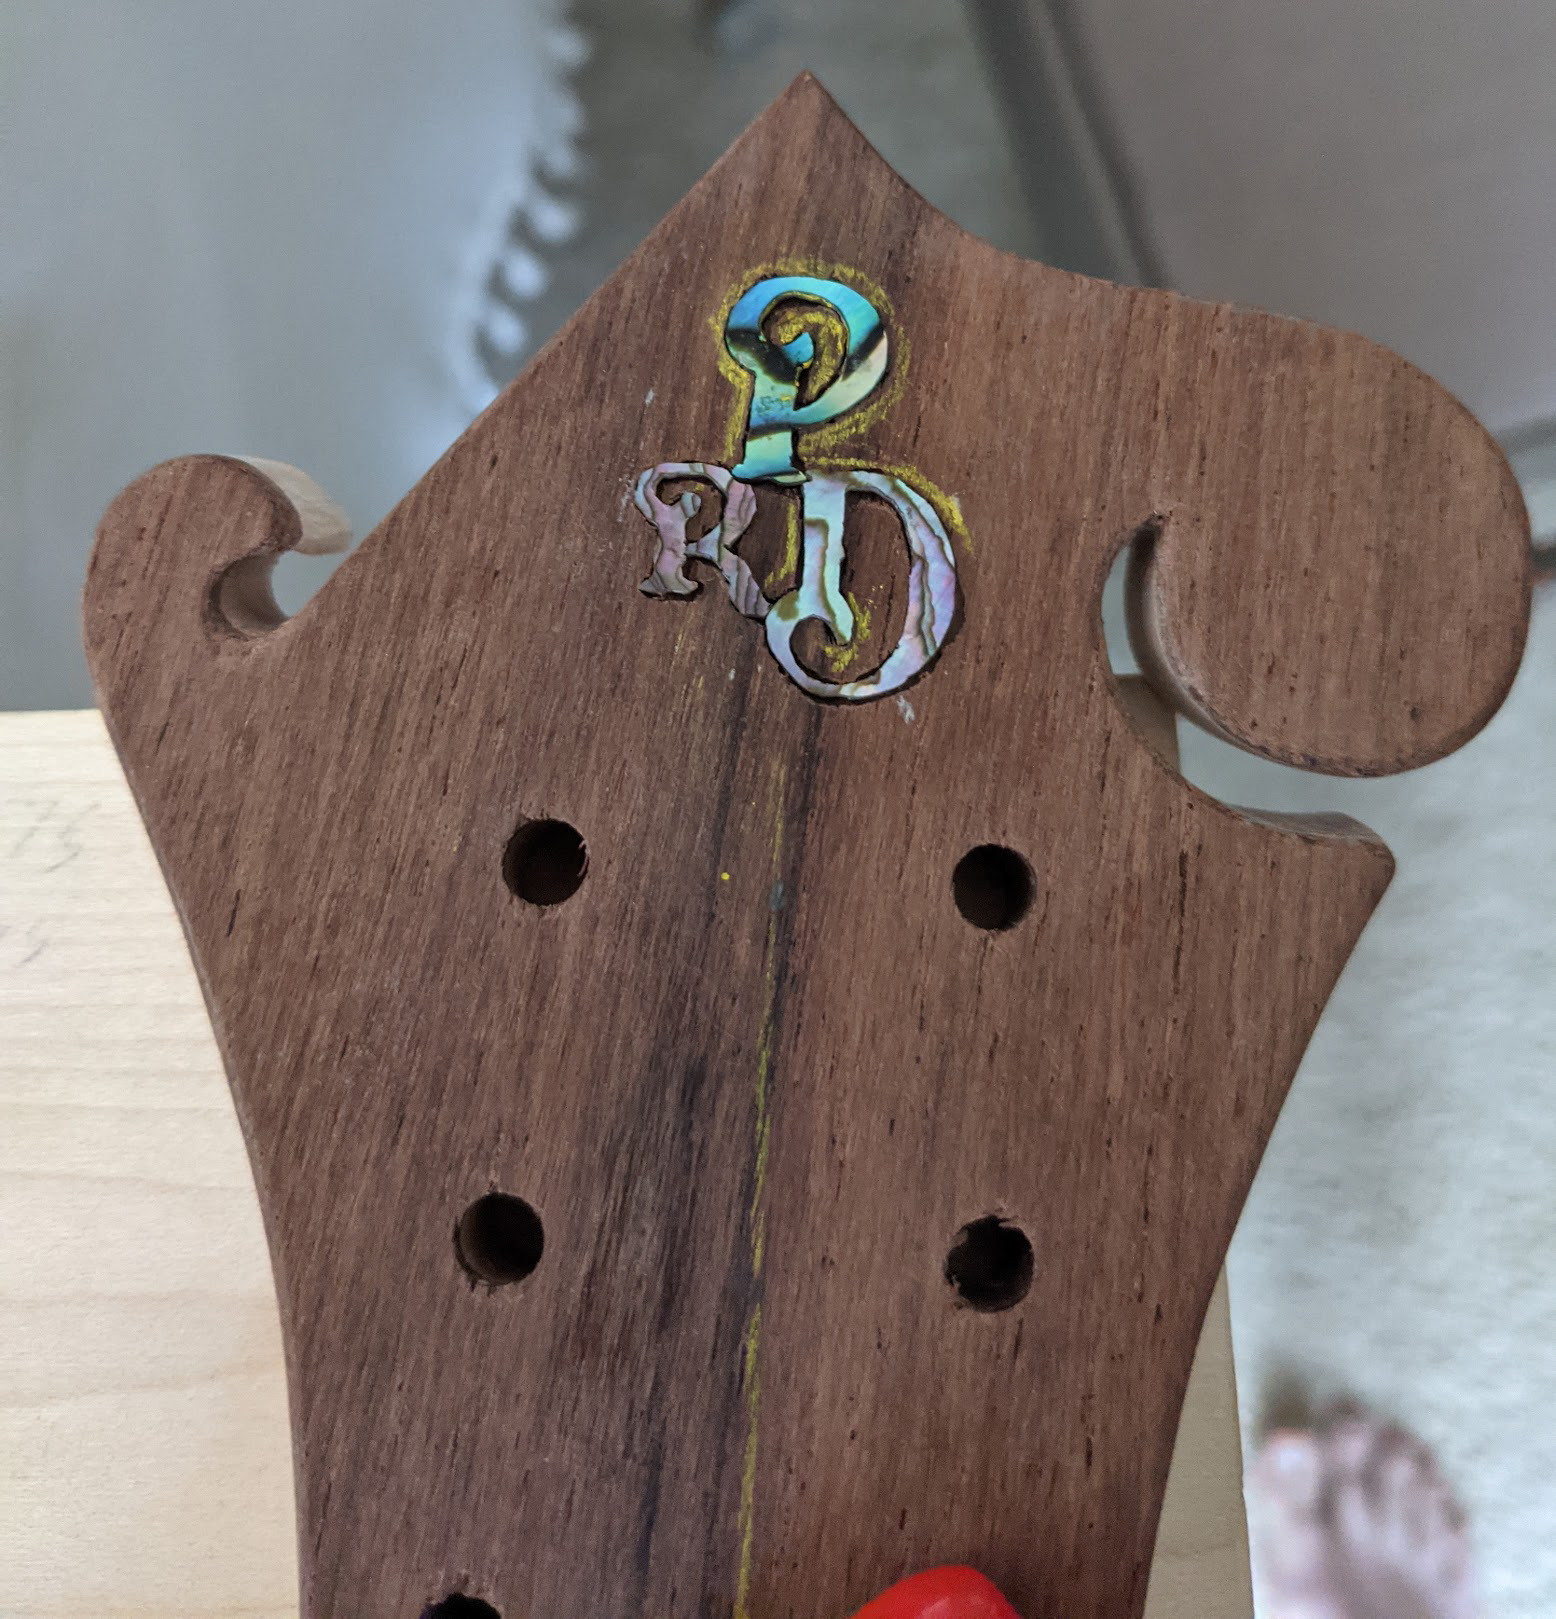
The next day I glue-sticked the letters in a proper location and photo-copied them to make a template in the shape I cut, which has some variance from what I was trying to cut. I then did a test on some scrap headstock veneer to get a feel for the Dremel router as well as to ensure the template worked out how I wanted. The template was great for getting the general shape, and the ripping paper made me err on undercutting, then a repetitive process of placing the piece, and shaving off little bits to make it fit, repeat, finish a letter, repeat but this time with each letter placement. After I felt good on the scrap, I found the centerline of the headstock, and laid out the template with a glue-stick. I gave this 30min to dry so I wouldn’t have any lifting. On went the router and a few hours later my pieces fit in well. Some gaps, I expected this, but not too bad, and I didn’t ruin my headstock.
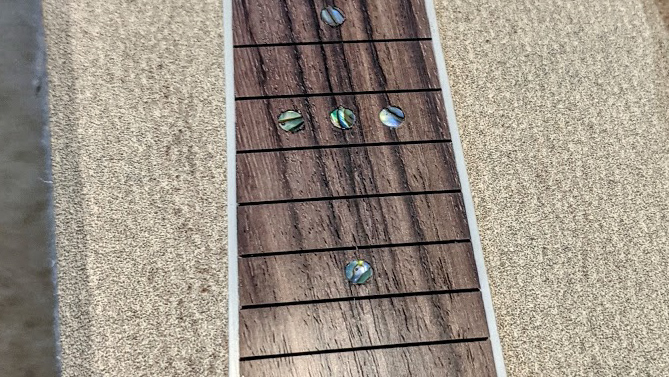
I CA glued them in, waited for it to dry and rough sanded flush with some sandpaper stuck to a flat board. I then made some sawdust from the test-scrap, mixed it with Elmer's glue, smeared it all over and clamped a flat board on top (with parchment paper in between) until the Elmer's dried. From there, I rough sanded the glue flush (It did an OK job filling the gaps.) and because I couldn’t help myself I did some finish-sanding. Overall I am happy with the results, a bit rough close up, but It is flush, smooth, shiny, and pretty-darn-close to the design I wanted.