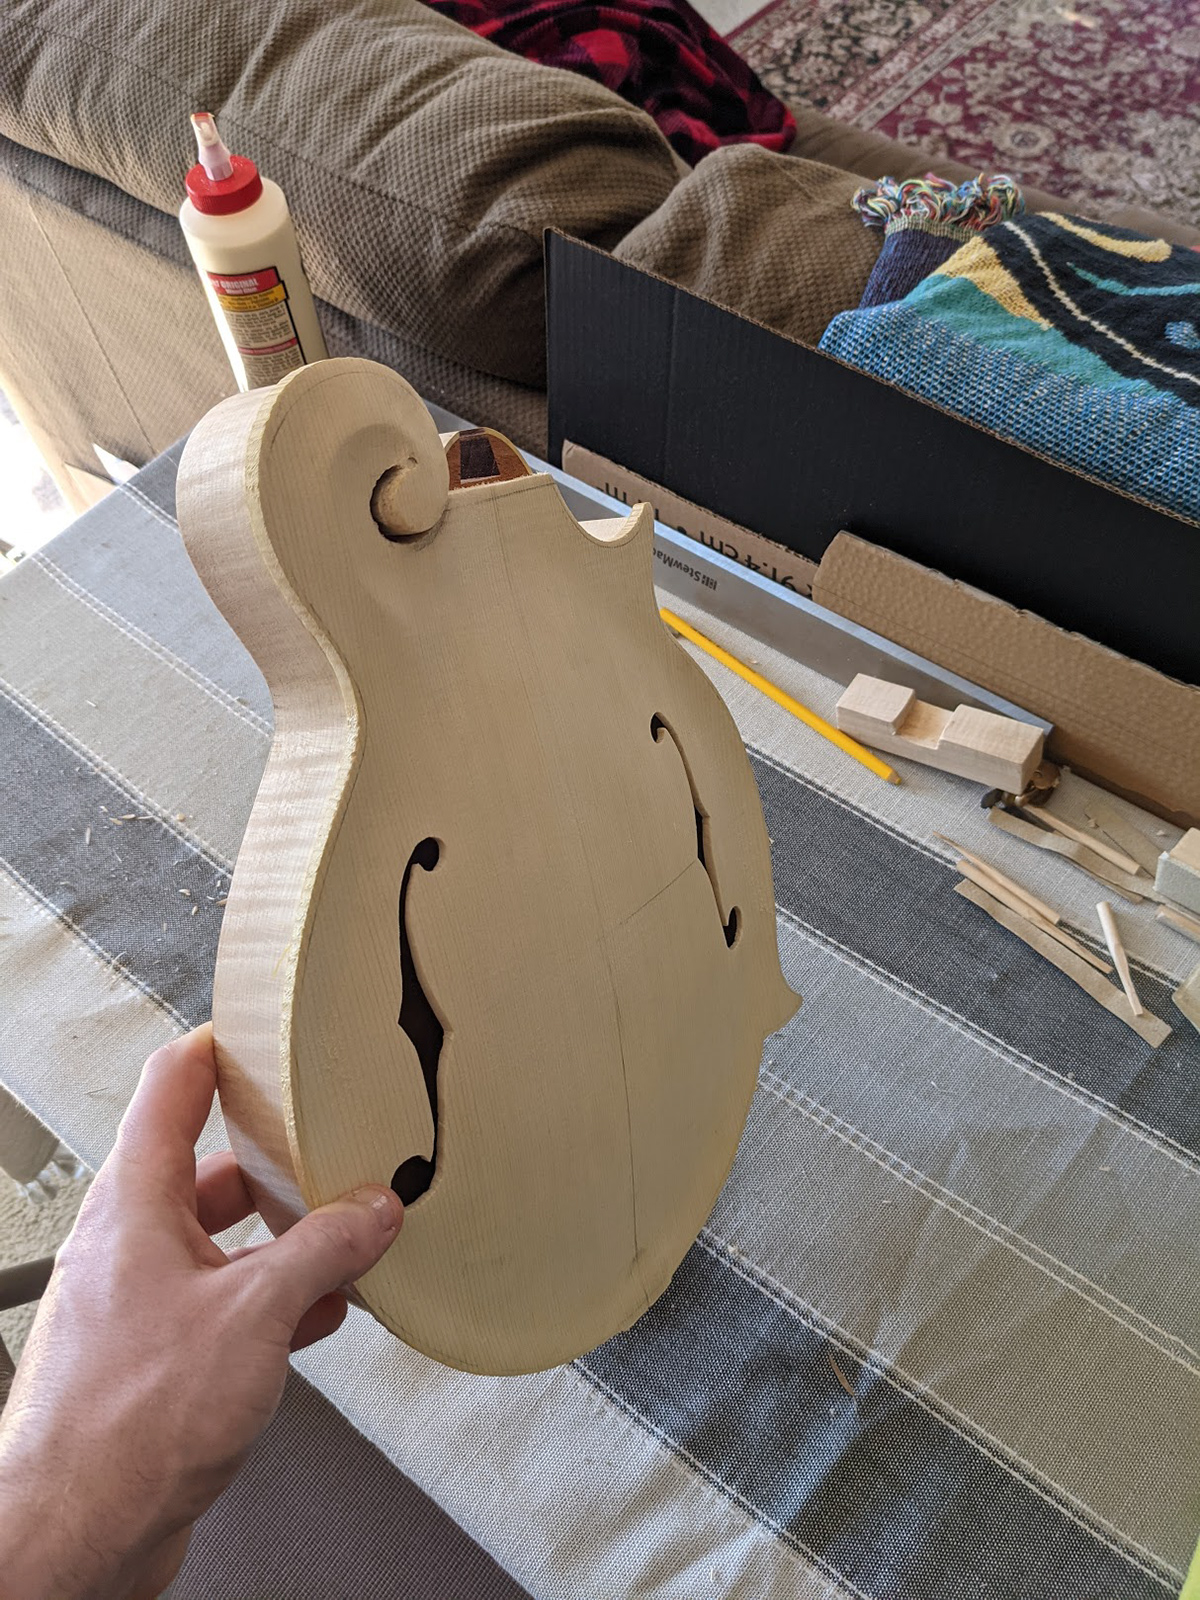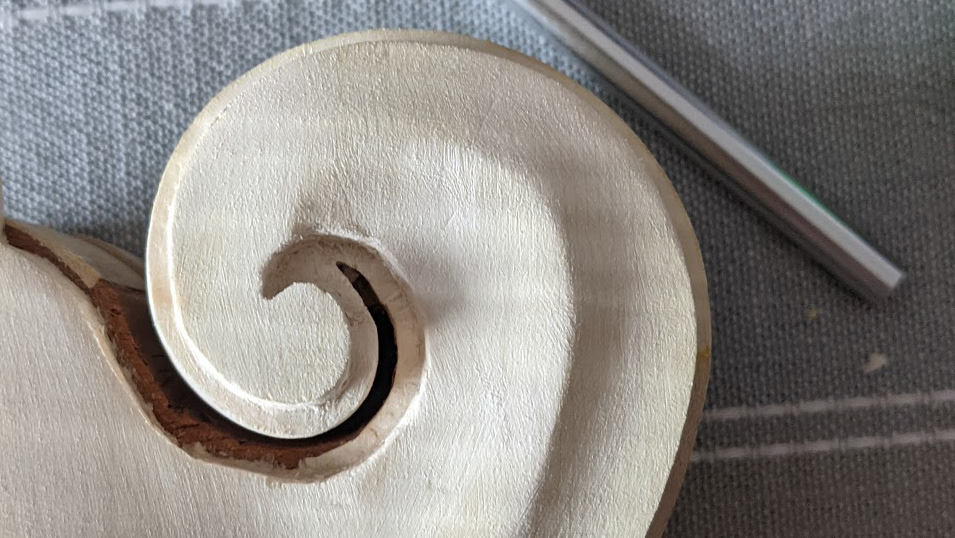
Cutting the Scroll Block (Apr 16th)
I was super stressed about this before I even got my kit in. I know the preferred method is with a bandsaw, but I would have to rent one, I haven’t used one in 10 years, and big mistakes happen quickly. I decided to try to find a way to do it with a coping saw. I drew out my lines on the scroll block using the top and back as templates. I then used this to create a plastic template that I would tape on the bottom, the idea was that if I had my saw out of 90deg alignment I would hear the plastic rattling and adjust. This worked surprisingly well, but the flex in the saw blade led to a bit of a bow outward at the center of the block. Using different sanding tools I was able to straighten that out some, it isn’t perfect, but I am in no way expecting perfection. I think next time I’ll use a bandsaw, but it was good to see this method is viable. (I forgot to take a picture here :( )
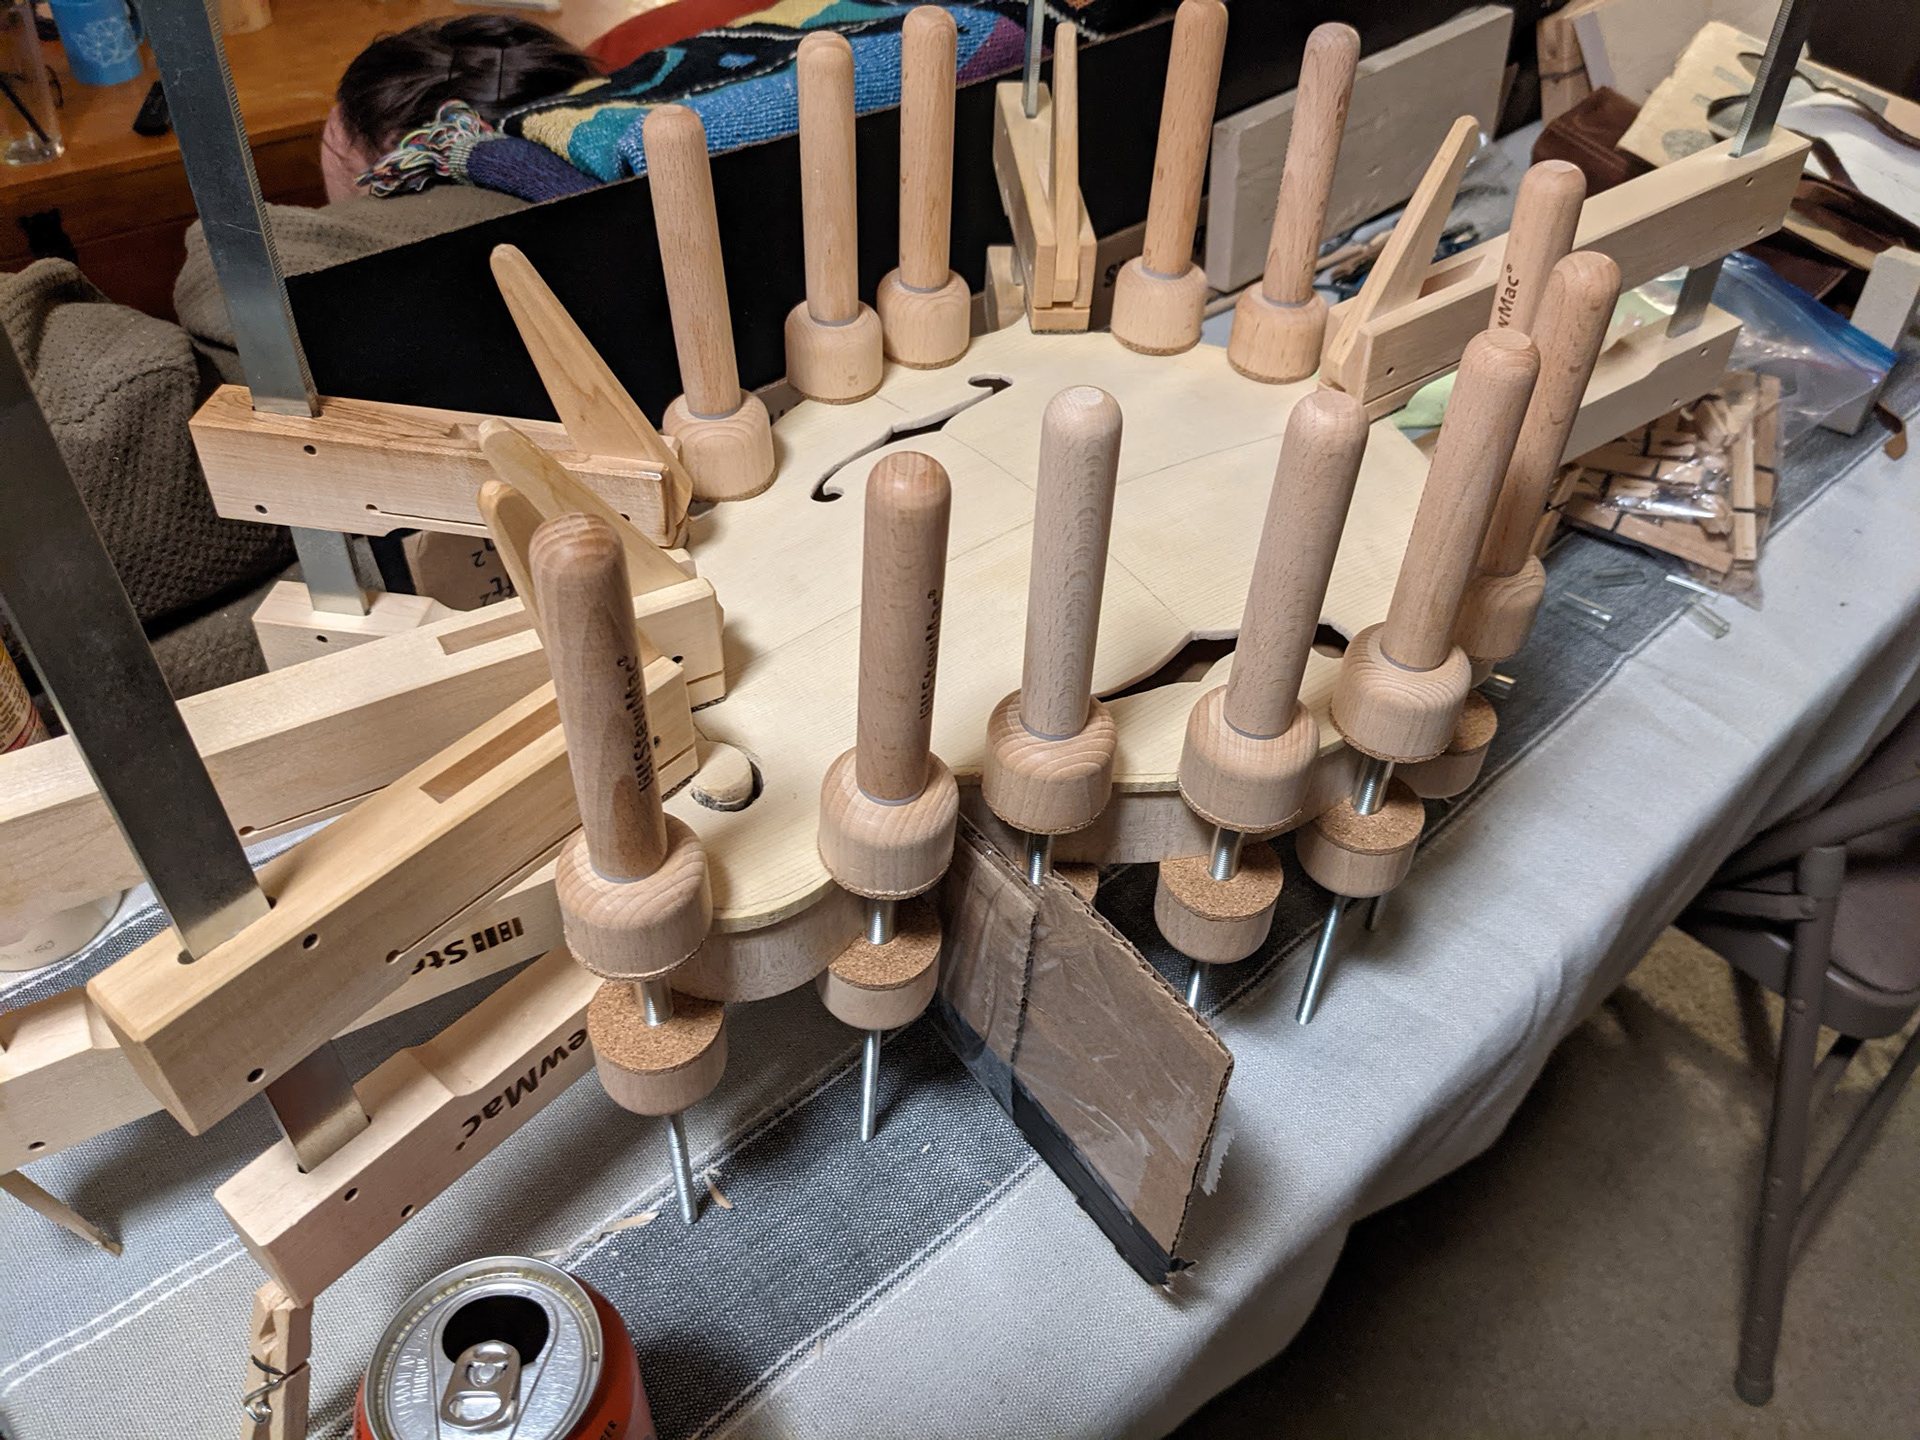
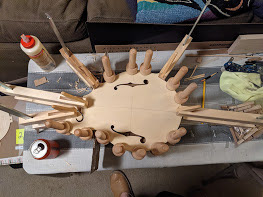
Gluing the Top (Apr 17th)
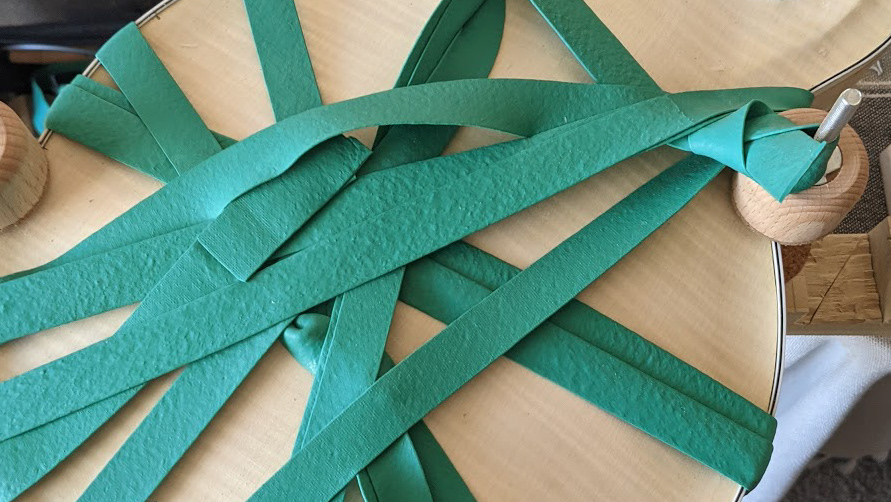
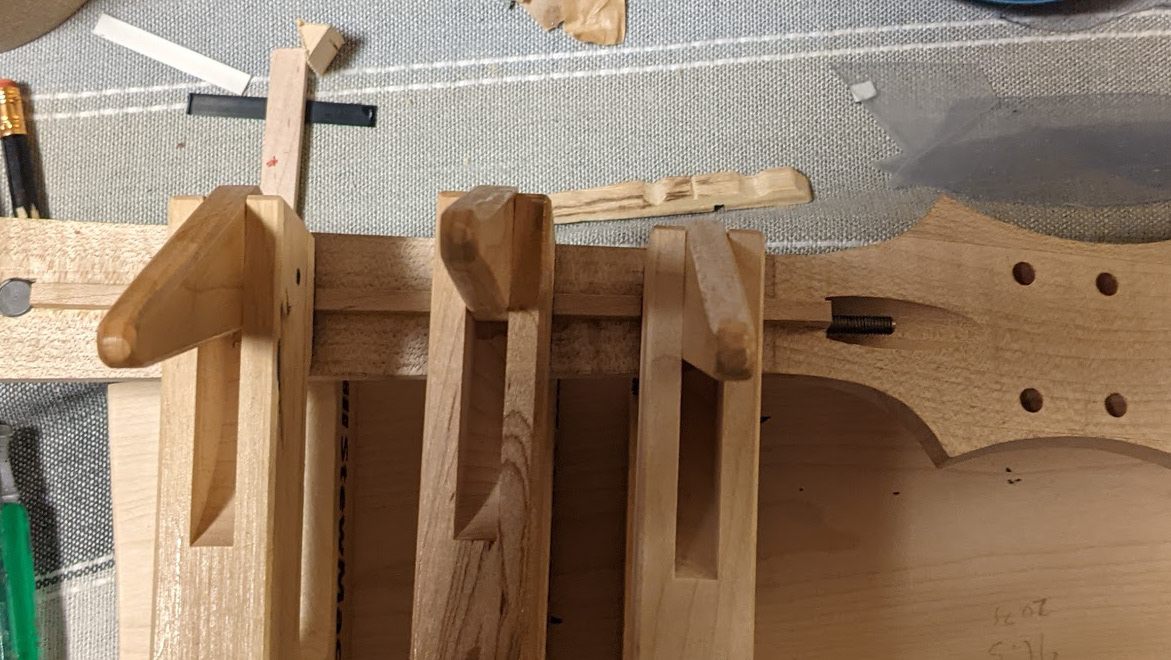
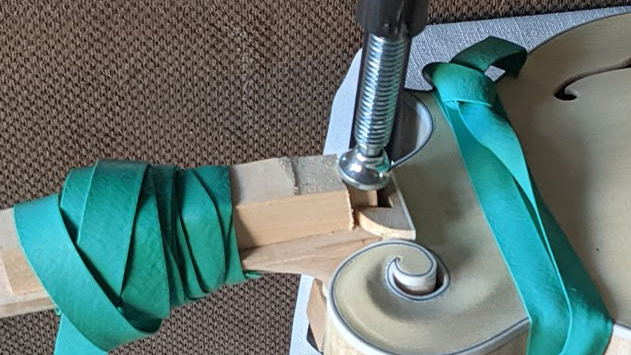
Oh boy, time to start gluing the big stuff. I did a test clamp, starting by using tapered dowels to hold the scroll in registry, aligning the center of the bottom, clamping on each block, and then using spool clamps around the edge. Now that I had a run through the clamping setup I was ready to clamp. I used a waxy colored pencil to draw all the way around the rim (not the kerfing) so that these pieces will come off easier when I do the binding. Then I spread my glue and clamped it up!
It came out great.