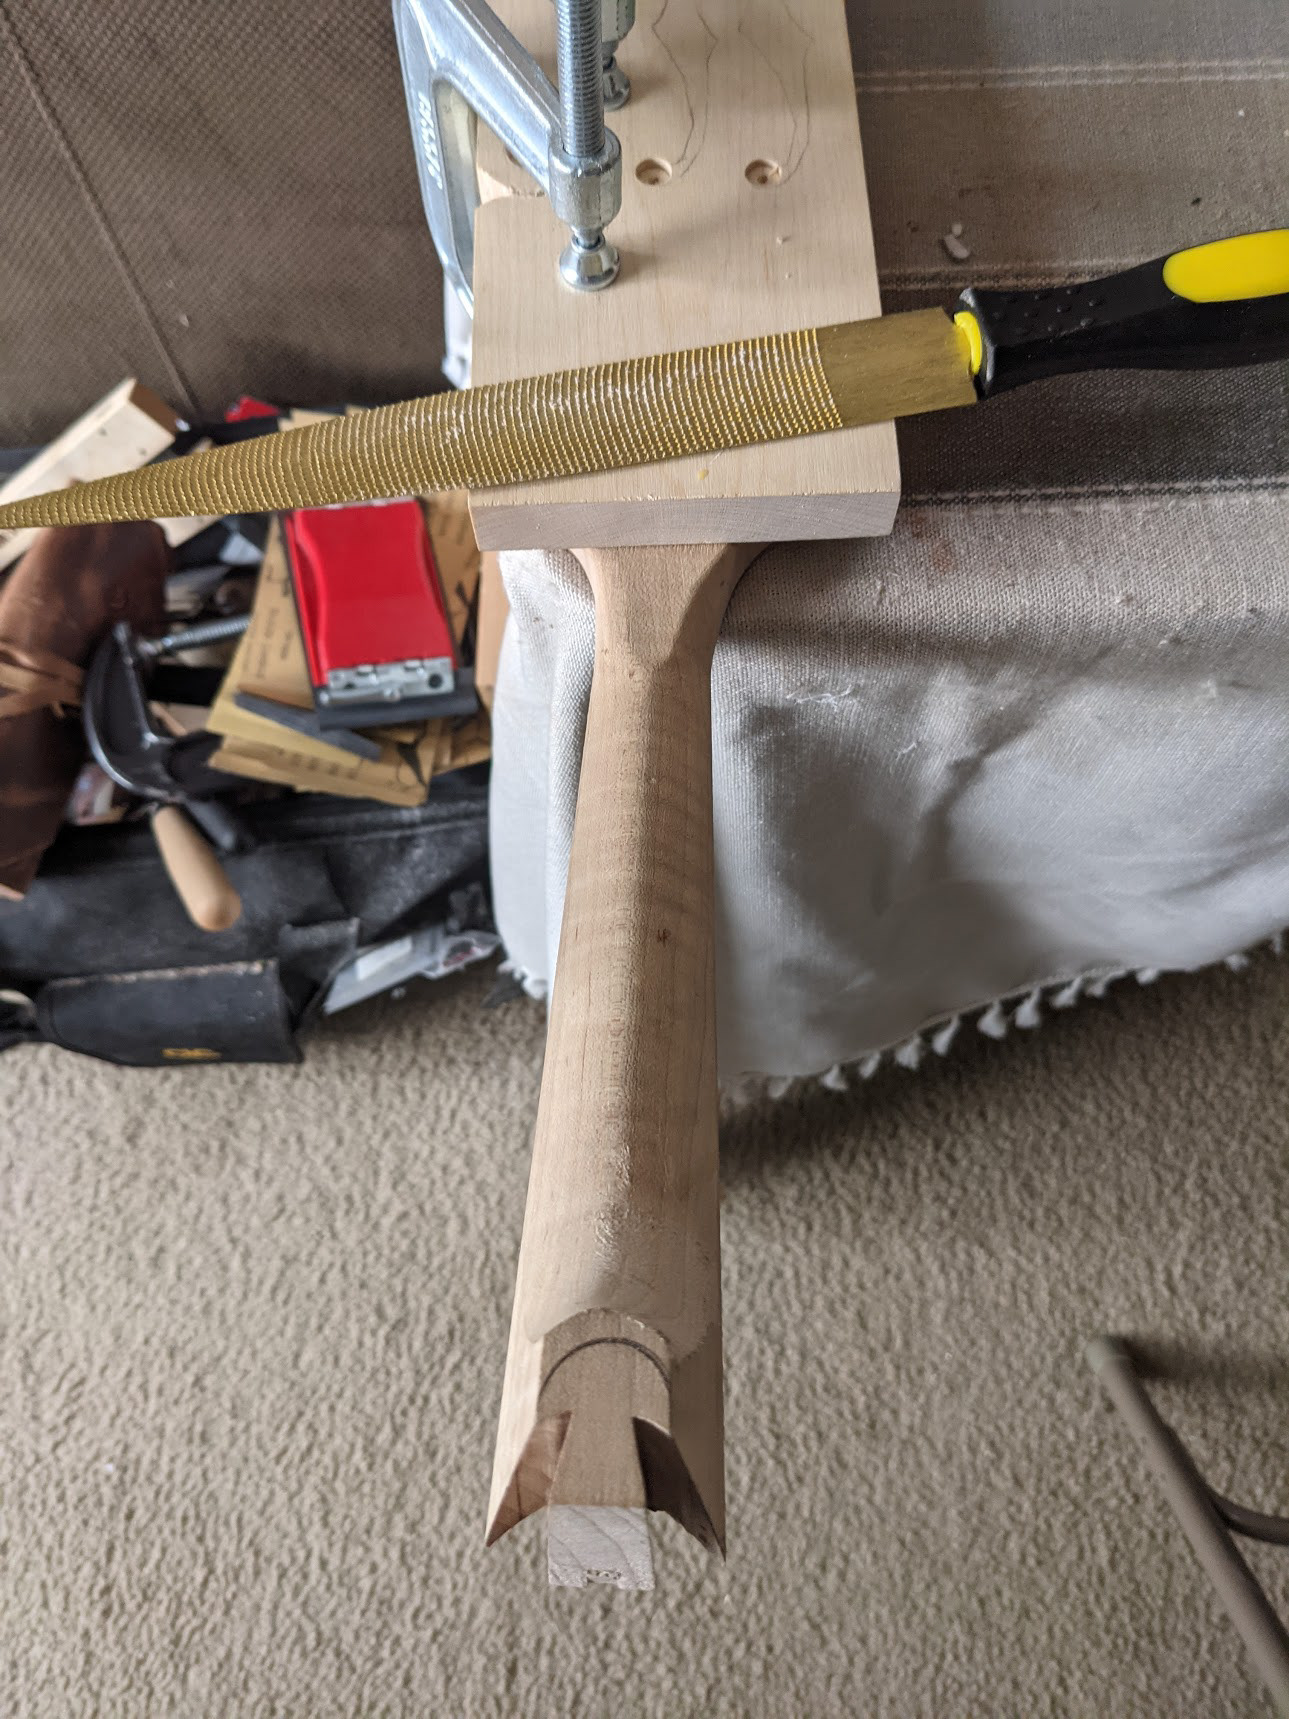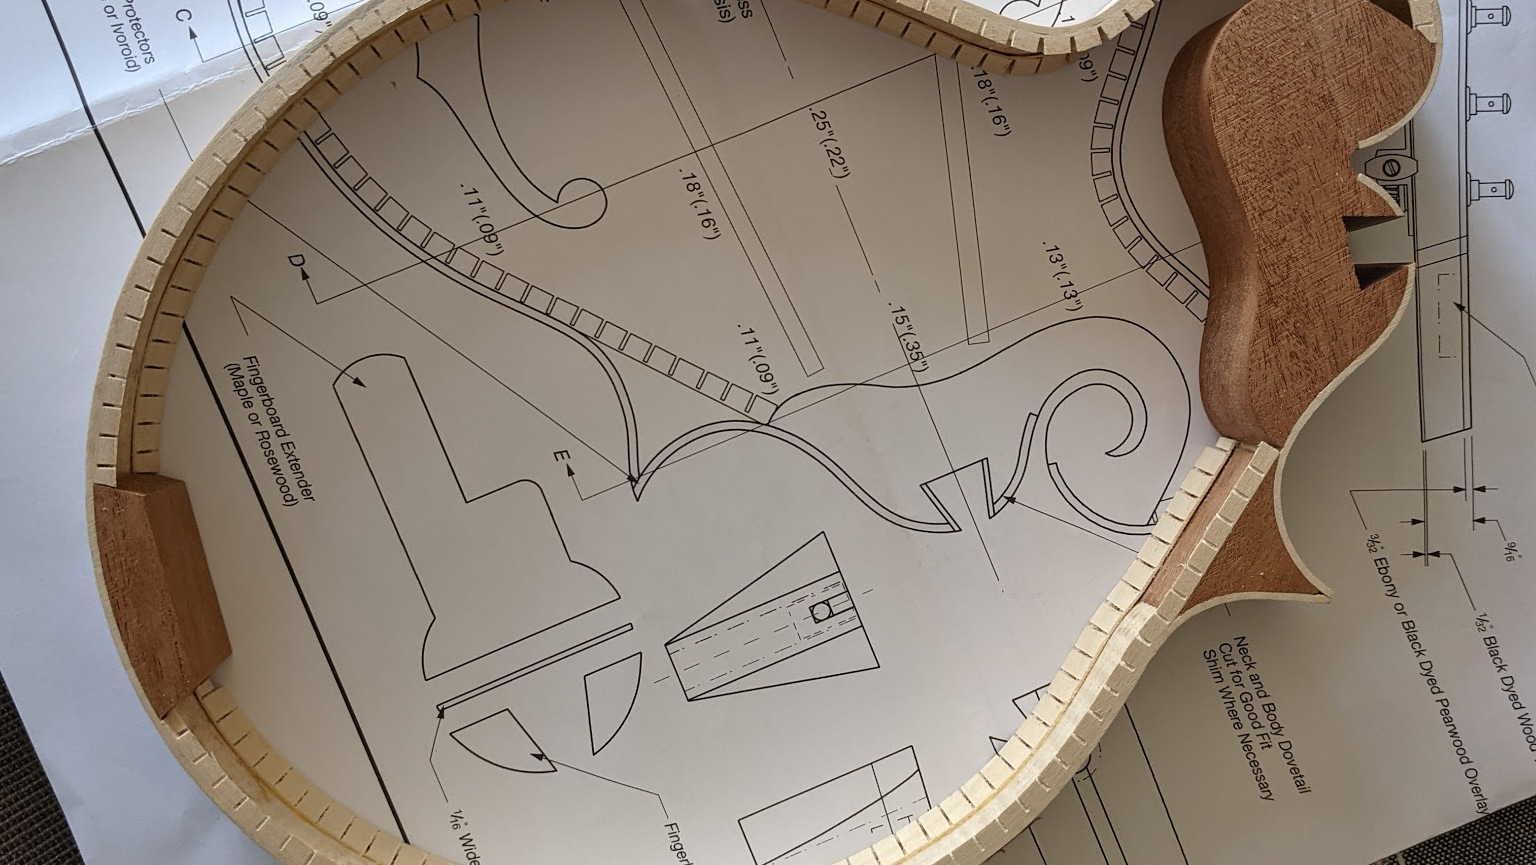
The first step in clamping the neck was to fit it in the dovetail, and score around the button on the back. While doing this I double checked my alignment and height with my alignment template and a straight edge on the fretboard.
After removing the neck I used a rasp to carve the neck heel down to fit the shape and size of the button, being careful not to touch any part of the dovetail cheeks as this would screw up my neck set. I then cleaned and smoothed this area with some files and then 120 grit sandpaper. I was surprised at how well this went, it feels like shaping wood is starting to come more naturally to me which is crazy progress from my initial struggles with the finger plane.
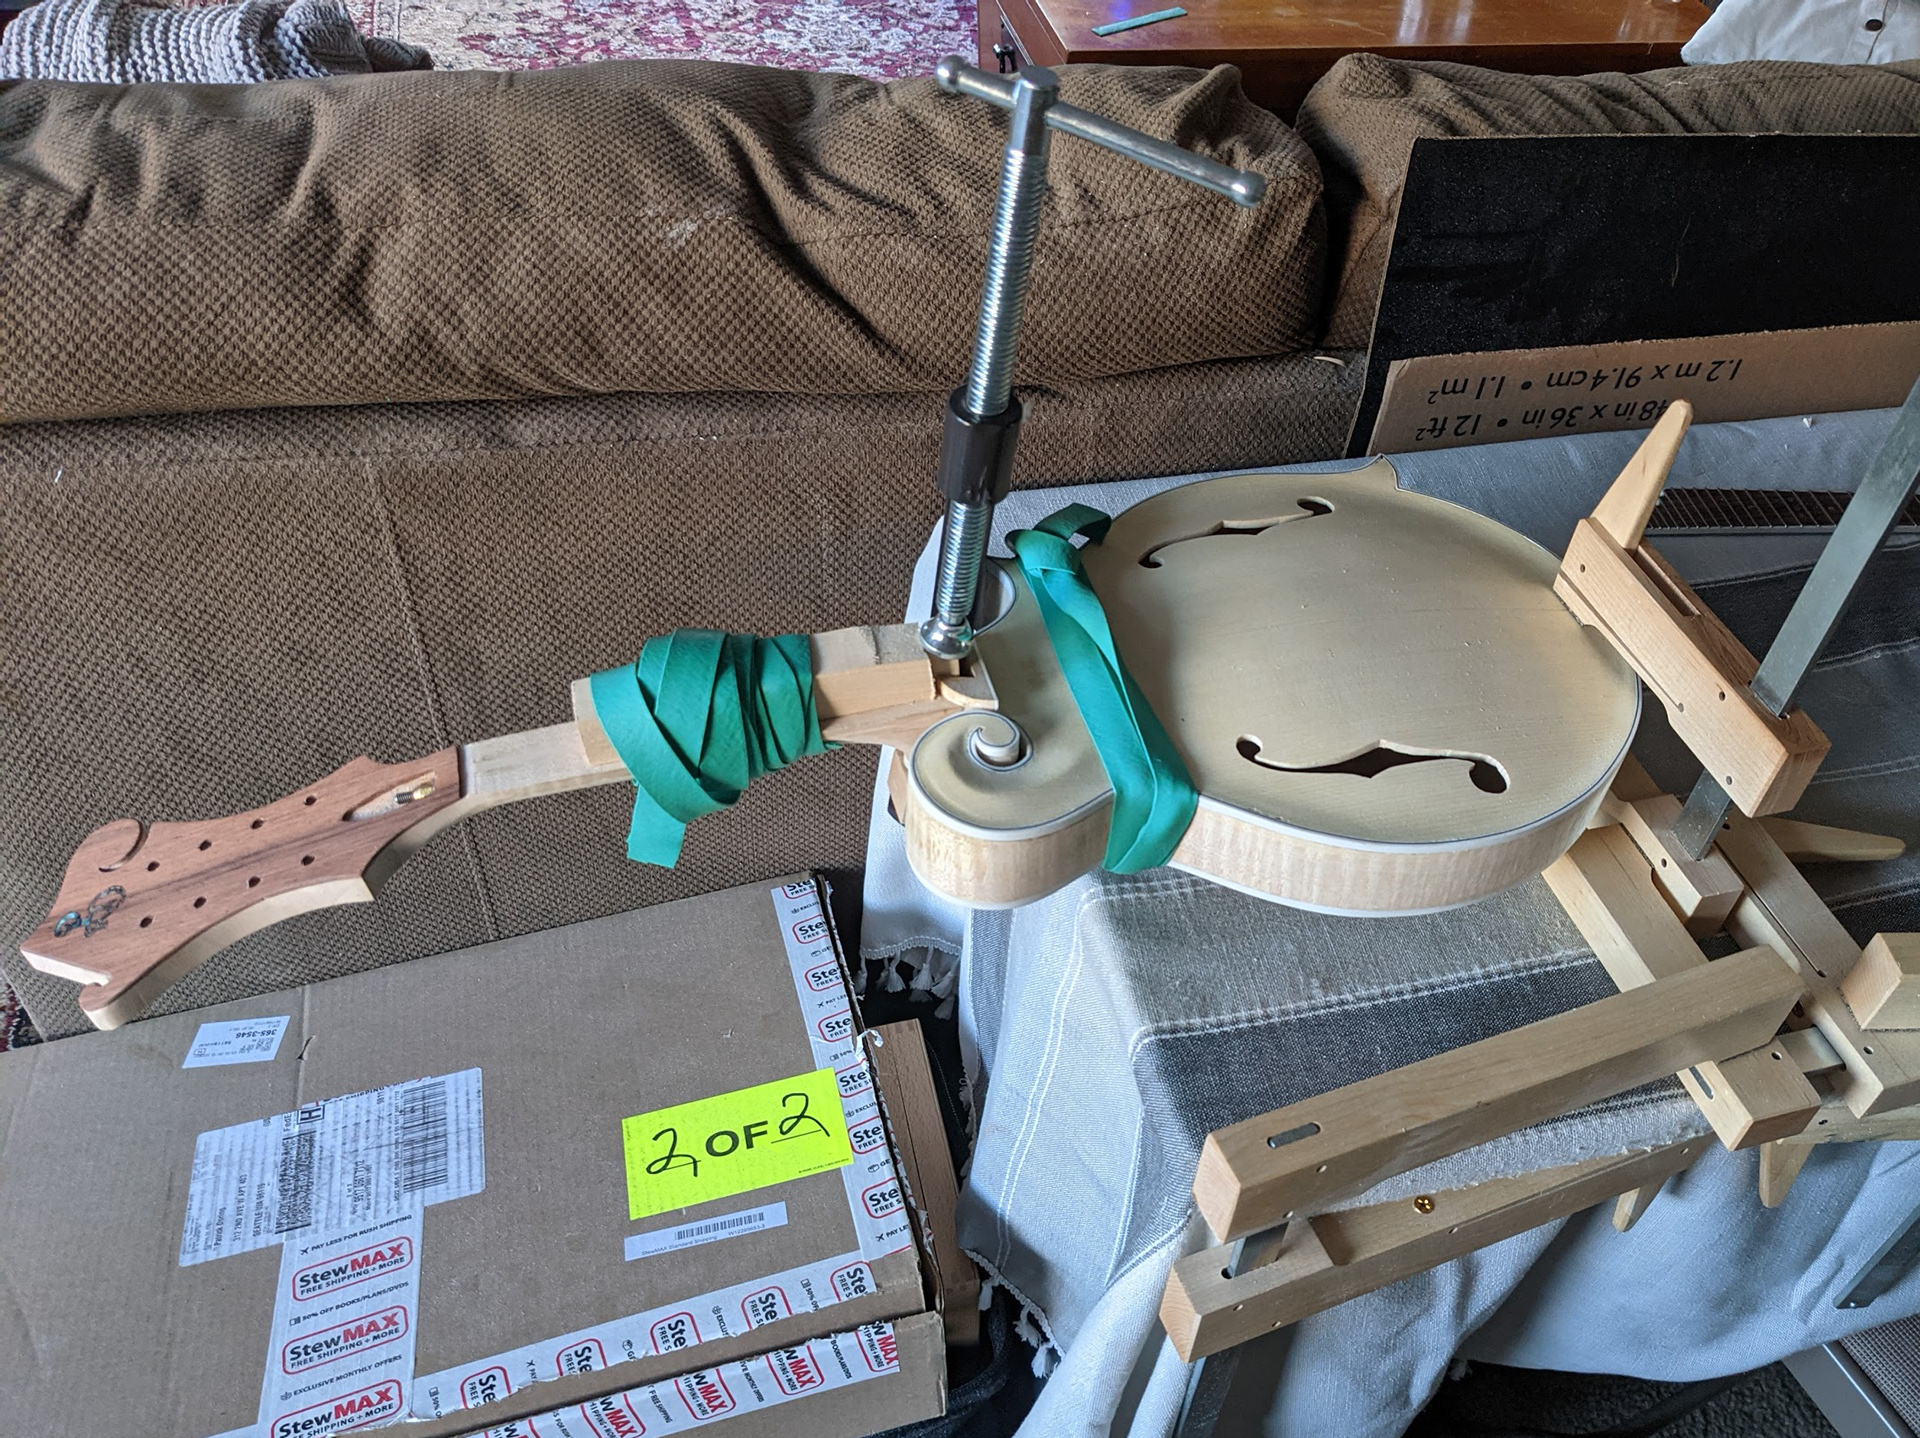
I then made a caul for the dovetail joint and the bottom of the mandolin. These needed to be shaped to allow for both the curve in the back, and to provide a level surface for the clamps. This is because the top of the neck and the back of the mandolin sits at an angle. These also allow the feet of the clamps enough clearance from the instrument.
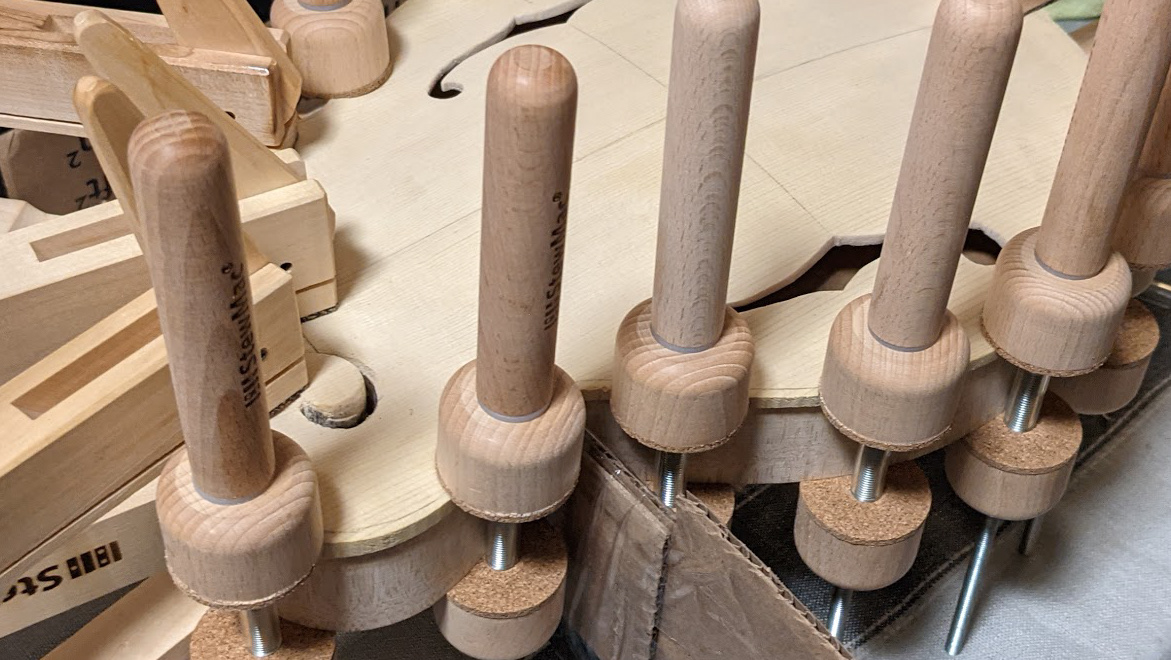
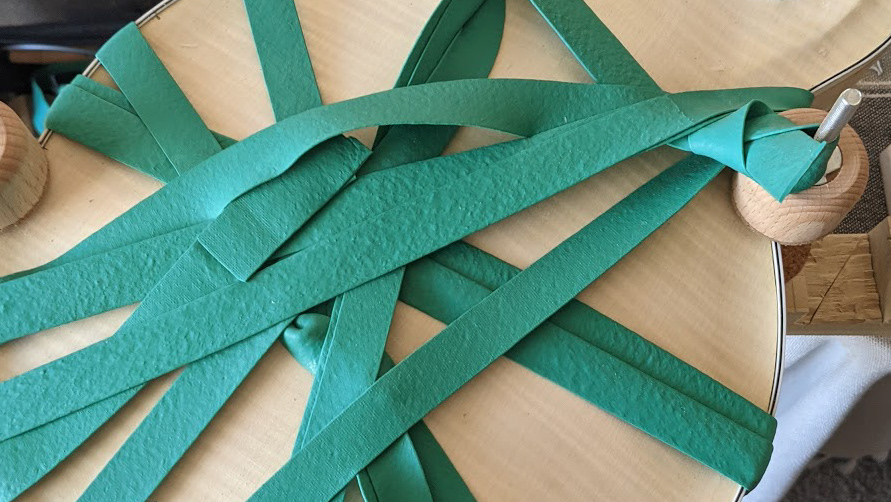
After taking a breather and triple checking it was time I spread the Titebond evenly throughout the dovetail and on the bottom of the heel of the neck. I then loosely fitted the neck in the dovetail, and used the clamp to push it down flat with the button. It is a really tight fit with the glue in there, and the creaking in this process was deeply unsettling.
I let this one stay clamped overnight because I had no other mandolin plans for the evening, and this COVID vaccine was for sure slowing me down.
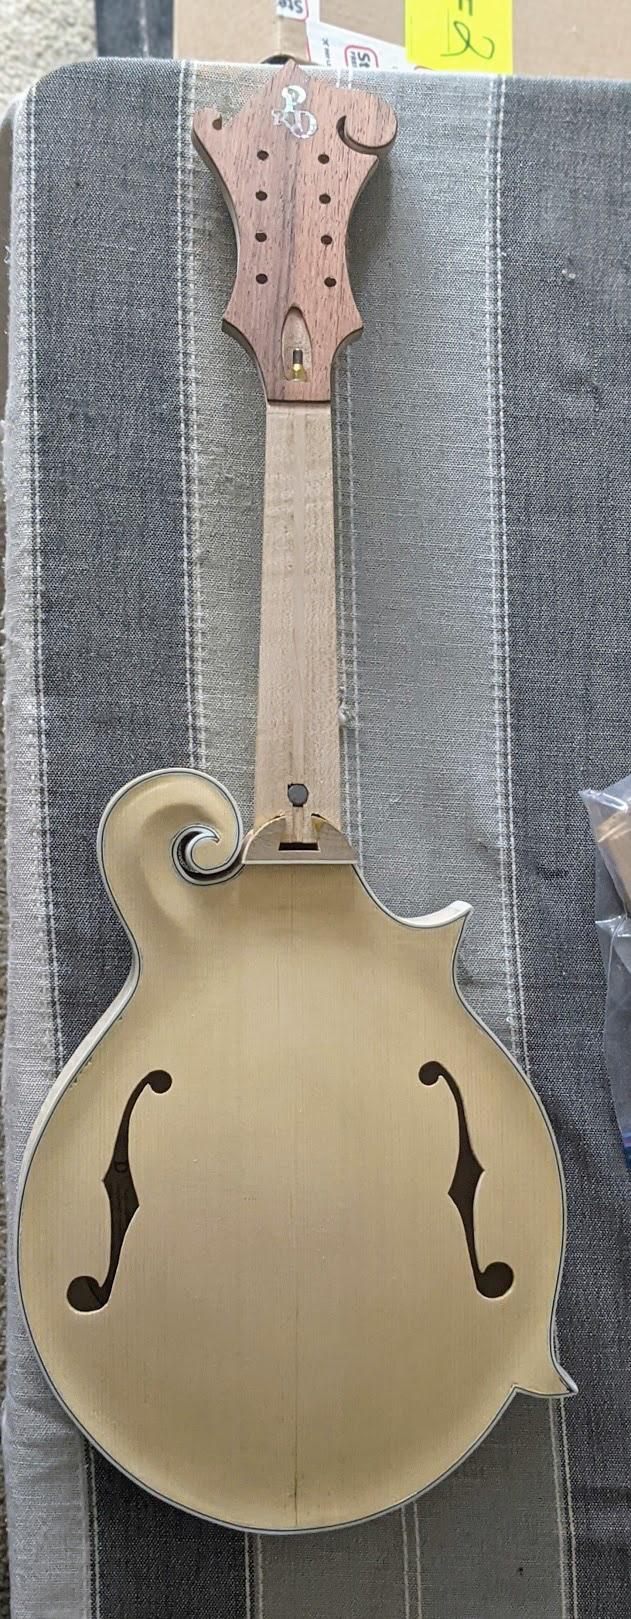
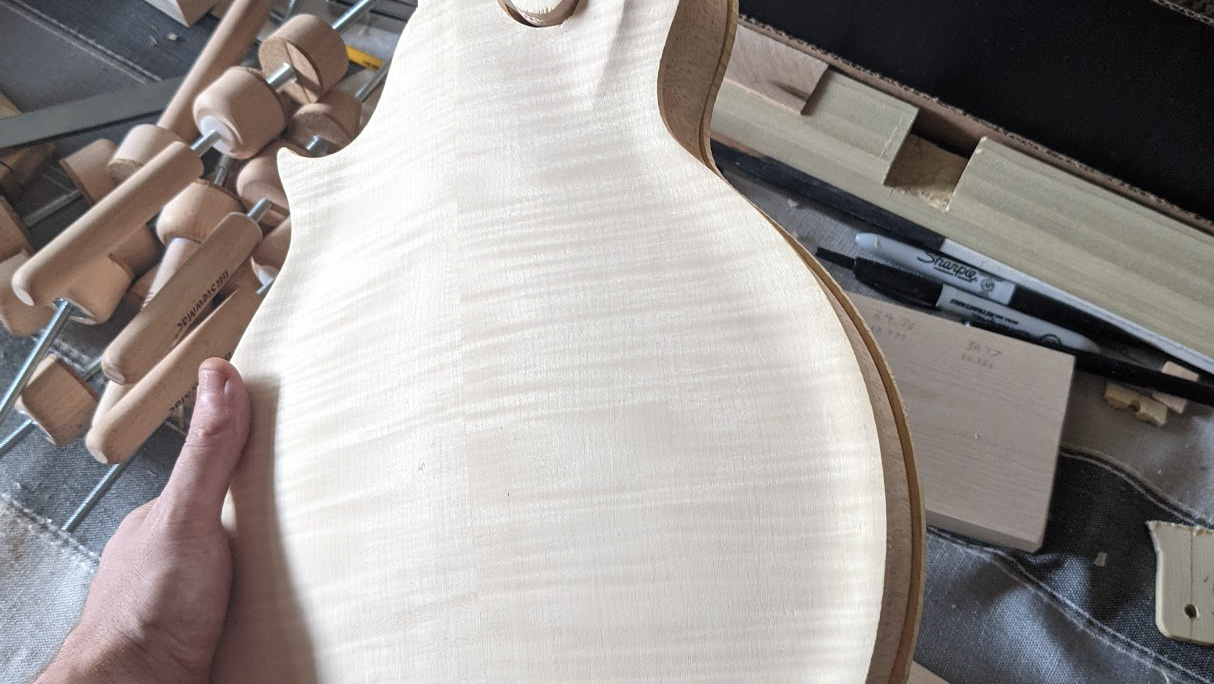
In the morning I unclamped, and it looks and feels super solid, I rechecked the neckset and we are all good!